EN


Fat Bike Tire Pressure Guide: How to Adjust Pressure for Different Riding Conditions
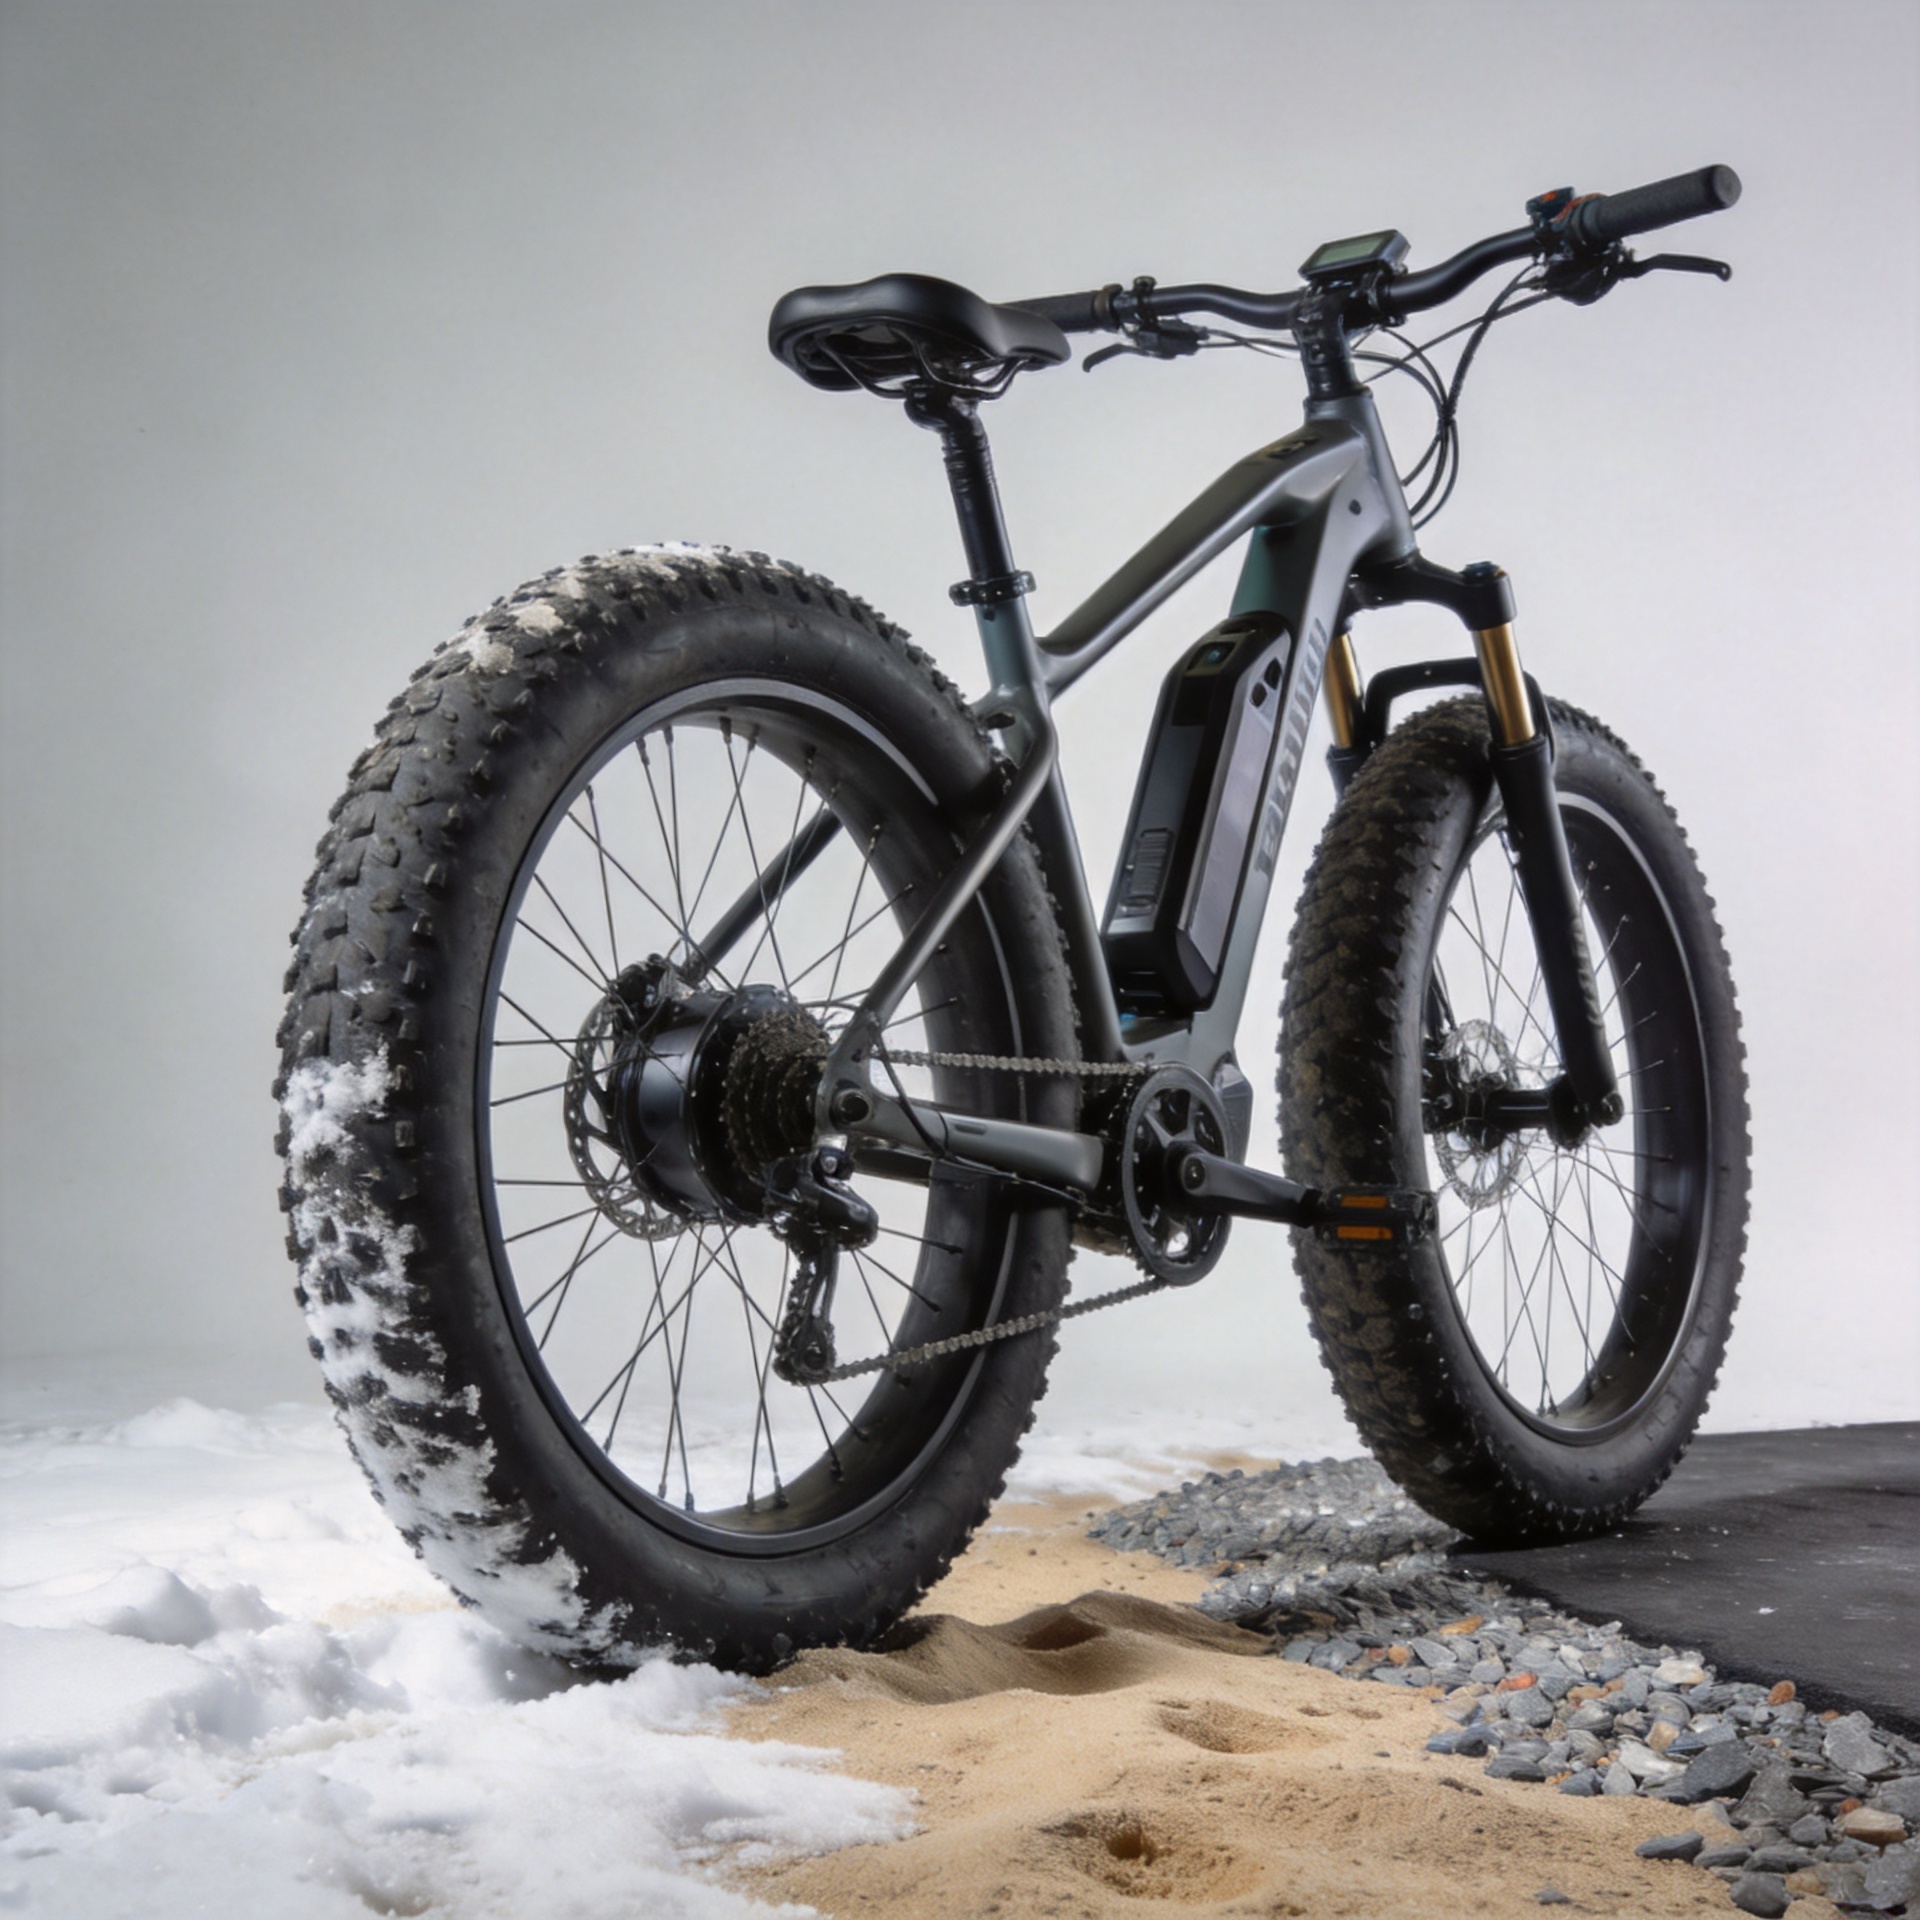
For a 20×4.0 setup, fat bike tire pressure is not a single number to copy from another rider. It is a practical starting point that changes with surface firmness, total load, temperature, tire construction, and the limits printed on the tire and specified for the rim. This matters even more on an electric fat bike: motor-assisted acceleration, battery weight, cargo, and frequent stop-start riding can shift how the tires feel under load.
Think of pressure as a tuning tool. Lower settings let a wide tire spread out and follow loose ground. Higher settings support the casing on firm terrain and reduce sluggish steering. The safe final setting must stay inside the pressure limits supplied by the tire and rim manufacturers. If a number feels good but causes the rim to strike obstacles, the tire to squirm, or an inner tube to pinch, it is not the right setting for that ride.
Start With the Tire and Rim, Not a Generic PSI Chart
Before adjusting fat bike tire pressure, read the tire sidewall and check the wheel or rim documentation. Those limits override general advice. A 20×4.0 tire may appear similar to another wide tire, but casing design, bead type, tube or tubeless setup, rim width, and the weight carried by an electric bike can all change the usable range.
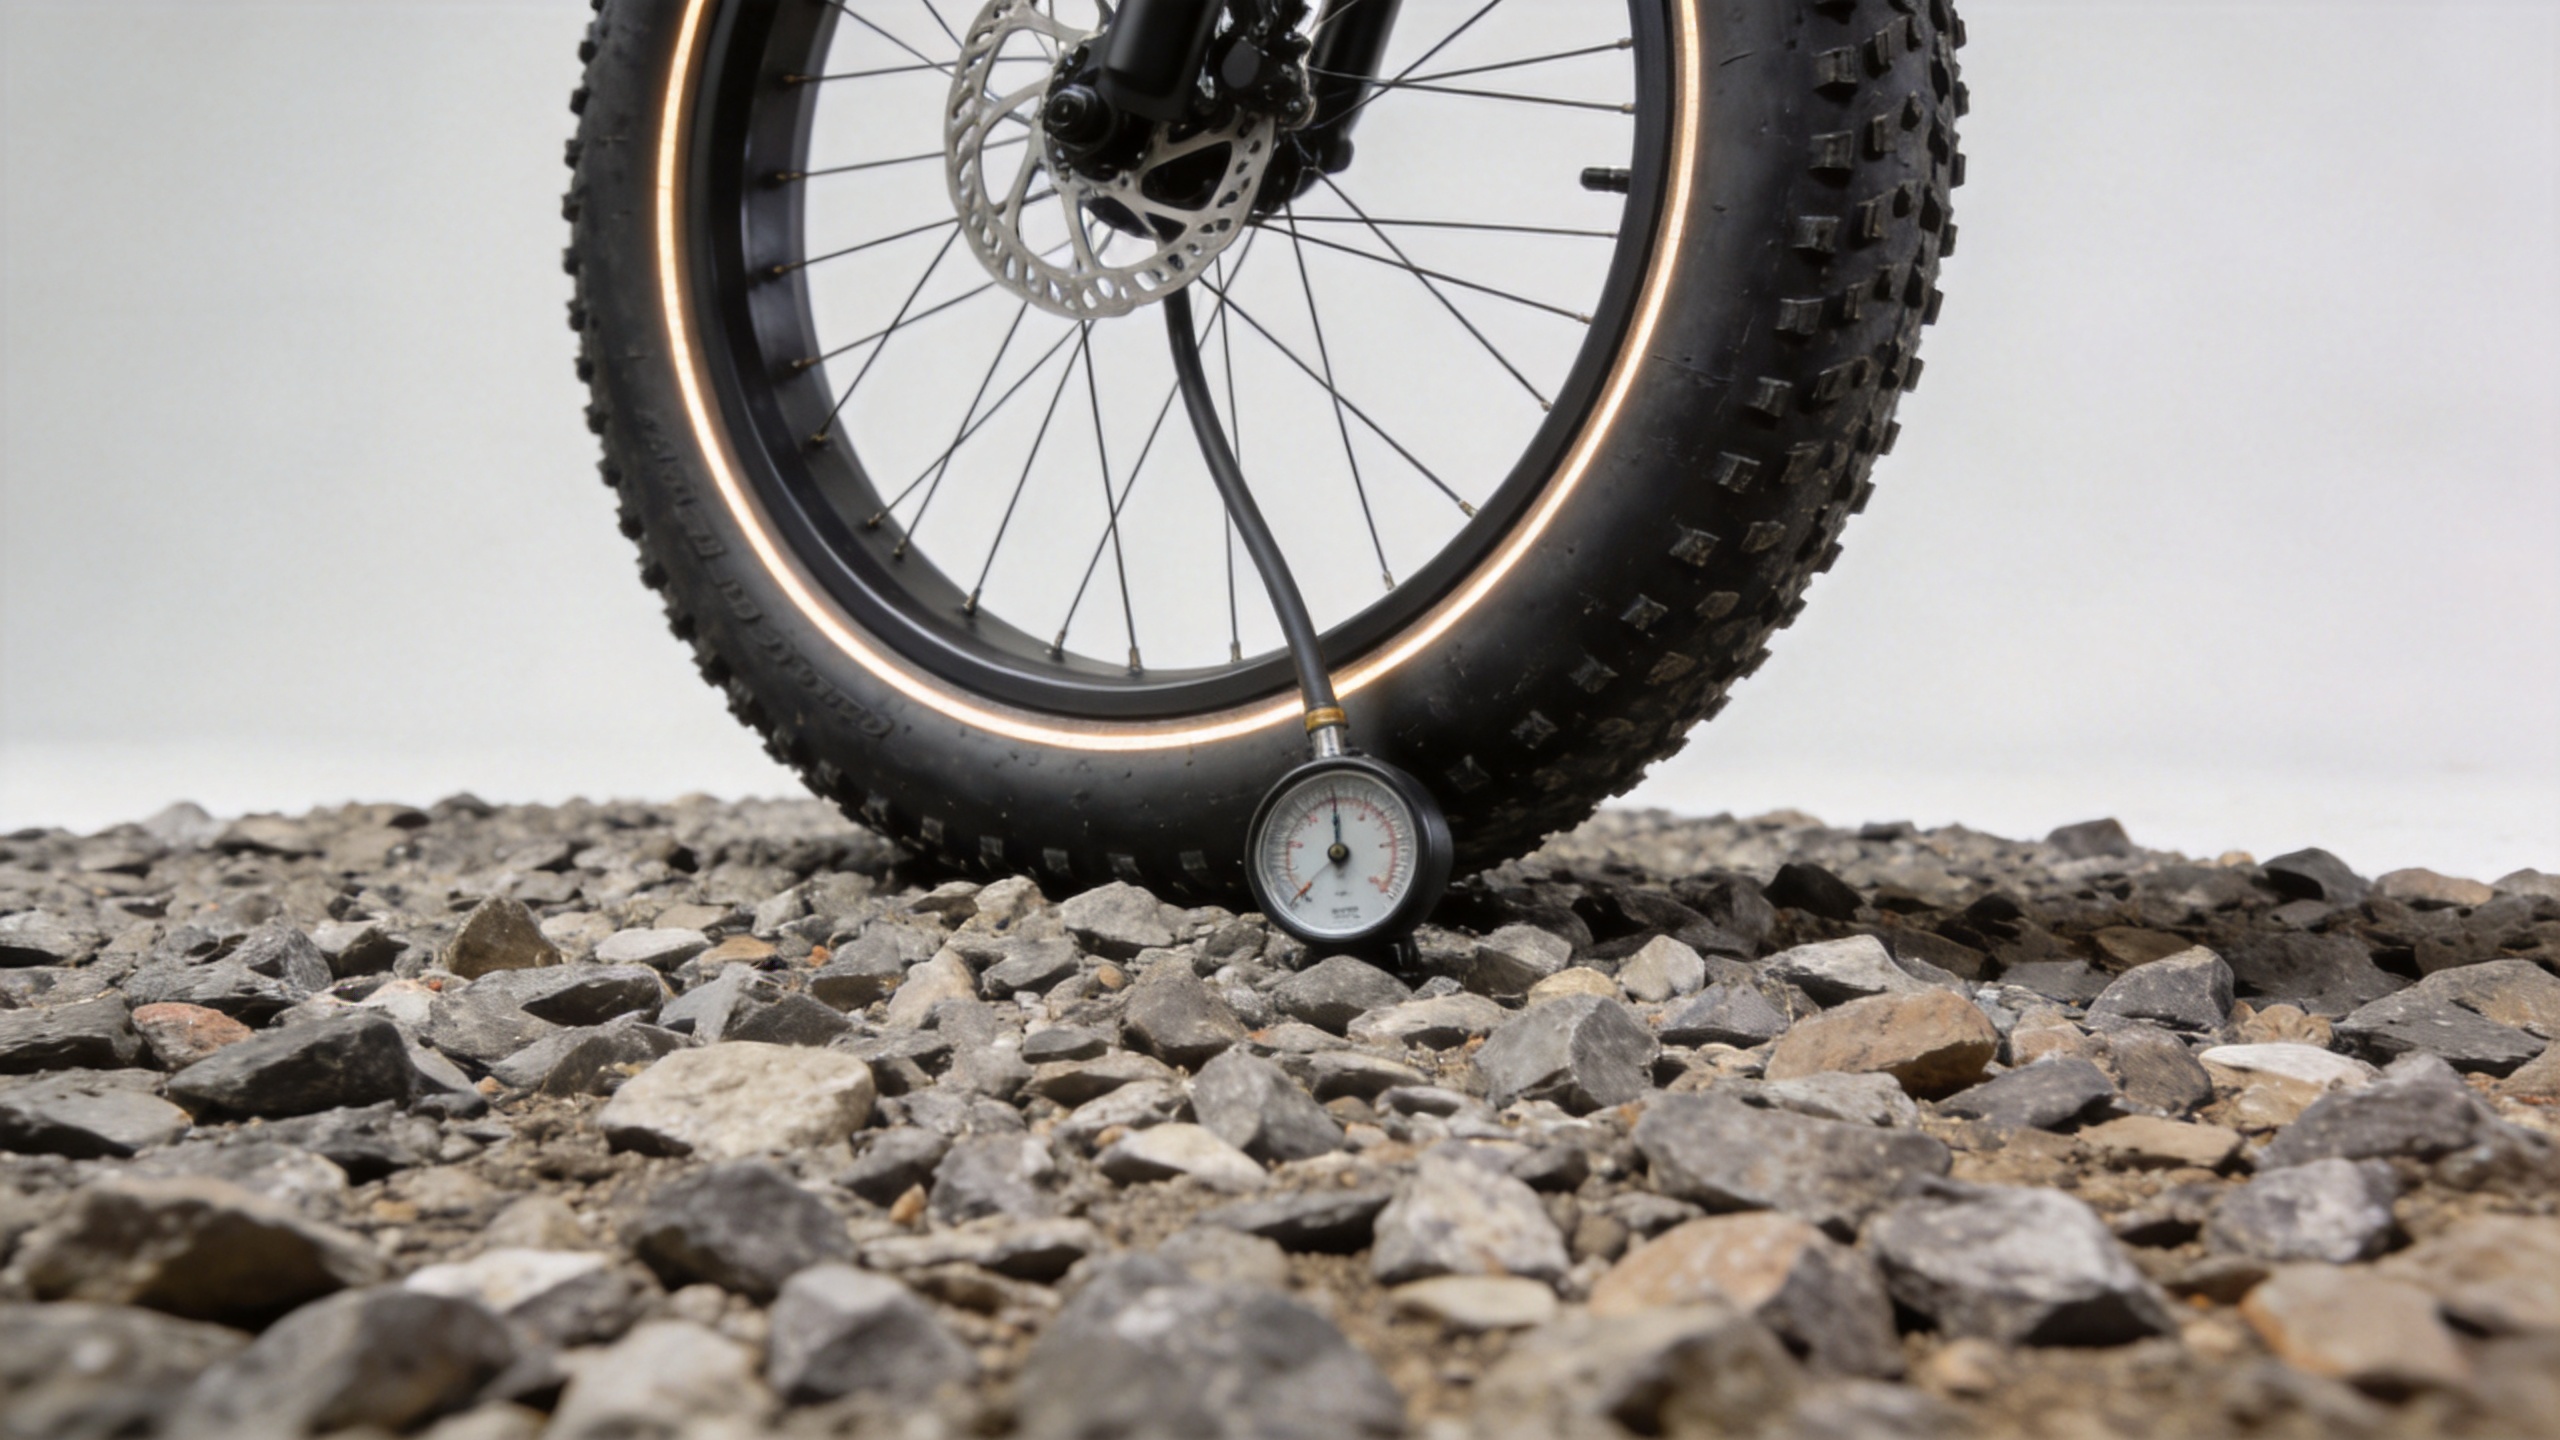
Use a gauge that reads accurately at low PSI. A high-range car-style gauge can make a one-PSI change hard to see, while one PSI can noticeably change grip and steering on a fat tire. Start with equal front and rear settings, then test one small adjustment at a time. Many riders ultimately use slightly less pressure in front than in the rear because the rear wheel commonly carries more rider, battery, and cargo load, but this is a test-and-adjust principle—not a fixed rule.
Condition-Based Starting Ranges for Fat Bike Tire Pressure
The following ranges are general starting points drawn from commonly published fat-bike guidance. They are not a substitute for the limits of your particular tire and rim. Make changes in small increments, ride a short familiar section, and observe traction, steering, rim contact, and tire stability.
| Riding condition | Useful starting range | What to watch for |
|---|---|---|
| Soft or fresh snow | About 2–5 PSI | Look for flotation and steering control. Increase slightly if the tire folds, burps on a tubeless setup, or the rim approaches the surface too easily. |
| Packed snow | About 5–10 PSI | Use enough support for predictable turns while retaining a broad contact patch. |
| Loose sand | About 4–8 PSI | Lower pressure can help the tire float; check carefully for rim strikes and tube pinch risk. |
| Hardpack or gravel | About 8–15 PSI | Raise pressure gradually for firmer steering and casing support without making the ride harsh. |
| Pavement or smooth paths | Use the higher end of your approved range | Prioritize stability, rolling efficiency, and the tire/rim pressure limits rather than using an unverified universal number. |
For a 20×4.0 electric-bike tire, a broadly cited 5–15 PSI range is useful context, but it should not become a preset. A heavier rider, cargo rack, or uneven pavement may need more support than a lightly loaded bike on compact snow. Conversely, reducing pressure on loose surfaces may improve contact and comfort, provided the wheel remains protected.
How Rider Weight, E-Bike Weight, and Cargo Change the Setting
Electric bike tire pressure deserves its own check because total system weight is more than rider weight. Include the bike, battery, lock, tools, and any pannier or delivery cargo. The rear tire often bears a larger share of that load. If the rear casing feels unstable during acceleration or bottoms out on a curb edge, add a small amount of air within the approved range and test again.
Do not solve a handling problem by inflating past the sidewall or rim limit. Likewise, avoid using an extremely low setting simply to gain grip. With an inner tube, an impact at too little pressure can pinch the tube against the rim. On any setup, repeated rim strikes can damage the wheel. The useful balance is enough pressure to protect the wheel and enough tire deformation to suit the surface.
A Simple Ride-Test Method for Different Conditions
- Inspect first. Check for cuts, embedded debris, sidewall damage, uneven tread wear, and a valve that is secure. If the tire uses a tube, look for signs of repeated pinch damage before assuming pressure alone is the issue.
- Set a conservative starting pressure. Stay within the tire and rim guidance and begin near the middle of the range appropriate for the surface.
- Ride a short, repeatable section. Include a turn, a small bump, and the surface you expect to ride most often.
- Change one variable. Adjust in small increments, then repeat the same section. Record front and rear readings separately.
- Recheck after temperature or load changes. A cold start, a loaded rack, and a route that shifts from sand to pavement can all justify another check.
For service teams and buyers, this routine also makes maintenance conversations clearer. Instead of reporting that a tire “feels soft,” record the tire size, front and rear PSI, rider-plus-cargo load, terrain, and whether the problem is loss of traction, vague steering, rim contact, or a suspected inner-tube issue.
Pressure Checks for 20×4.0 Replacement Tires and Inner Tubes
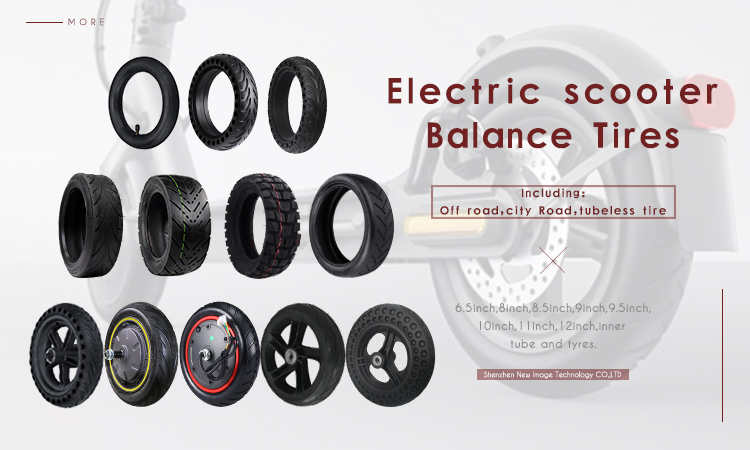
When replacing a worn tire or tube, confirm the exact tire size, rim compatibility, valve type, and vehicle fitment before installation. Product compatibility is especially important in the fragmented electric-bike parts market, where similar-looking tires can have different dimensions or intended use. A replacement should be evaluated as a system with the wheel, tube, and bike—not selected solely from its width marking.
For buyers looking for a 20×4.0 tire-and-tube option, review the listed fitment and specifications for the New Image 20×4.0 fat bike tire with inner tube for listed OUXI V8/QM V20 and Engwe electric-bike fitments. Confirm compatibility with the specific bike and wheel before ordering. After installation, inflate gradually, seat the tire evenly, and inspect that the bead line is consistent around both sides before a ride test.
Common Pressure Problems and What They Usually Mean
The bike feels slow or vague on firm ground
The pressure may be too low for the surface or load. Add a small amount of air within the approved range, then retest. Also check whether tread wear, a damaged casing, or an underinflated rear tire is contributing to the feeling.
The tire loses traction on snow or sand
The pressure may be too high for loose ground. Reduce it in small steps while monitoring rim protection and tire stability. A lower setting cannot compensate for a damaged tire, incorrect size, or a route that is simply too soft for the load.
You hear rim strikes or find repeated tube damage
Increase support within the allowed range and inspect the rim tape, tube, tire casing, and wheel for damage. Repeated impacts or pinch flats warrant a closer inspection before continuing to ride.
Pressure Log Prompts for Riders and Service Teams
- For fat bike tire pressure records, note electric bike tire pressure at both wheels before a ride.
- Compare fat bike tire pressure with electric bike tire pressure after adding cargo or a child seat.
- Recheck fat bike tire pressure and electric bike tire pressure after moving from warm storage into cold weather.
- Log fat bike tire pressure alongside electric bike tire pressure after a long paved commute.
- When a tire feels vague, record fat bike tire pressure and electric bike tire pressure before changing parts.
- During a tube inspection, write down fat bike tire pressure and electric bike tire pressure with the tire size.
- For snow testing, compare fat bike tire pressure with electric bike tire pressure after each small adjustment.
- For gravel testing, note fat bike tire pressure and electric bike tire pressure with rider-plus-cargo load.
- Before ordering a replacement, document fat bike tire pressure and electric bike tire pressure plus wheel details.
- After a rim strike, review fat bike tire pressure and electric bike tire pressure before the next ride.
- For workshop handover, include fat bike tire pressure and electric bike tire pressure in the service notes.
The Practical Takeaway
Good fat bike tire pressure is a repeatable setup process: verify the tire and rim limits, choose a surface-appropriate starting range, account for the added mass of an electric bike and cargo, and tune in small steps. Keep front and rear readings in your maintenance notes, especially when servicing 20×4.0 tires with inner tubes. This approach helps riders, repair teams, and parts buyers communicate a real operating condition rather than relying on a one-size-fits-all PSI number.