EN


How to Install Solid Tires on an Electric Scooter
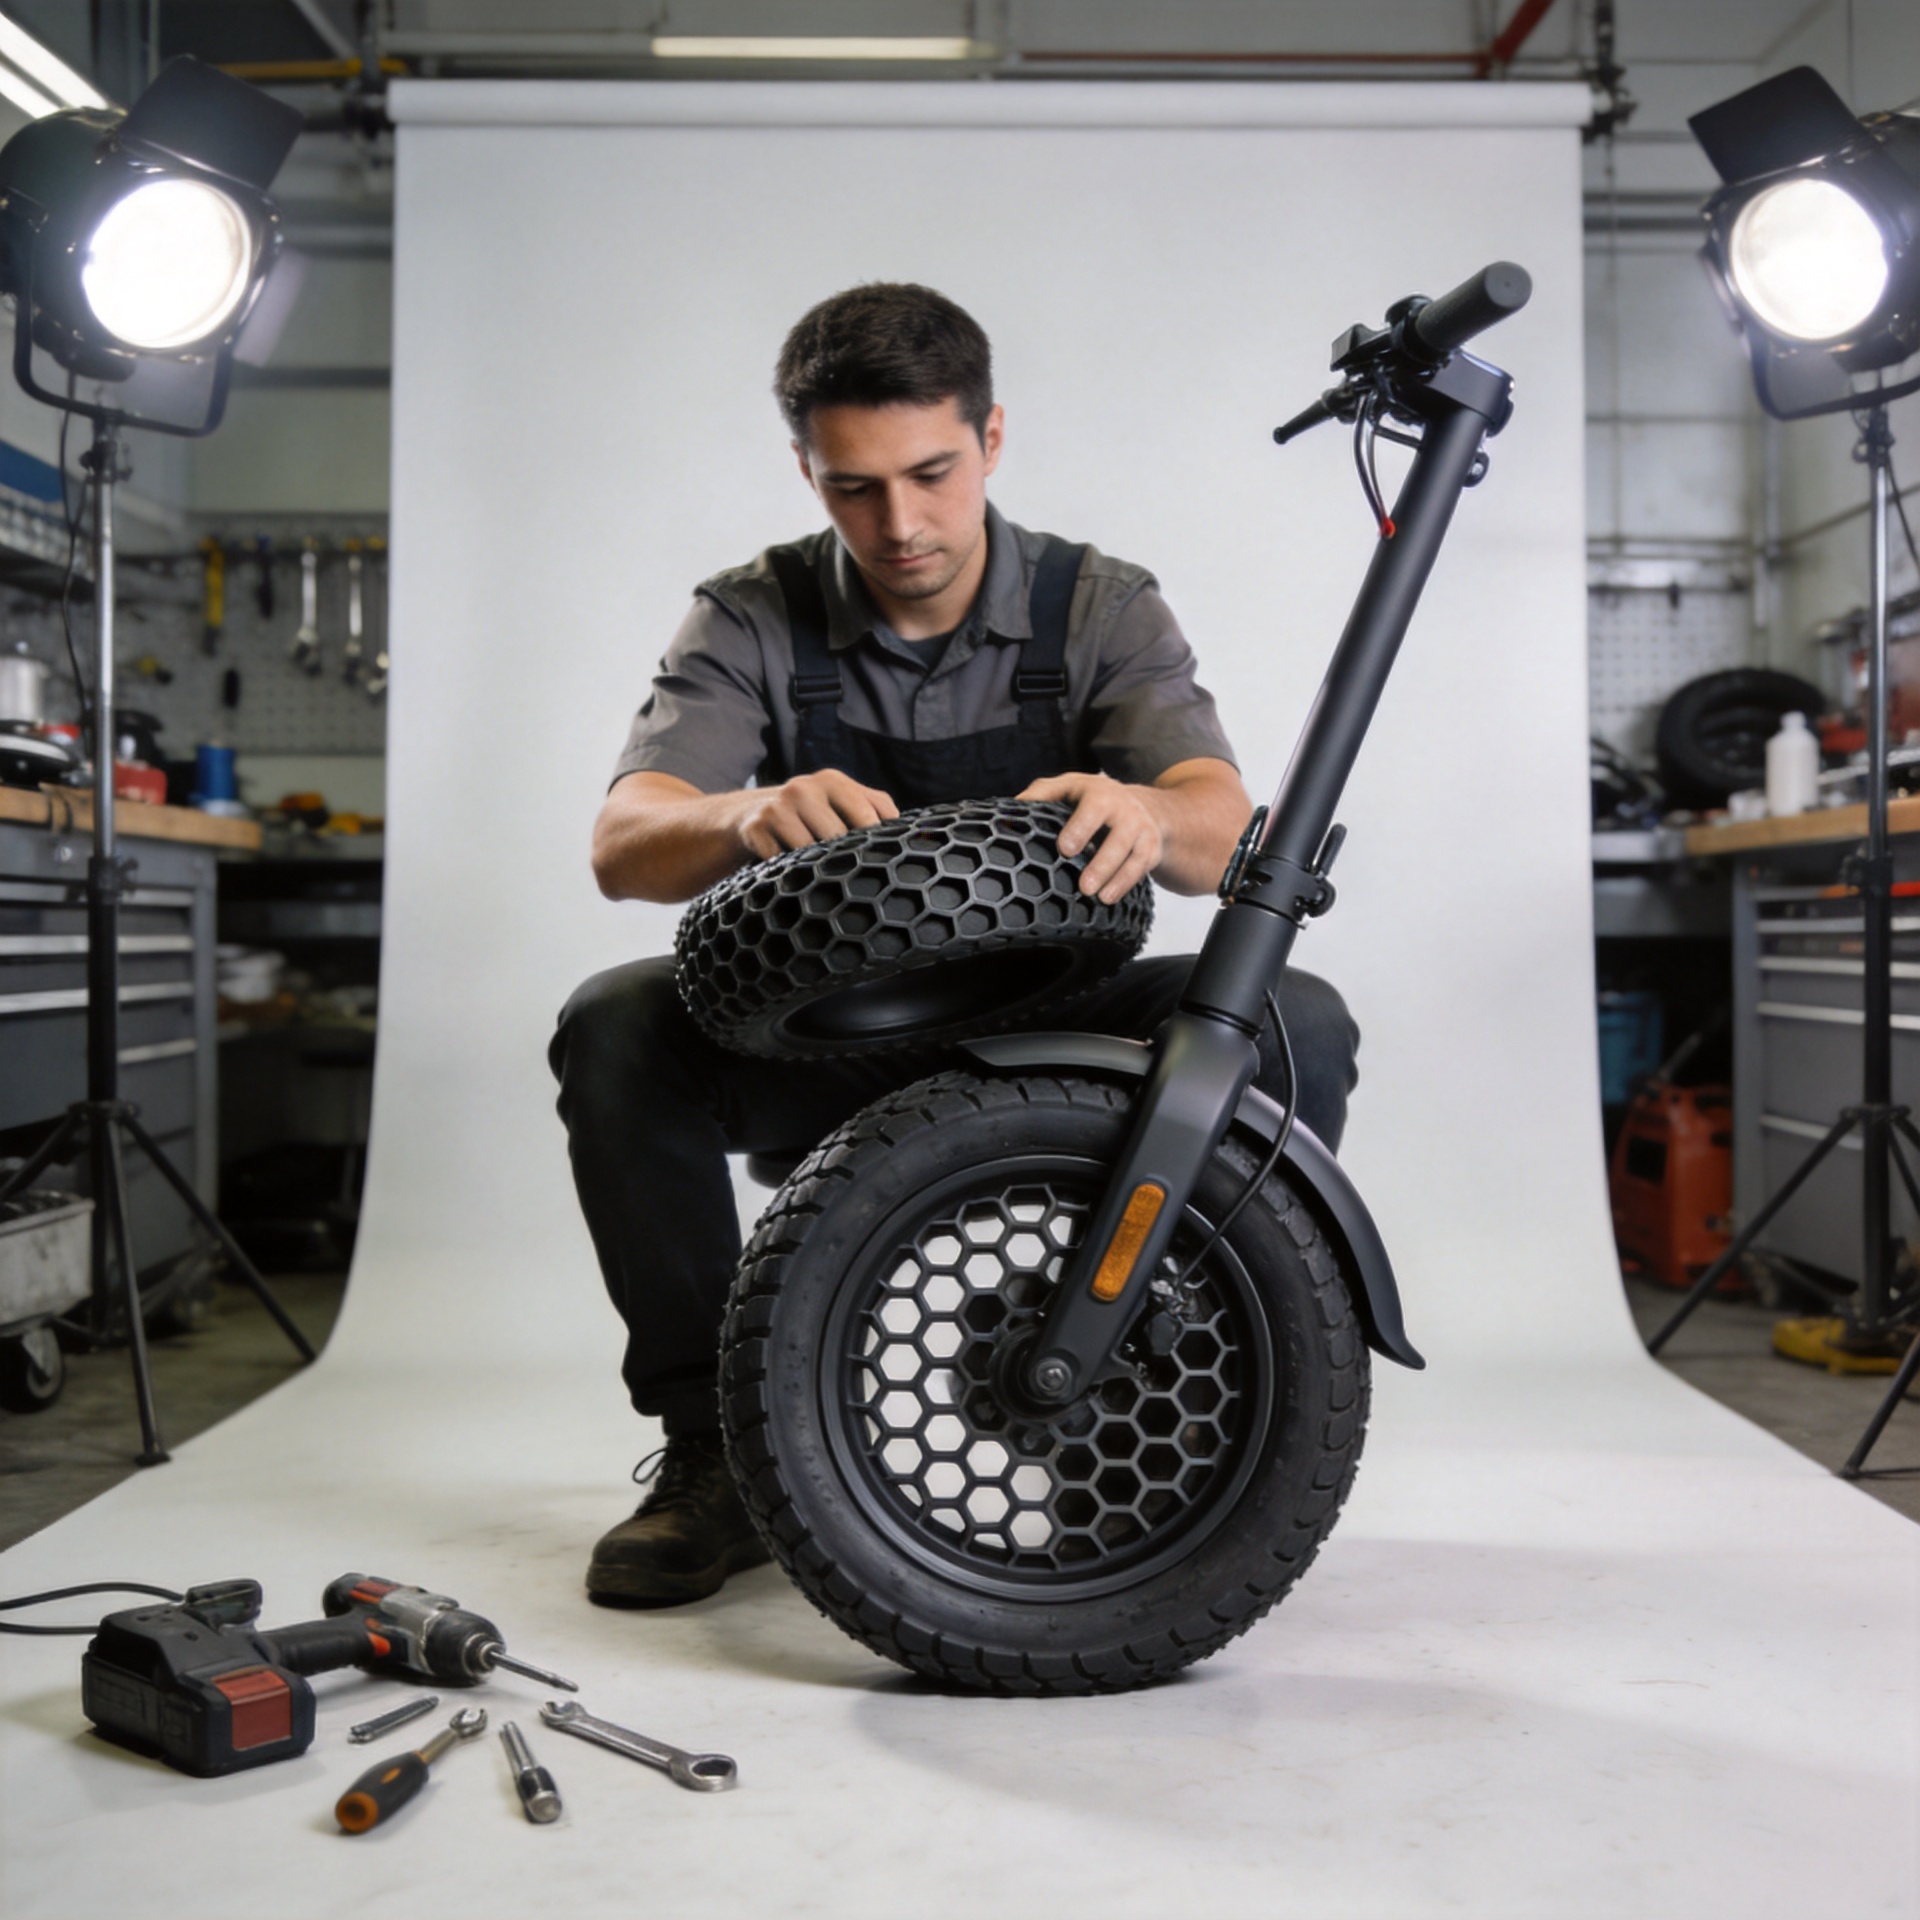
Learning how to install solid tires on electric scooter wheels is less about brute force than preparation. A solid or honeycomb tire has no tube to inflate, but its stiff bead can make installation demanding. For a repair shop, fleet technician, or experienced owner, the safest route is to verify the tire size, protect the wheel components, and work through the bead in controlled stages.
This guide explains how to install solid tires on electric scooter wheels without inventing a shortcut that could damage the rim, brake parts, or motor cable. If the scooter is still under warranty, or if the wheel uses unfamiliar wiring or an integrated brake system, consult the manufacturer documentation or use a qualified technician.
Start with compatibility, not the tire levers
Before deciding how to install solid tires on electric scooter wheels, confirm the exact tire marking, rim diameter, rim width, wheel position, and scooter model. A tire that looks close in size can still have a bead profile that is too tight for the rim. This is a common cause of damaged levers, scratched rims, and tires that refuse to seat evenly.
- Match the marked tire size to the removed tire and the scooter manual.
- Check whether the wheel is front or rear and whether a directional tread is specified.
- Inspect the rim channel, bead seats, axle flats, brake rotor, and motor cable before ordering or fitting.
- Confirm that a solid-tire conversion is appropriate for the model and intended riding surface.
For example, the 10 Inch 10*2.5 Max G30 Color Honeycomb Solid Tyre for Max G30/G30D 10*2.50 Inner Honeycomb Rubber Tyre Parts should be selected only after the technician verifies the wheel and model compatibility. A product title is not a substitute for measurement and model confirmation.
Tools and a safe work area
A practical how to install solid tires on electric scooter workflow begins with a stable bench and the correct hand tools. Gather non-marring tire levers or sturdy tire spoons, rim protectors, hex keys and sockets for the scooter hardware, gloves, a clean cloth, and a small amount of mild soapy water if permitted by the tire maker. Keep cable ties or straps available only if they are part of your established fitting method.
Disconnect power and switch the scooter off before removing a wheel. On a rear hub-motor wheel, photograph the cable routing and hardware order first. Do not pull on a motor cable, pinch it under the axle, or use a sharp tool near insulation. Remove the brake caliper or rotor only when the scooter design requires it, and keep fasteners organized.
Remove the wheel and inspect the rim
The removal stage determines whether how to install solid tires on electric scooter becomes a repeatable service process or a trial-and-error repair. Raise the scooter securely, loosen the axle hardware in the documented sequence, and note washers, torque arms, spacers, and cable guides. Once the wheel is free, remove the old tire using protected levers rather than forcing metal directly against the rim edge.
Clean the bead channel thoroughly. Look for burrs, cracks, sharp debris, distorted flanges, or corrosion that could cut into the new tire. Also check that the rotor is flat and that the hub spins without unusual play. If the rim is bent or the motor cable is damaged, stop the installation and repair the underlying issue first.
Prepare the solid tire carefully
For most technicians, the difficult part of how to install solid tires on electric scooter is getting the tire flexible enough to move over the rim without hurting the tire or yourself. Some solid-tire makers permit controlled warming to make the rubber more pliable. Follow their specific instructions. Avoid open flames, direct high heat, unattended heating, and any method that could degrade rubber or create a burn hazard.
A small amount of mild soapy water on the rim edge may reduce friction during fitting when compatible with the tire maker’s guidance. Use only enough to assist the bead; excessive lubricant can make controlled handling harder. Wear gloves, keep fingers out of pinch points, and keep hands clear of the space between a lever and the rim.
Seat the first bead, then work the second bead in stages
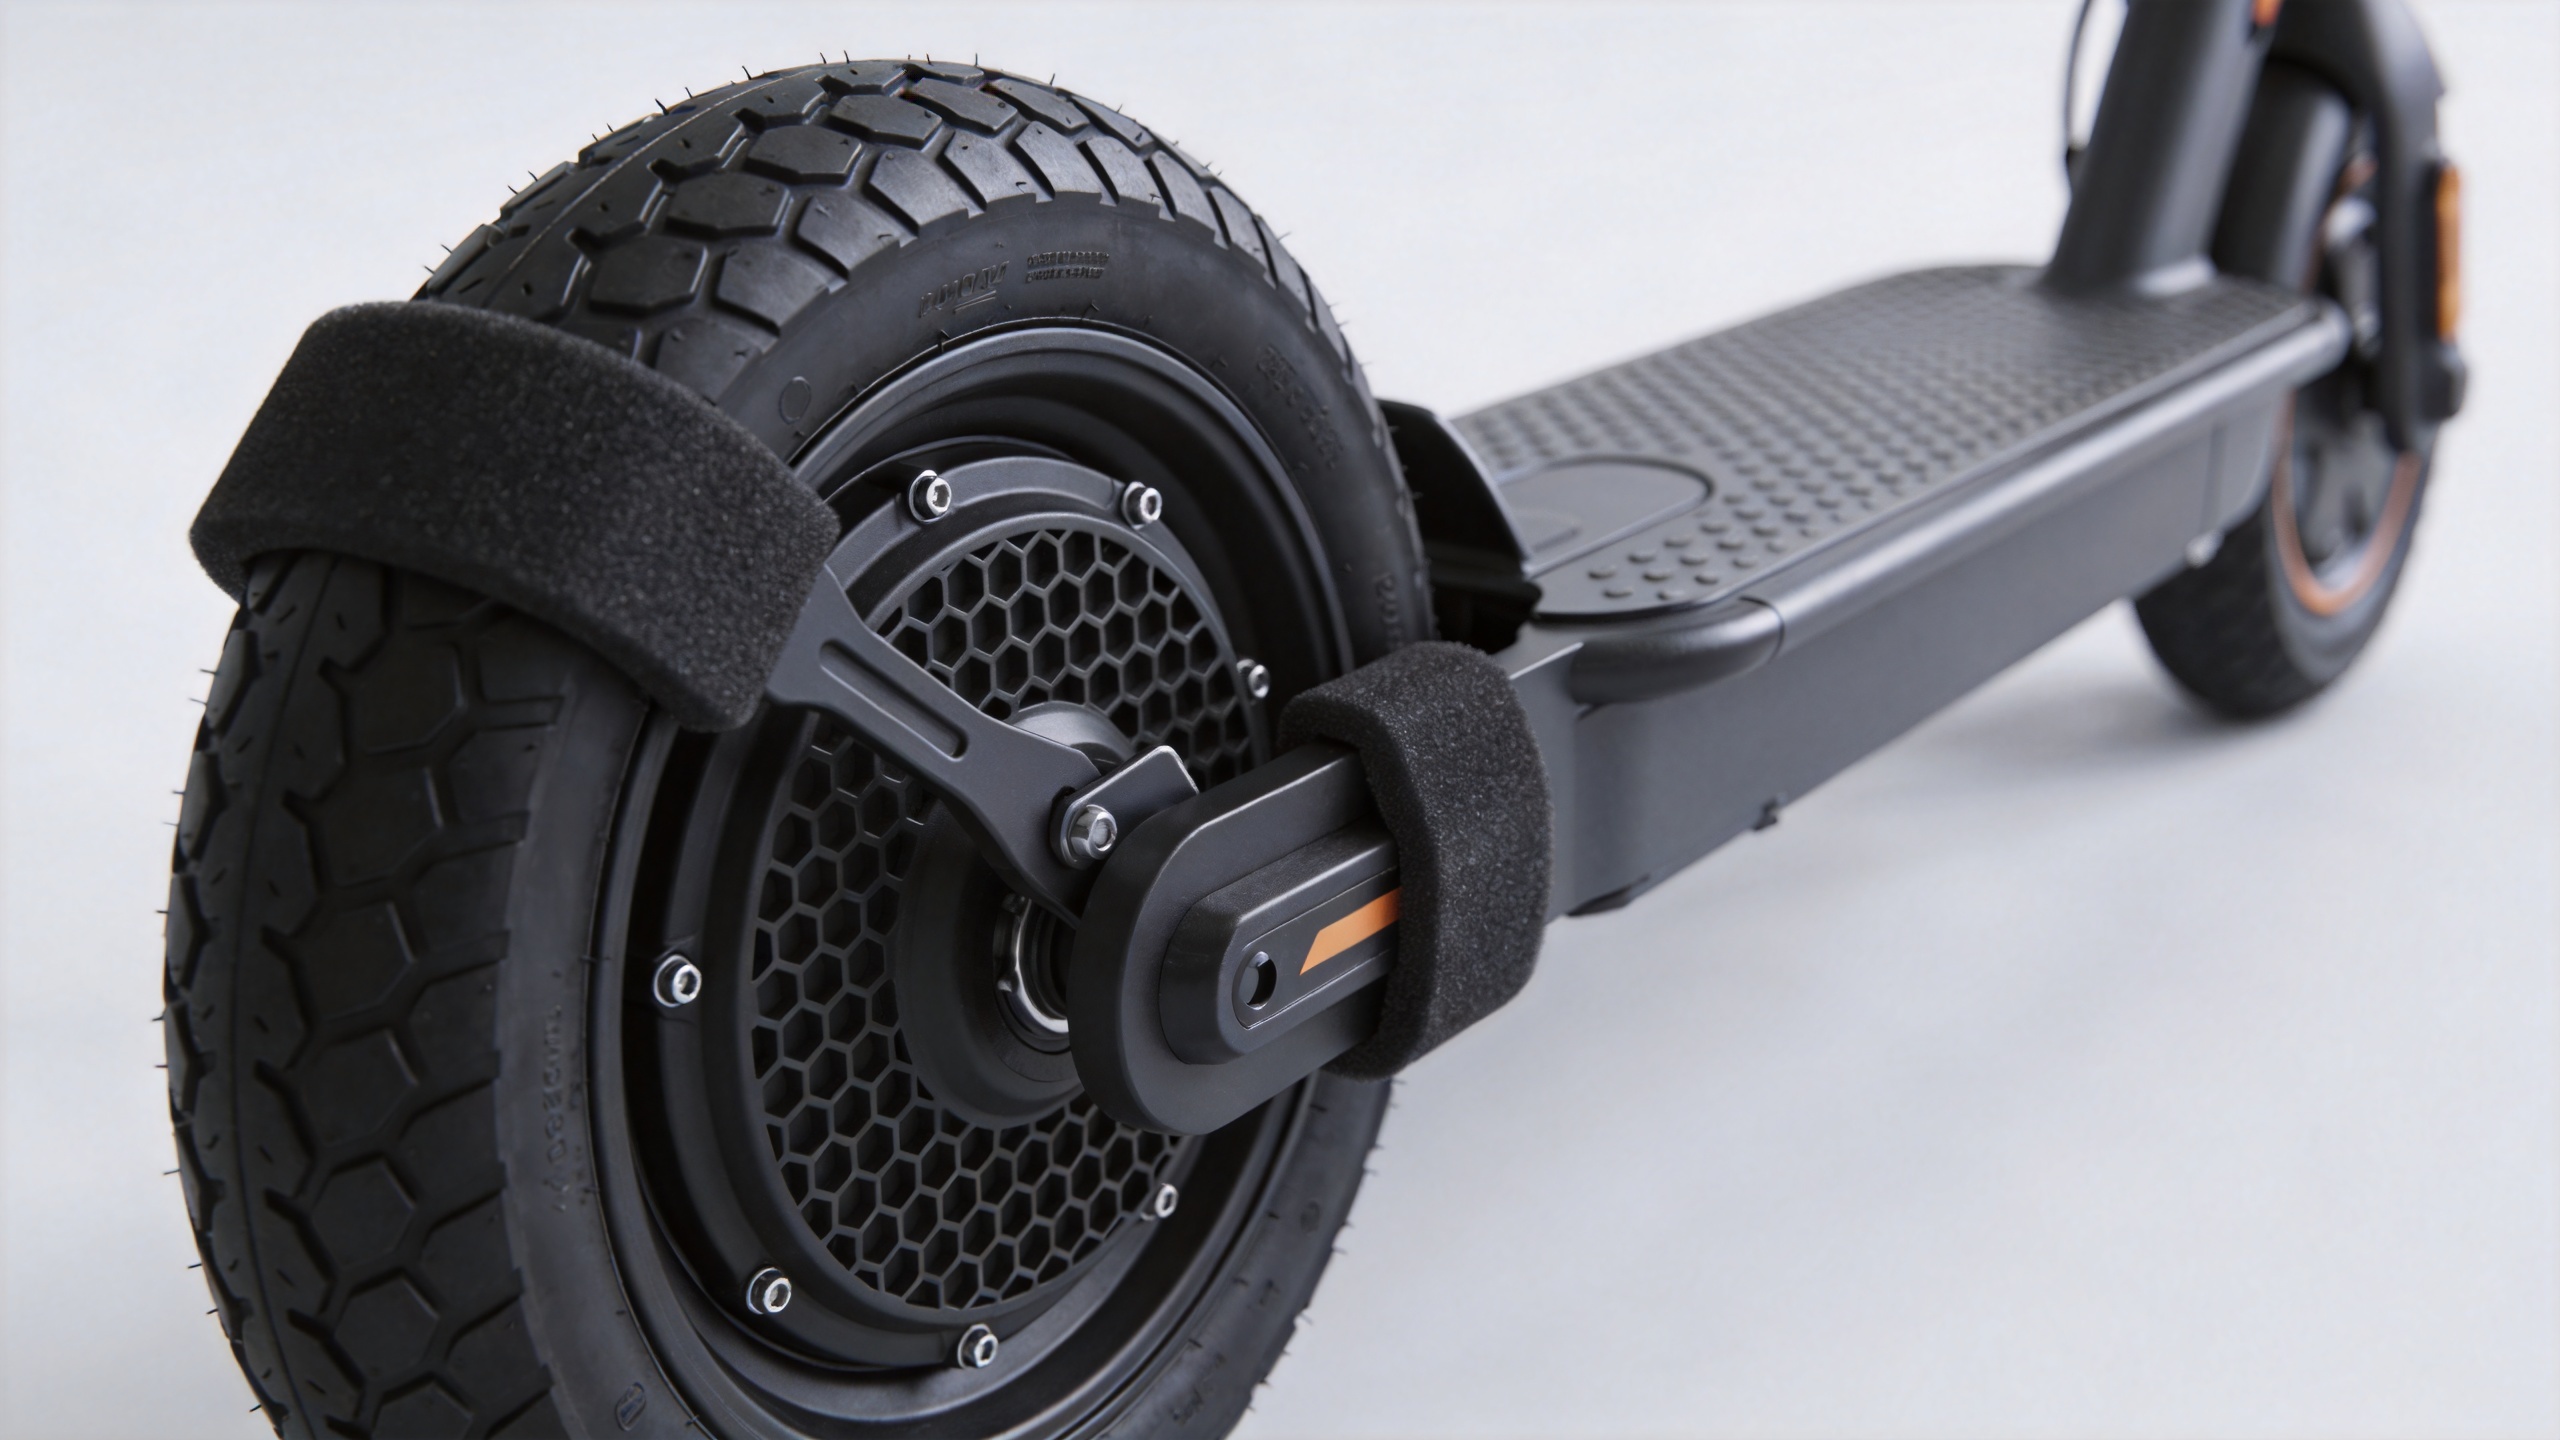
The core technique for how to install solid tires on electric scooter is to place one section of the first bead into the deepest part of the rim channel and progressively work around the wheel. Keep the portion already installed pushed into that center channel. This creates the slack needed to bring the next section over the rim flange.
- Align the tire’s direction, if marked, before starting.
- Seat the first bead gradually, using rim protection and short lever movements.
- Start the second bead opposite the tightest area and keep the seated section in the drop center.
- Advance a few centimeters at a time; do not take large bites with a lever.
- At the final tight section, pause and reset the installed bead into the center channel before applying more force.
If the tire will not move, do not keep increasing force. Recheck the size, confirm that the bead is not trapped on the outer flange, and allow the tire to return to a safe working temperature if it has been warmed. This deliberate approach is the key difference between a reliable how to install solid tires on electric scooter procedure and a damaged-wheel repair.
Inspect the bead and rebuild the scooter
Once both beads are on, rotate the wheel slowly and inspect both sides. The tire should sit uniformly around the rim, with no pinched bead, raised section, twisted tread, or exposed rim edge. Because solid tires do not use air pressure to help seating, visual inspection is especially important. Check clearance at the fork, fender, deck, brake caliper, and cable path.
Reinstall the wheel in the reverse of the documented removal order. Ensure the axle is fully seated, torque hardware to the scooter manufacturer’s specification, reconnect cable guides without strain, and align the brake. Do not guess torque values. For a service team, recording the model, tire size, installation date, and any compatibility notes helps make future e scooter tires work more consistent.
Run a no-load check and a cautious first ride
The final step in how to install solid tires on electric scooter is a safety check, not an optional extra. With the scooter supported, spin the wheel and listen for rubbing. Test brake operation, confirm that the wheel tracks straight, and verify that no cable or fastener contacts the rotating assembly. Then take a short, slow ride in a controlled area before returning the scooter to normal use.
Solid tires can change ride feel, vibration, grip, and handling compared with pneumatic tires. That is why the first ride should be conservative, particularly on wet, uneven, or loose surfaces. If there is wobble, rubbing, unusual noise, or reduced brake performance, stop and inspect the installation.
A repeatable solid-tire service checklist
For workshops building a standard process for how to install solid tires on electric scooter wheels, use this final checklist: verify compatibility; isolate power; document wheel hardware; inspect and clean the rim; prepare the tire safely; protect the rim while seating both beads; inspect bead uniformity; rebuild to the manufacturer specification; and complete a controlled functional test. The method takes patience, but it protects the wheel and gives customers a safer, more consistent repair.