EN


E-Bike Display Replacement Guide: How to Identify the Right Screen Before Ordering
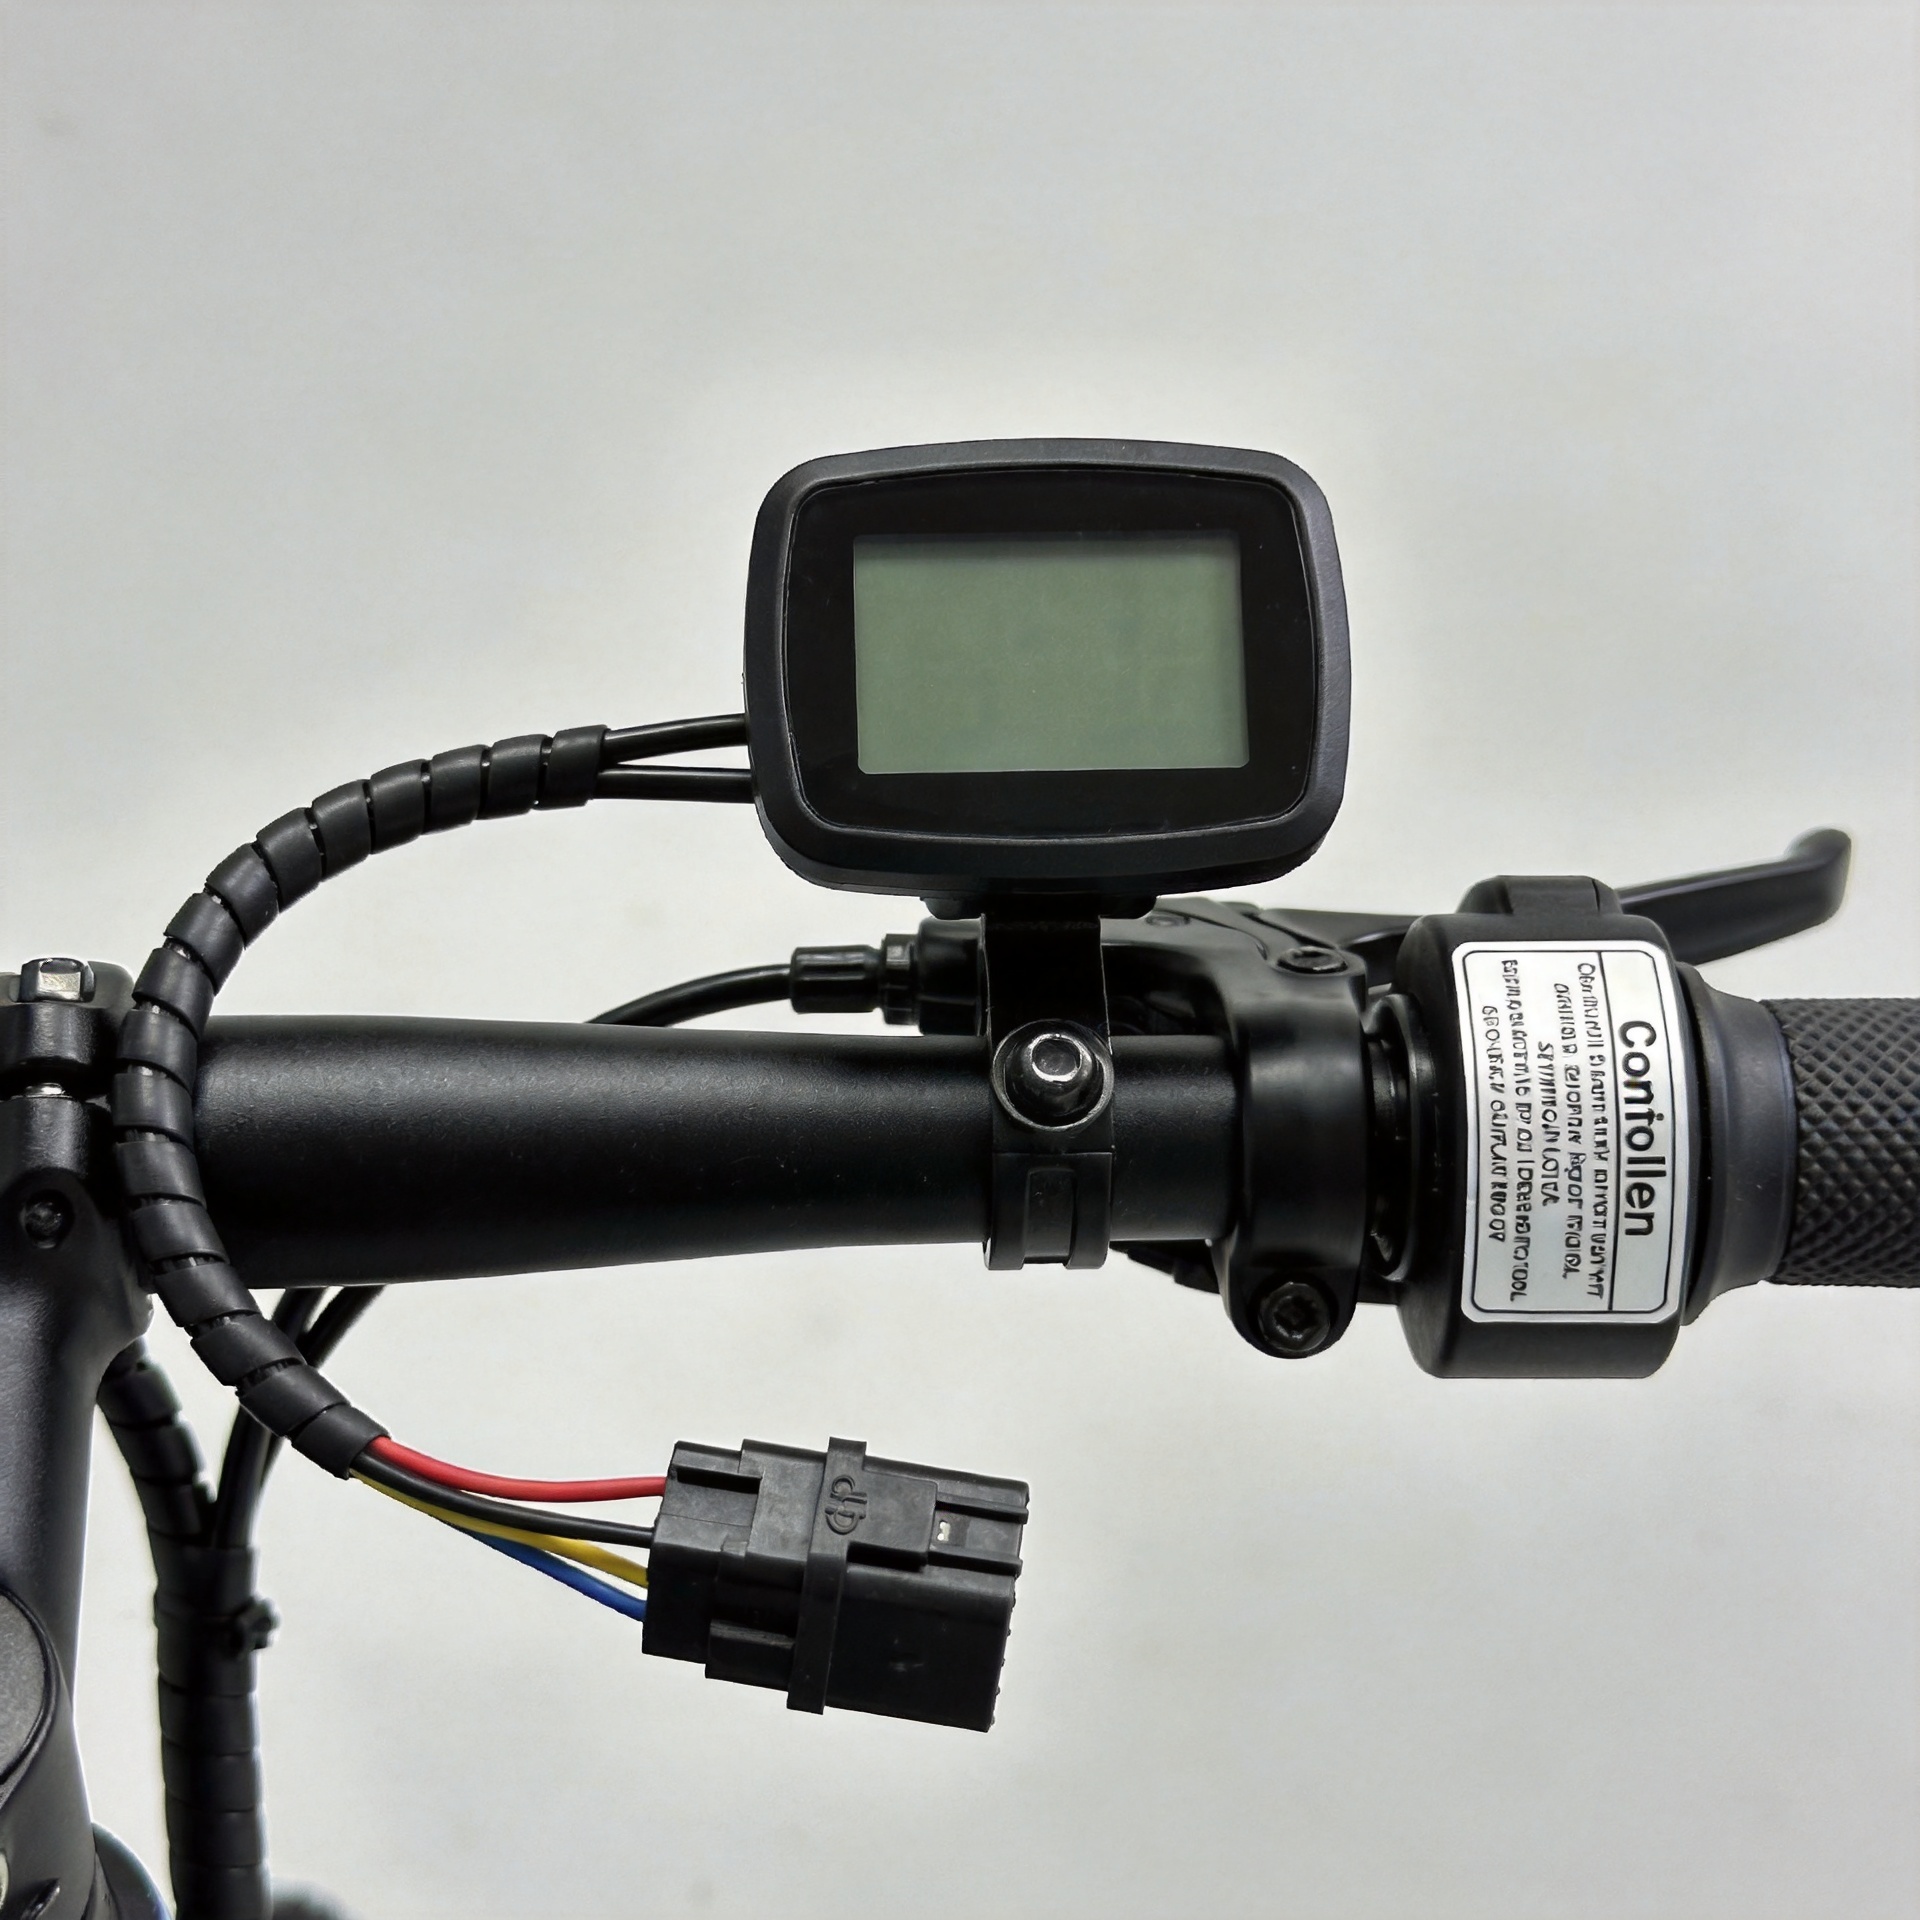
An e bike display replacement is rarely a “same shape, same plug” purchase. The screen is the rider’s control panel, but it also exchanges signals with the controller. If the replacement does not match the bike’s wiring and communication setup, it may power on without showing correct data—or fail to work at all.
For a workshop, retailer, or parts buyer, the most useful first step is not to search by a generic screen photo. It is to build a small identification record for the original bike. This guide explains what to read, what to photograph, and how to send the information to a supplier for verification before you place an order.
Why an e bike display replacement must be verified first
Displays can look remarkably similar while using different connector layouts, voltage expectations, settings menus, or controller communication protocols. A round five-pin plug, for example, is an important clue, but it is not proof that two displays are interchangeable. The connector may fit while the controller and screen still interpret signals differently.
That is why a compatibility-first process is safer than selecting the lowest-priced unit from a photo. If your bike uses a proprietary display-and-controller pairing, model information and controller markings can matter more than the screen size or button arrangement. This approach also reduces avoidable returns for retailers and repair shops.
Start with the bike and the original display
Before you order an e bike display replacement, collect the following details from the bike rather than relying on memory:
- Bike brand and full model: Include the version or production year if it appears on the frame, invoice, battery label, or original documentation.
- Original display model number: Look on the back of the unit, inside the mounting area, on a label, or in the menu if the screen still turns on.
- Clear front and back photos: Photograph the display face, button pad, rear label, bracket, and cable exit.
- System voltage information: Record the voltage shown on confirmed bike or controller labels. Do not infer it from the display’s appearance.
- What changed or failed: Note whether the screen is blank, cracked, intermittently powered, showing an error code, or working except for a specific function.
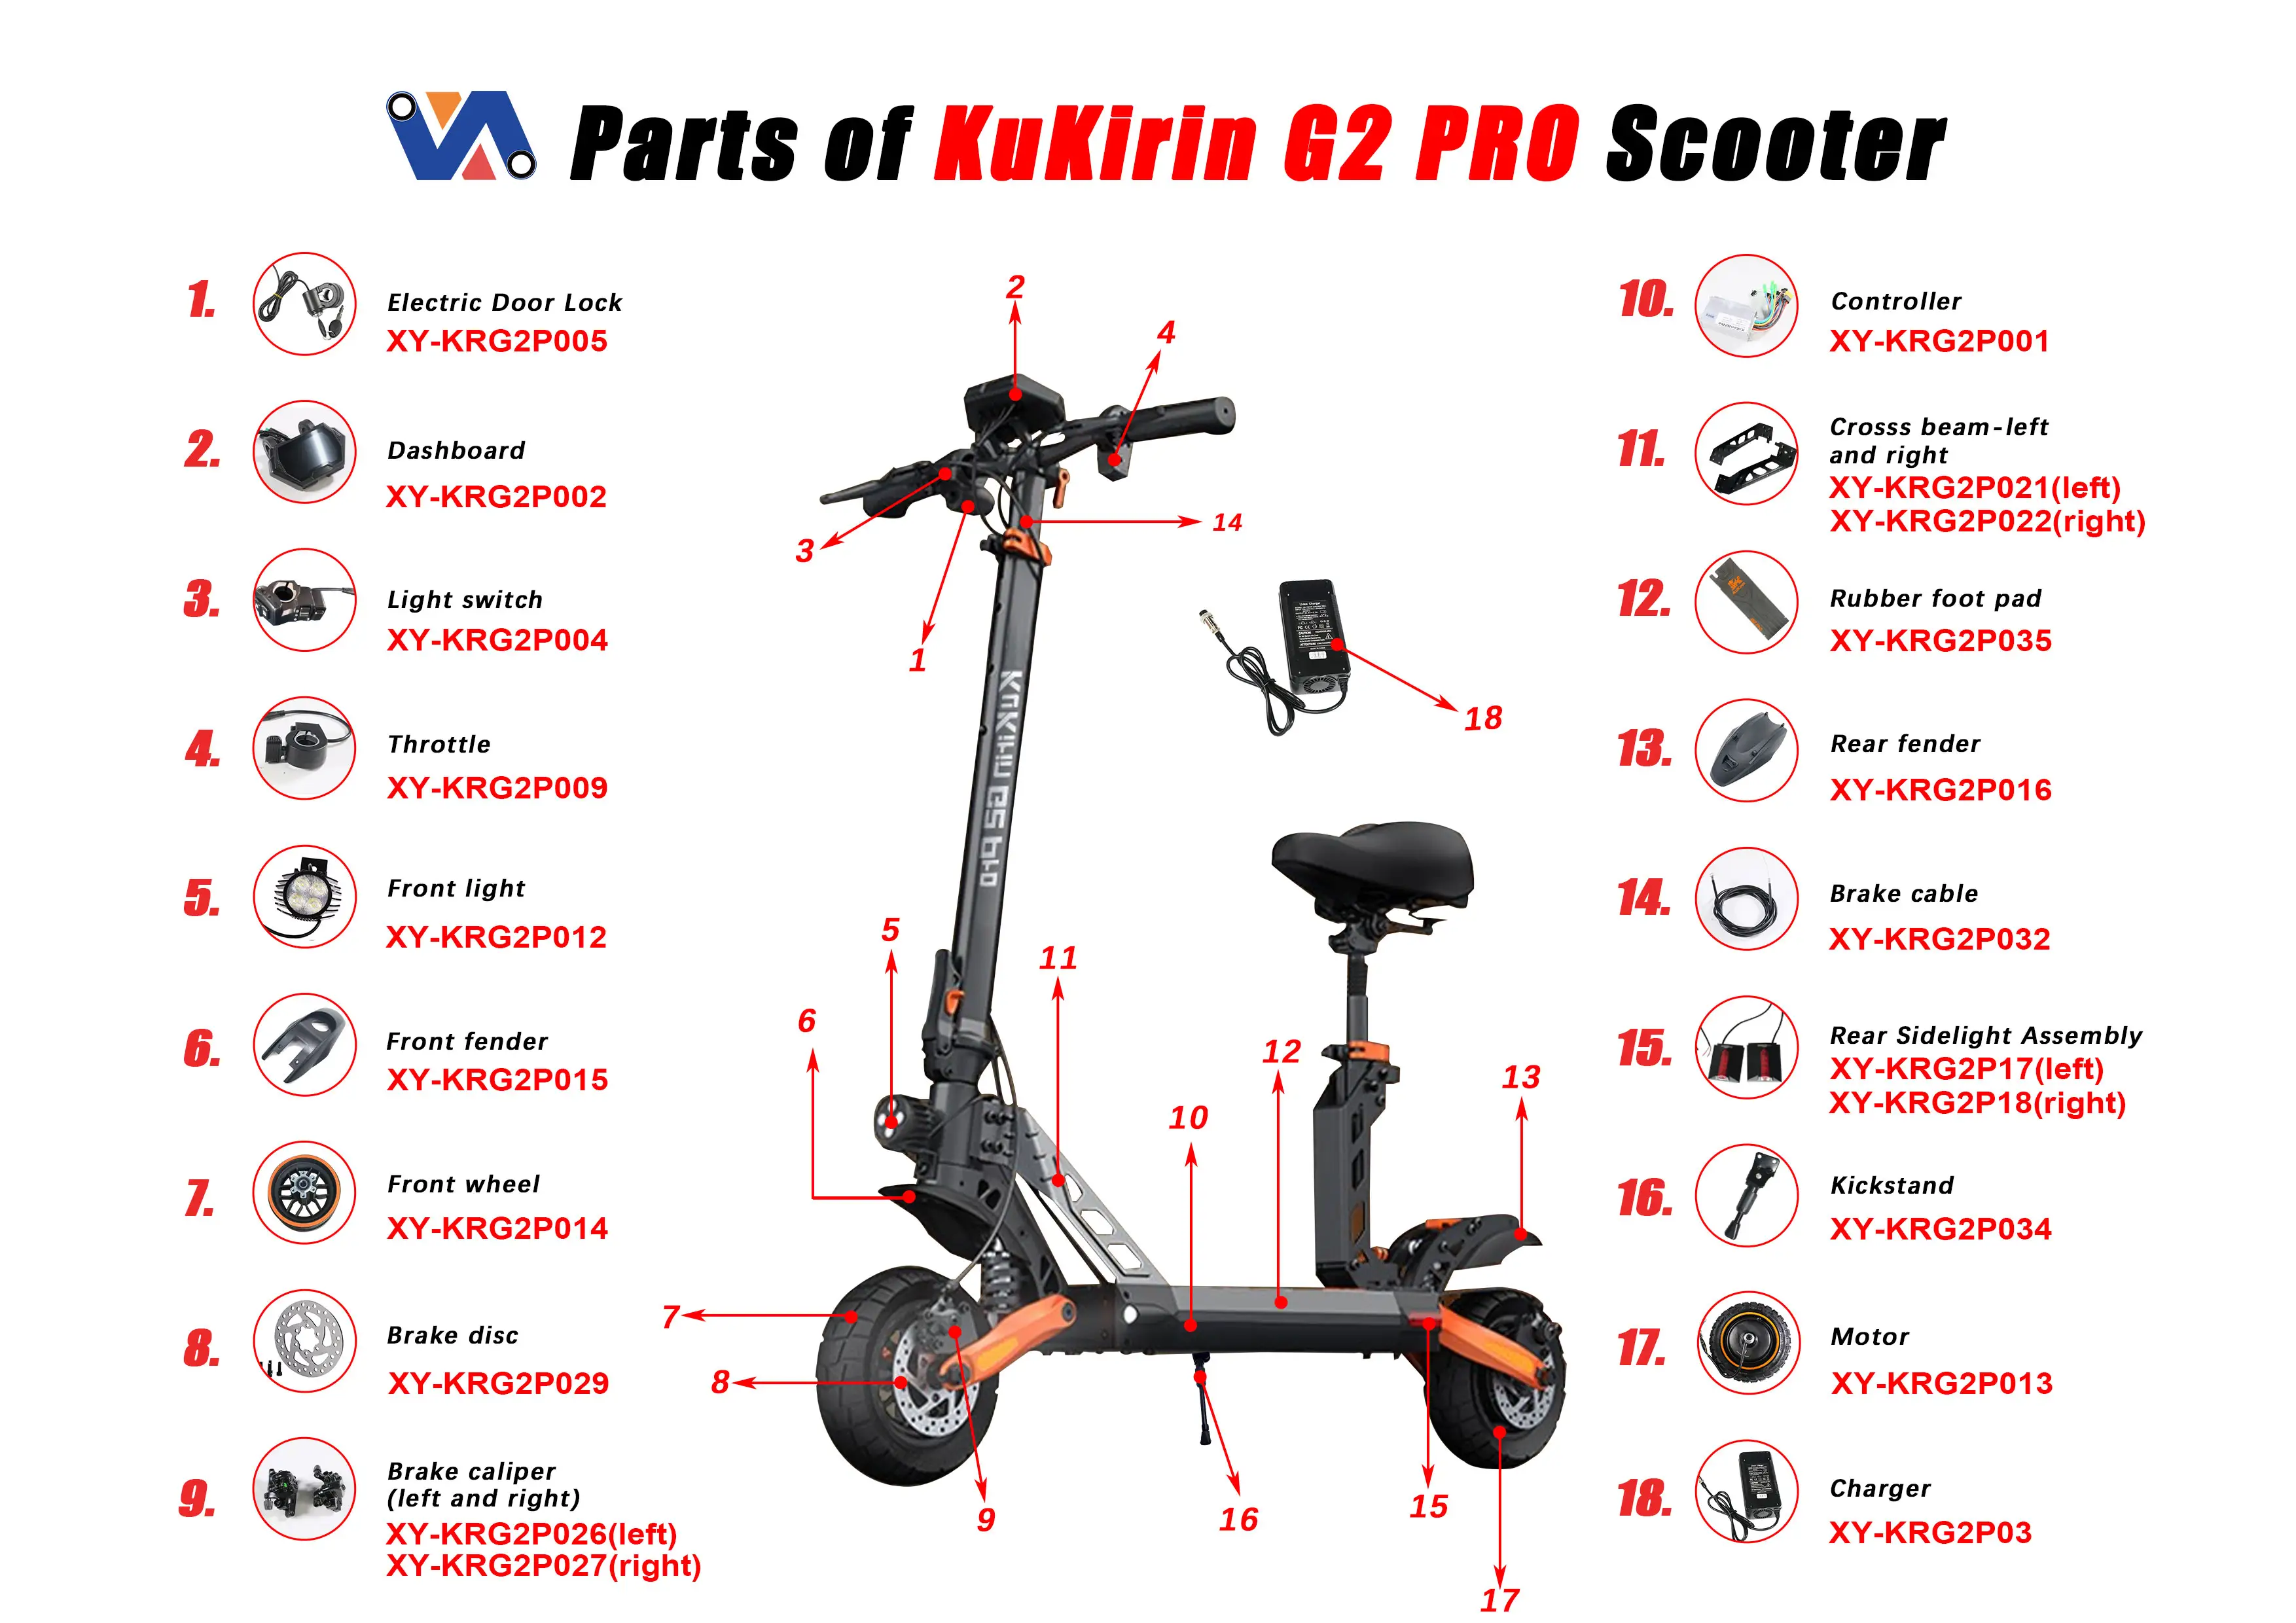
This information gives a supplier a starting point for a meaningful check. It is especially useful when a reseller is using an electric bike parts list pdf from a prior order: the list can help identify the bike or assembly, but it should be compared with the physical labels on the actual unit.
Inspect the connector—but do not stop there
Next, follow the display cable from the handlebar toward the controller and take close photos before disconnecting it. Show the connector from both ends, including its shape, keying, color, pin count, locking feature, and any printed code. If the connector has been cut or repaired, photograph the entire repaired section and do not assume wire colors follow a universal pattern.
A useful checklist is:
- Count visible pins only after you can see the connector clearly.
- Photograph the mating connector on the bike harness or controller side.
- Record any code molded into the plug or printed on a cable tag.
- Check whether the separate button pad, throttle, brake sensors, or light controls route through the display harness.
- Keep the original connector intact until compatibility is confirmed.
Some e-bike systems use serial communication arrangements often described as UART, and five-pin connectors are common in some of those systems. That general observation is useful for identification only. It does not establish pinout, firmware, or protocol compatibility for your particular bike.
Read the controller label for the decisive clues
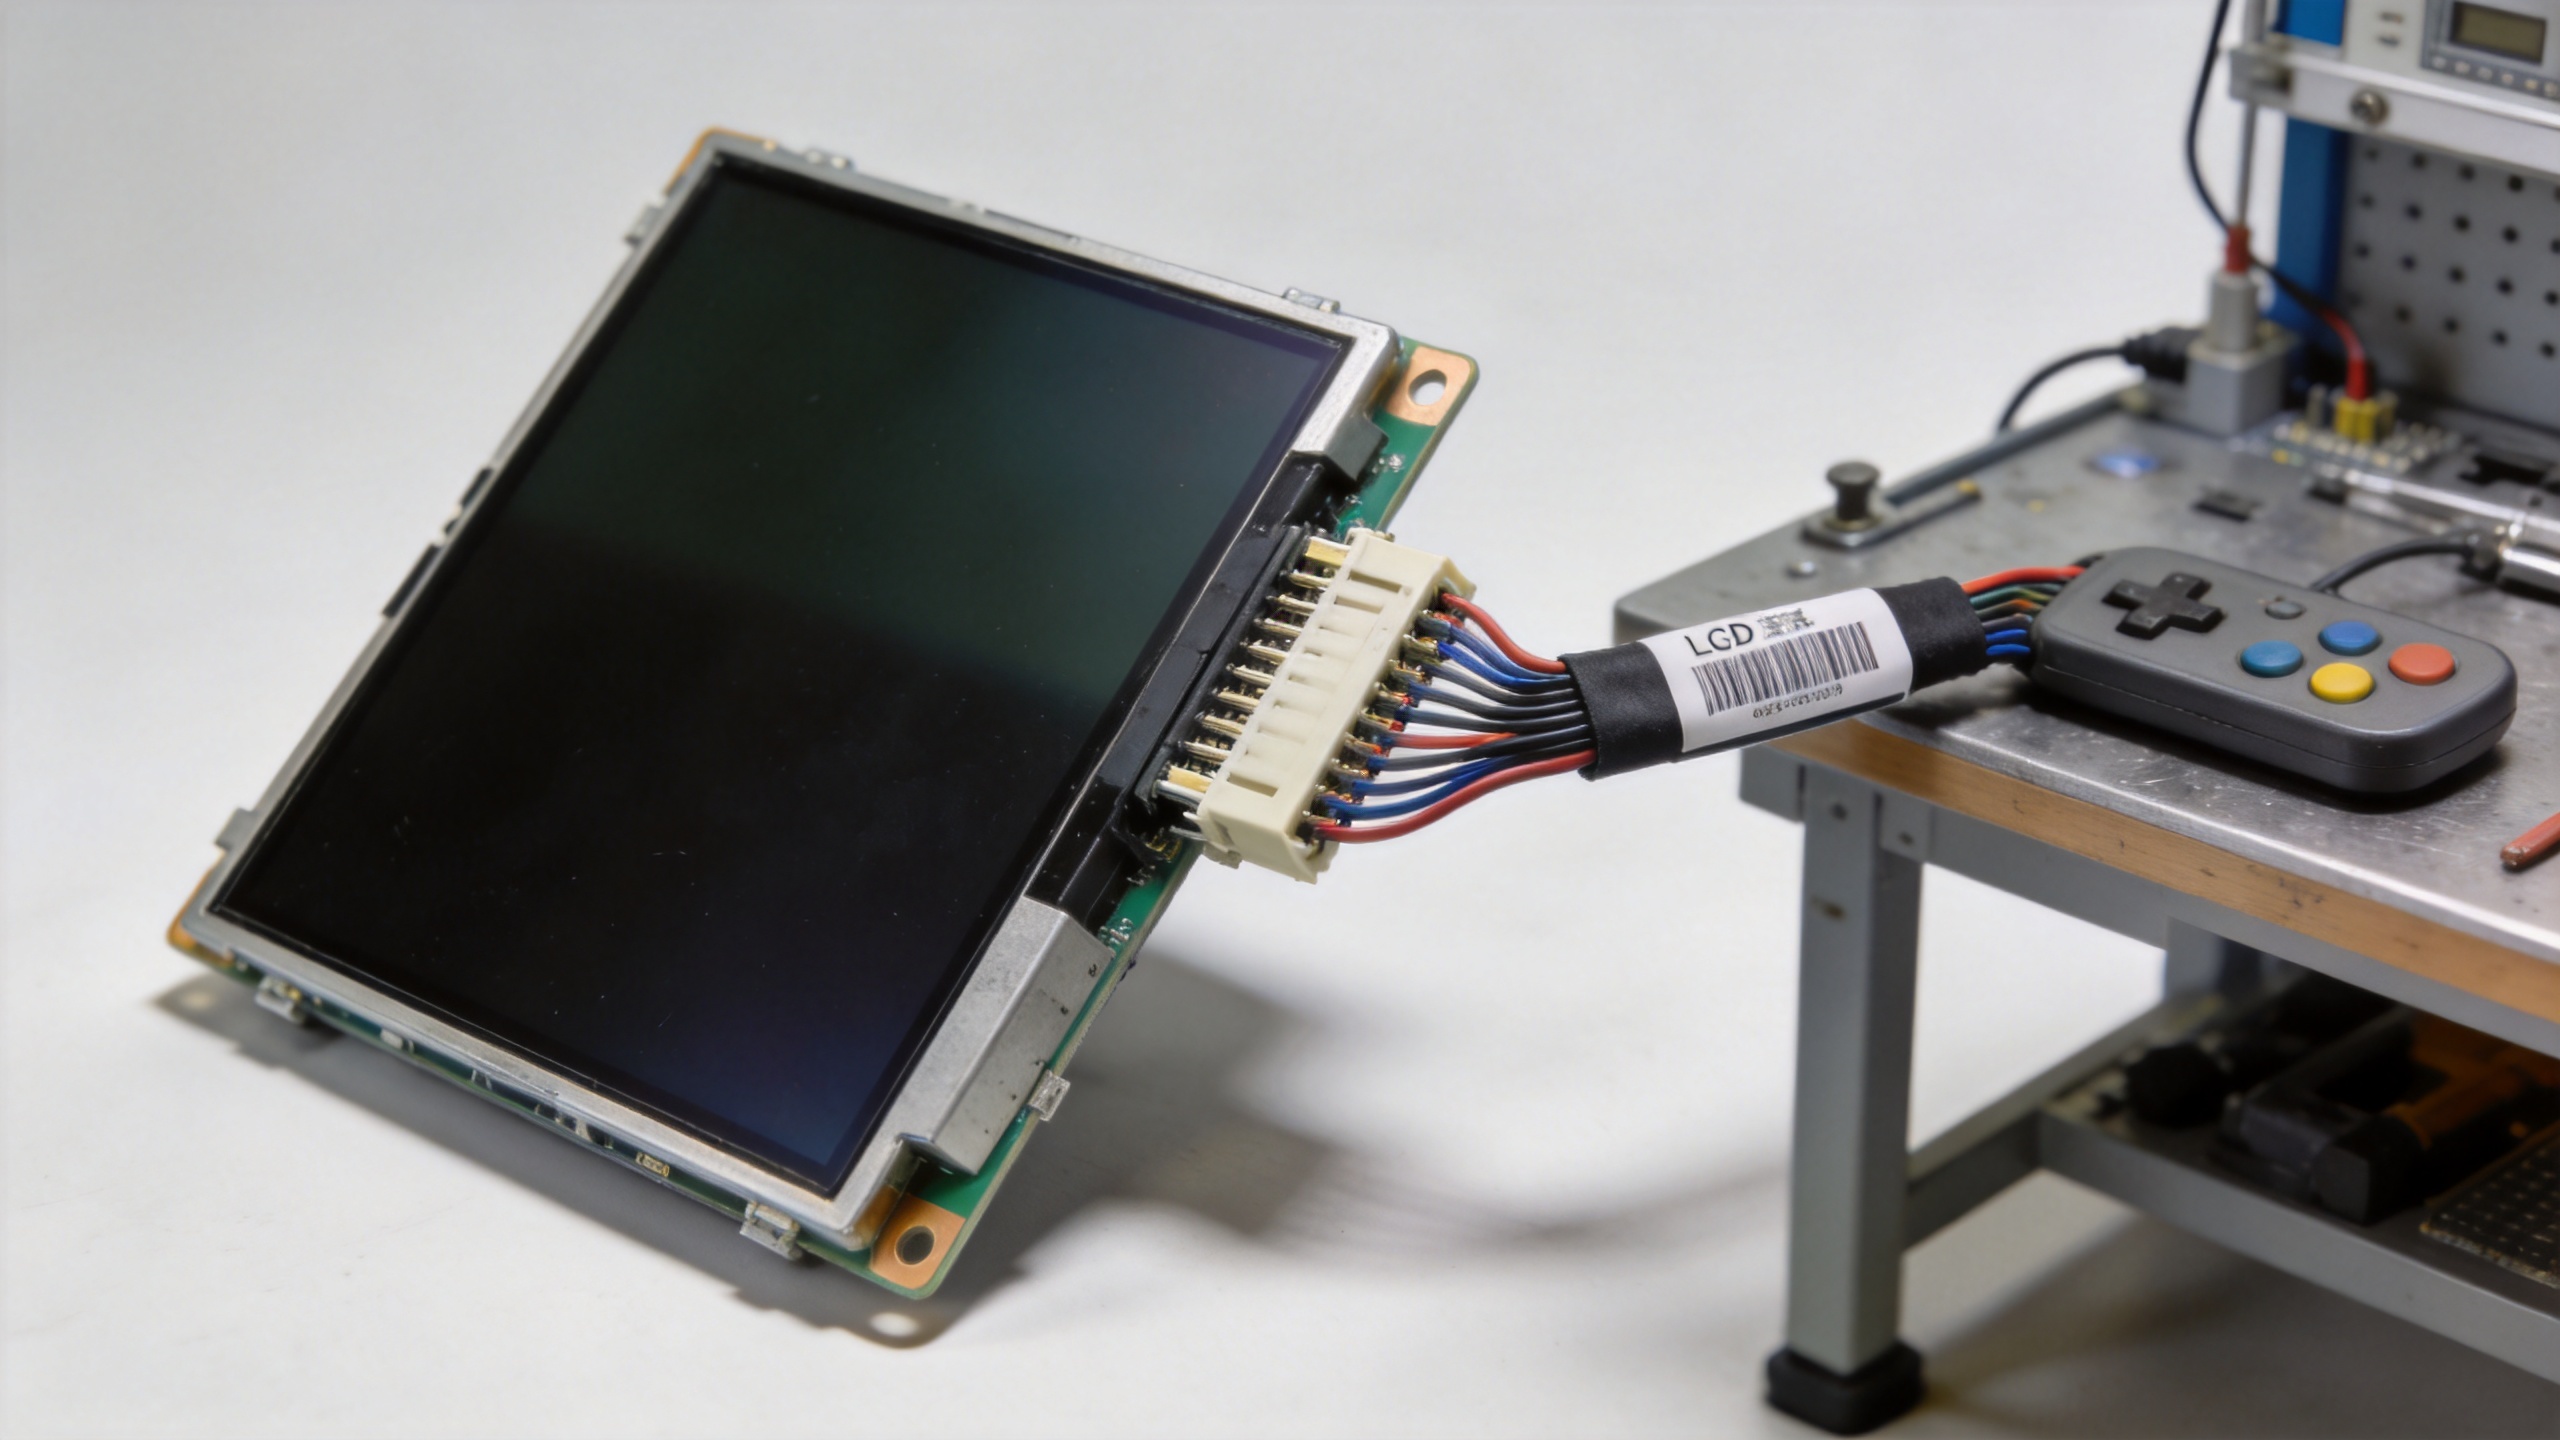
The controller is often the missing piece in an e bike display replacement request. It may be housed in the frame, under a cover, near the battery tray, or inside a controller box. With the battery switched off and the bike secured, photograph the controller label without pulling on wires or opening sealed components.
Send the supplier a readable photo of the controller brand, model or code, rated voltage, and display-related connector. If a controller label is hidden, a clear photo of its display plug and the bike’s original display label is still more useful than a generic screenshot from a marketplace listing. Avoid guessing at a controller protocol from wire color alone.
Package the verification request like a technician
A complete request lets a supplier compare the right details in one pass. Use this message structure:
“I need an e bike display replacement. Bike brand/model: [ ]. Original display model/label: [ ]. Controller label: [ ]. Connector photos: attached (both sides). Display photos: attached (front, back, cable, button pad). The display failure is: [ ]. Please confirm whether the proposed replacement is compatible with this controller before I order.”
For repair businesses, it helps to keep the same fields in every intake form. Over time, the records become a practical reference alongside your electric bike parts list pdf, especially when several versions of the same bike use different electrical assemblies.
Use product examples only after the information matches
Once the supplier verifies the bike details, you can compare the exact replacement option against the confirmed reference. For example, the site lists a Hitway BK10S Replacement LCD Display — Electric Bike Display Wholesale HWBK10S-02 and a Hitway BK6S Display — Electric Bike Display Replacement Wholesale HWBK6S-02. Treat the product title as a model reference, not as proof that it fits every Hitway e-bike.
This distinction matters because a replacement screen can share a product family name while the bike version, controller revision, cable, or interface differs. If the model label is unclear, ask for verification based on photos and controller data before purchasing.
Common mistakes that cause the wrong display order
- Matching only the screen shape: Housing size and button layout are not enough to confirm electrical compatibility.
- Assuming every five-pin connector works together: A matching plug does not confirm pin assignments or data protocol.
- Using a generic bike name: “Hitway bike” or “Engwe bike” is less useful than the complete model and original part label.
- Skipping controller photos: This removes a key source of evidence for the supplier’s compatibility check.
- Cutting or rewiring before confirmation: Altering the harness can make diagnosis harder and may create additional electrical risk.
Final checklist before you place the order
For a confident e bike display replacement, confirm that you have supplied: the full bike model, the original display label, front-and-back display photos, connector photos from both sides, controller information, the failure description, and any relevant page from your parts record. If one element is missing, state that clearly rather than substituting a guess.
The right screen is identified by the whole system, not by the screen alone. Taking ten minutes to document the original parts gives your supplier the information needed to verify the match and helps you order with fewer surprises.