EN


Engwe Controller and Display Compatibility Checklist: Model, Voltage and Connector Matching
Replacing an e-bike controller or dashboard is not a “same plug, same part” decision. For Engwe controller and display compatibility, the dependable approach is to verify the original bike as a system: exact model and production version, battery voltage, controller current rating, display protocol, harness connectors, and the part number printed on the removed component. This checklist is designed for riders, repair shops, and parts buyers who need to reduce avoidable returns before an order is placed.
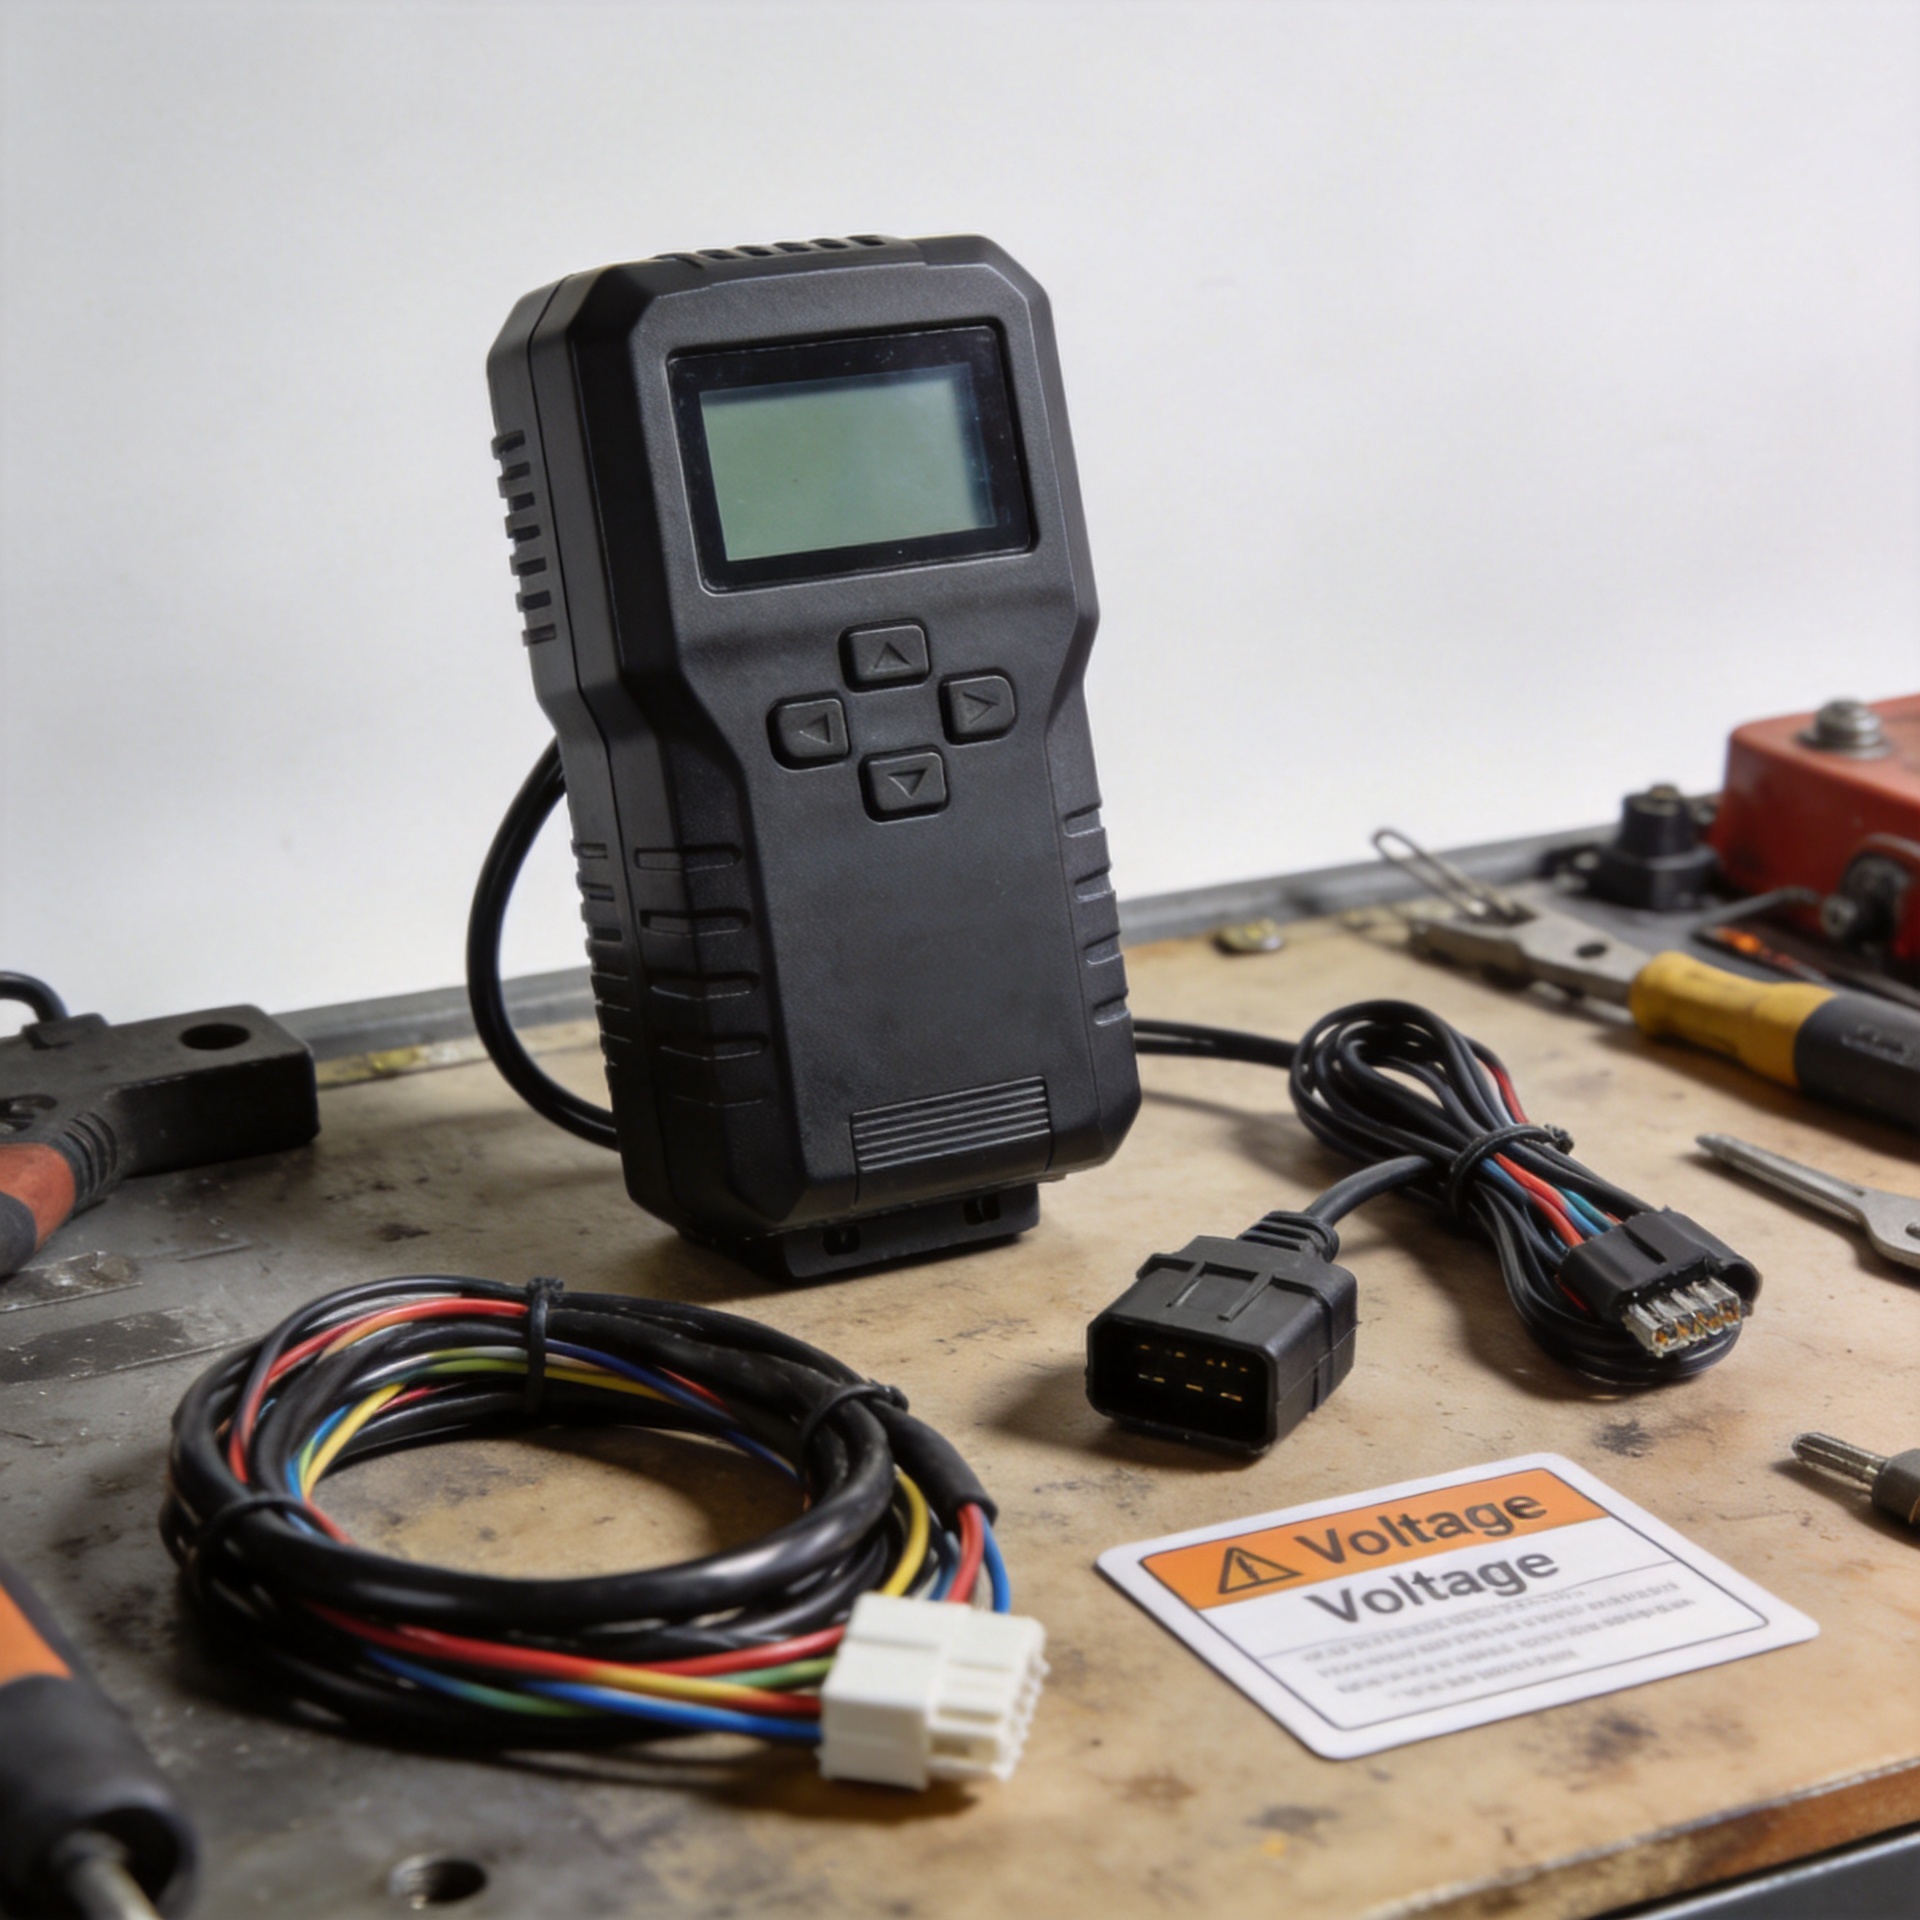
From a repair-counter perspective, the cases that cause the most trouble are usually not visibly damaged parts. They are replacements that look nearly identical but use a different communication arrangement or loom. A matching connector shell can be misleading; it does not prove that every pin has the same job. Treat the old controller and display as a matched electronic pair until the evidence says otherwise.
Start with the exact Engwe bike model—not just the brand
The first step in checking Engwe controller and display compatibility is to record the full model name from the frame label, order record, or original specification sheet. “Engwe” alone is too broad for a safe match. Record the model suffix, wheel or battery version, approximate purchase period, and whether the bike has been modified. A controller can differ across revisions of the same named model, especially where a supplier changes the wiring loom, display style, or regional electrical configuration.
Before removing anything, take clear photos of the controller label, display label, all mating plugs, and the full harness route. Include a ruler or a close-up that makes the pin count visible. If the old part still powers on, photograph its menu screens and fault code before disconnecting it. These details turn an uncertain replacement request into a checkable parts inquiry.
Match system voltage before comparing controller current
Voltage is the first electrical gate. A controller intended for a 48 V system should not be assumed compatible with a 36 V bike simply because the housing, mounting holes, or motor connector appear similar. Check the battery pack label, the original controller label, and any printed voltage marking on the display. If those sources disagree, stop and resolve the discrepancy with the bike’s wiring documentation or a qualified technician.
After voltage, compare the controller’s rated or limited current. Current affects how the controller manages motor demand and thermal load. It is not a universal upgrade number. A higher-current unit can be inappropriate if the battery management system, wiring, motor, or firmware were not designed around it. For a replacement, the objective is first to restore the original system specification—not to infer extra performance from a number on a listing.
| What to verify | Where to find it | Why it matters |
|---|---|---|
| Nominal battery voltage | Battery label and original controller label | Prevents a basic electrical mismatch. |
| Controller current marking | Controller label or verified supplier record | Helps preserve the original system operating range. |
| Motor and battery connectors | Photos of both sides of every plug | Confirms physical and wiring-harness fitment. |
| Display model or part number | Rear label, menu photo, or harness tag | Supports protocol and display-pair verification. |
Inspect connector family, pin count, and pin function separately
A good Engwe controller and display compatibility check has three connector questions. First, does the connector family physically mate? Second, does it have the same keying and pin count? Third—and most important—does each pin serve the same function? A display harness can carry supply power, ground, a power-lock or wake line, and communication signals. Two plugs may appear alike while placing those functions on different pins.
Do not use wire color as the final proof. Color conventions can vary between production batches and harness suppliers. Instead, compare connector photos, pin-side orientation, connector labels, and any available wiring diagram. Avoid forcing a connector, cutting a loom to make it fit, or using an unverified adapter as a shortcut. That can turn a compatibility question into damage to the controller, display, or battery-side wiring.
This is where buyers often shift from “the plug looks right” to “we need the controller label and pin-side photos.” That change is useful. Visible dimensions are only one layer of the decision; the system’s electrical mapping is the layer that must also agree.
Check whether the controller and display should be replaced as a pair
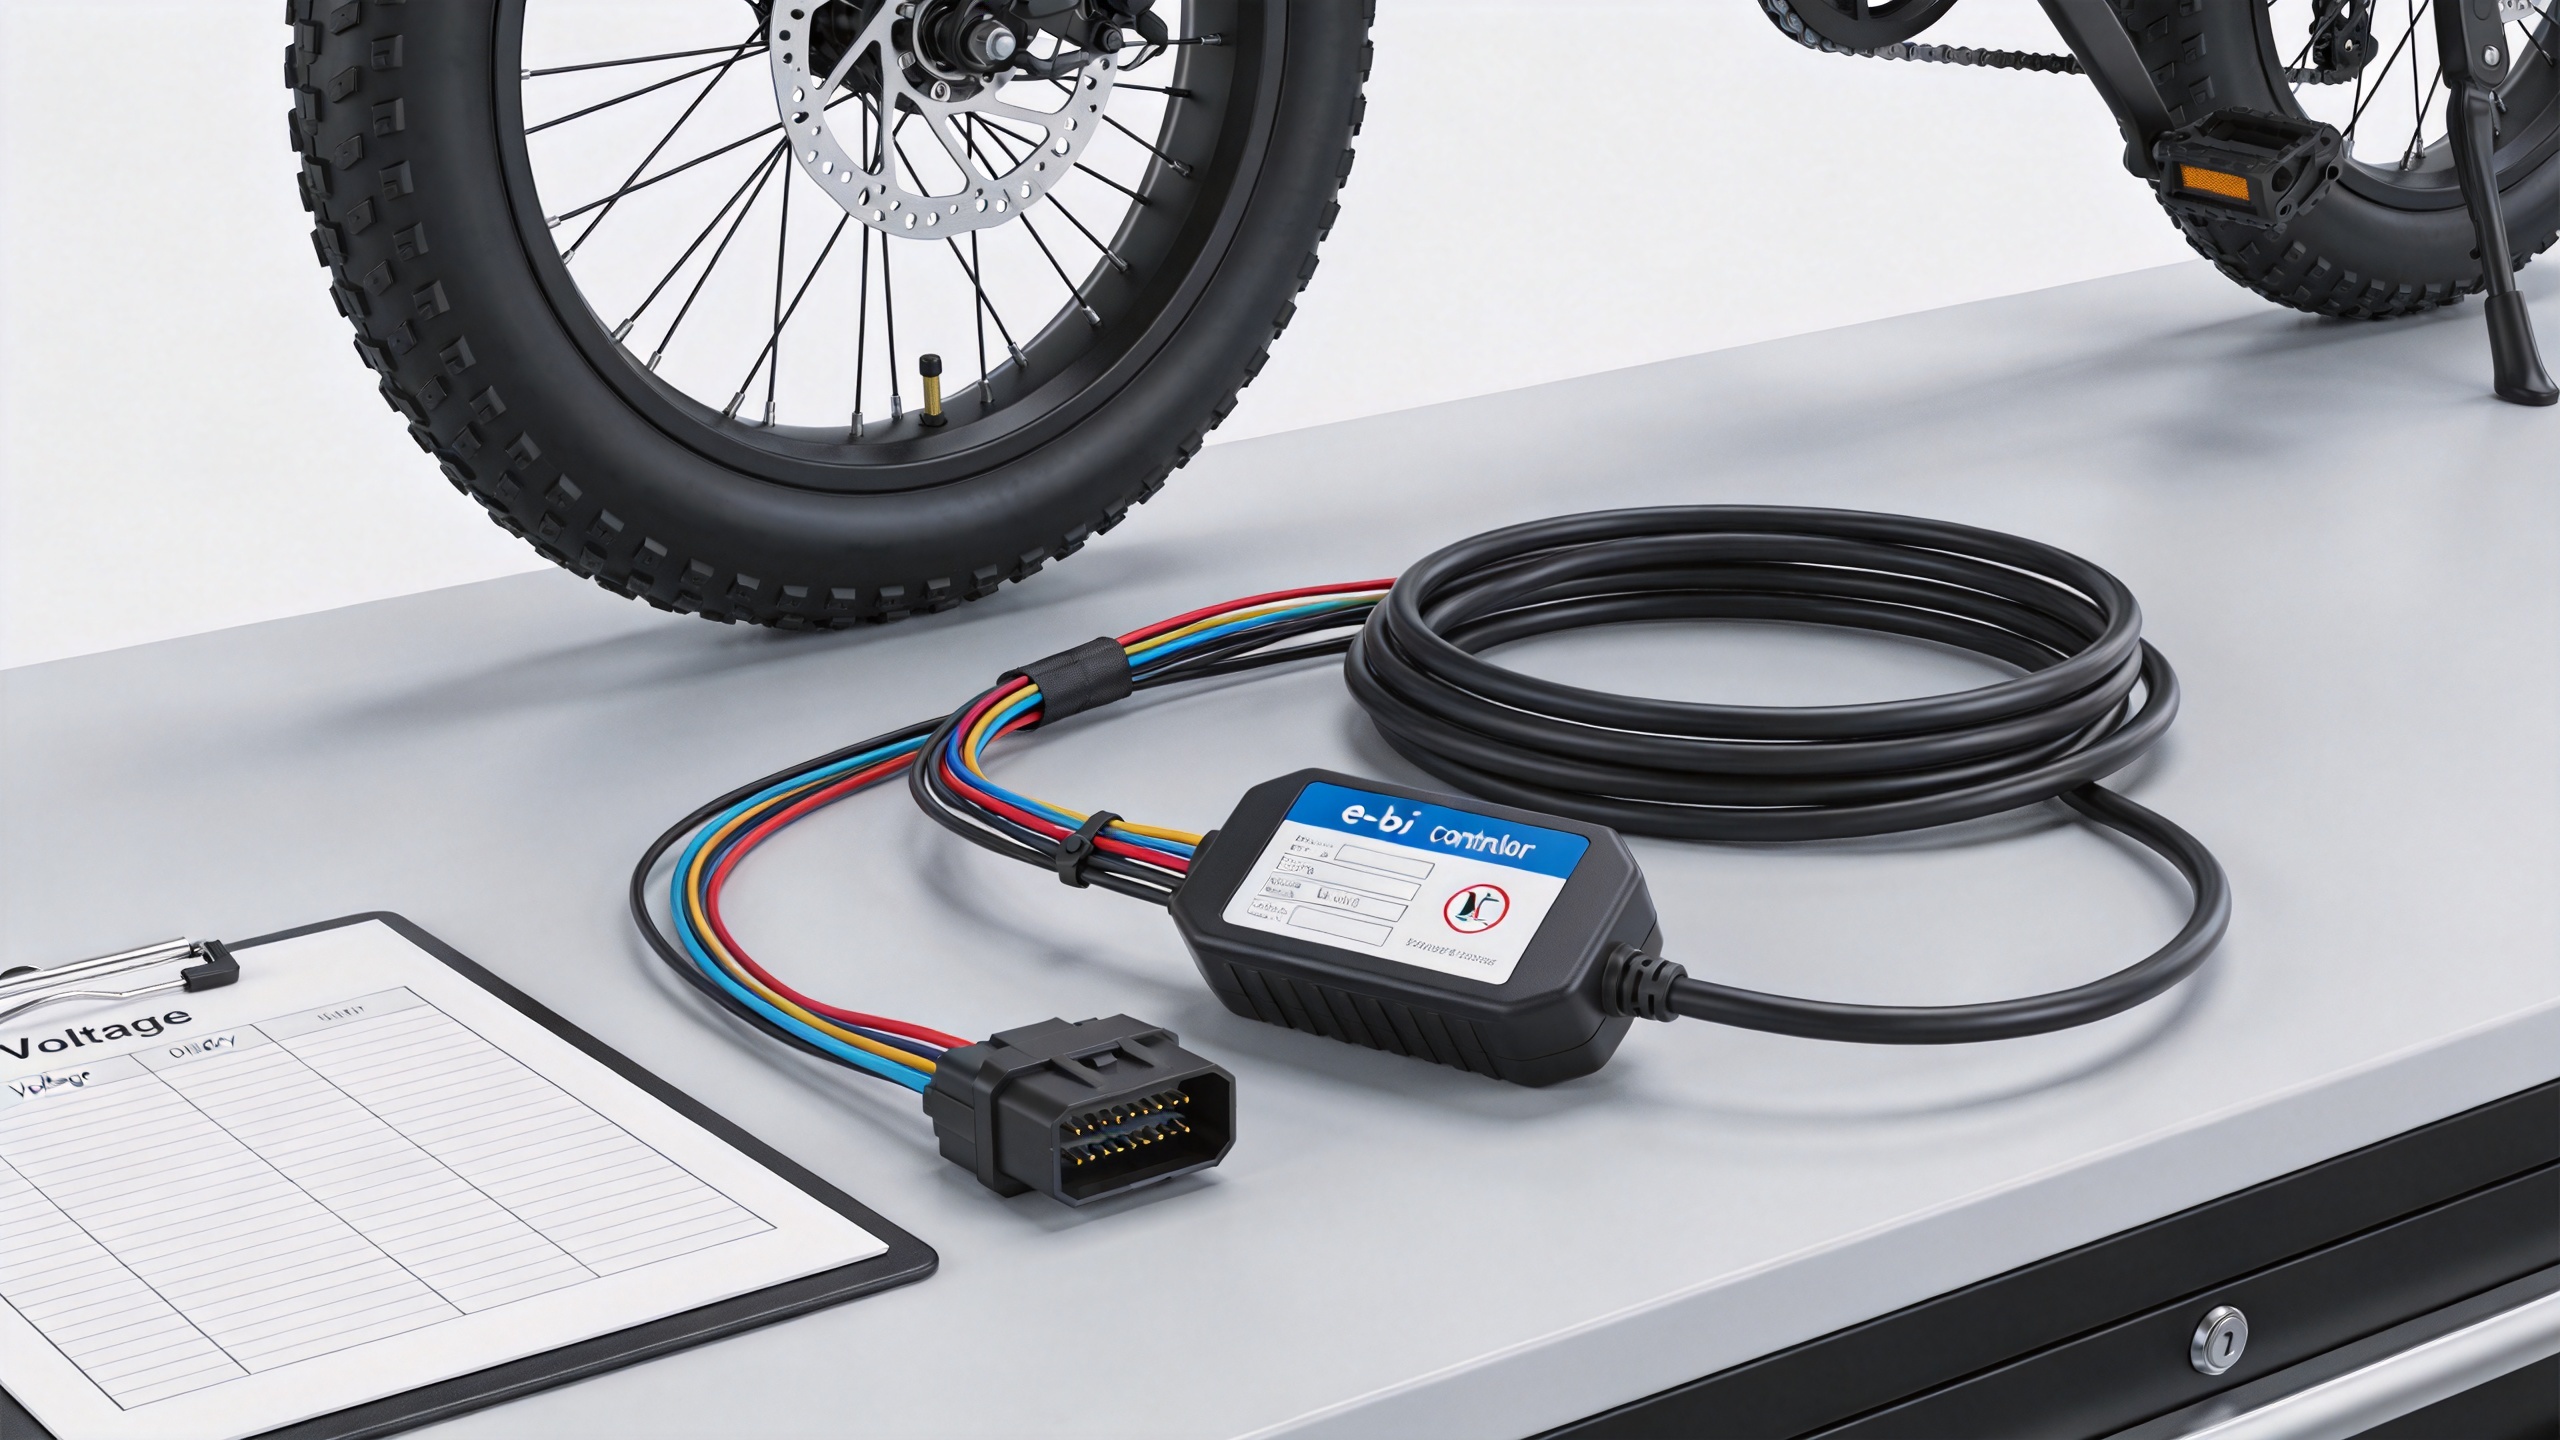
Some fault reports point to a controller, while others point to a display, wiring, brake cutoff signal, throttle input, or battery connection. Replacing only one component is sensible only when the remaining component is confirmed to communicate with the new part. When a revision, connector layout, or protocol is uncertain, source verification for the controller-display pair is safer than assuming one new component will work with one old component.
For a documented EP-2 Pro replacement request, compare the original label against the listed Engwe EP-2 Pro 48V 18A Controller — E Bike Controller Replacement Wholesale EN-EP2P23 before ordering. For an L20 display request, use the same evidence-first method with the Engwe L20 Display — E Bike Accessories Wholesale EN-L2003. The product title identifies the intended replacement application; it does not replace verification of the bike’s installed label and connector configuration.
A pre-order checklist for Engwe EP-2 Pro controller replacement and Engwe L20 display replacement
- Write down the bike’s exact model, version clues, and approximate purchase date.
- Photograph the battery voltage label and the complete original controller label.
- Photograph the display rear label, screen-on view if available, and its full cable path.
- Count pins from the mating face and photograph keyways, not only the outer plug shape.
- Record every disconnected accessory: throttle, brake cutoffs, lights, pedal sensor, motor lead, and charge-port-adjacent wiring.
- Compare the supplier’s listed model application and part number with your evidence.
- Ask for confirmation using photos before payment when any label, loom, or revision differs.
- Test carefully after installation: wheel raised, low-risk setting, and no forced connector changes.
For an Engwe EP-2 Pro controller replacement, the “48 V 18 A” wording is a useful starting detail, but it is not the entire fitment decision. For an Engwe L20 display replacement, the display body and plug must be considered together with its expected controller communication. Keep the old parts until the replacement has been tested and the return window has passed.
What to send a parts supplier for a faster compatibility review
A concise evidence pack makes technical support more effective. Send the bike model, country or market when known, battery voltage, the original component labels, and well-lit photos of each connector from both sides. Include the number of pins, visible connector markings, and a description of the fault. If the bike has an aftermarket battery, controller, display, or accessory harness, say so clearly.
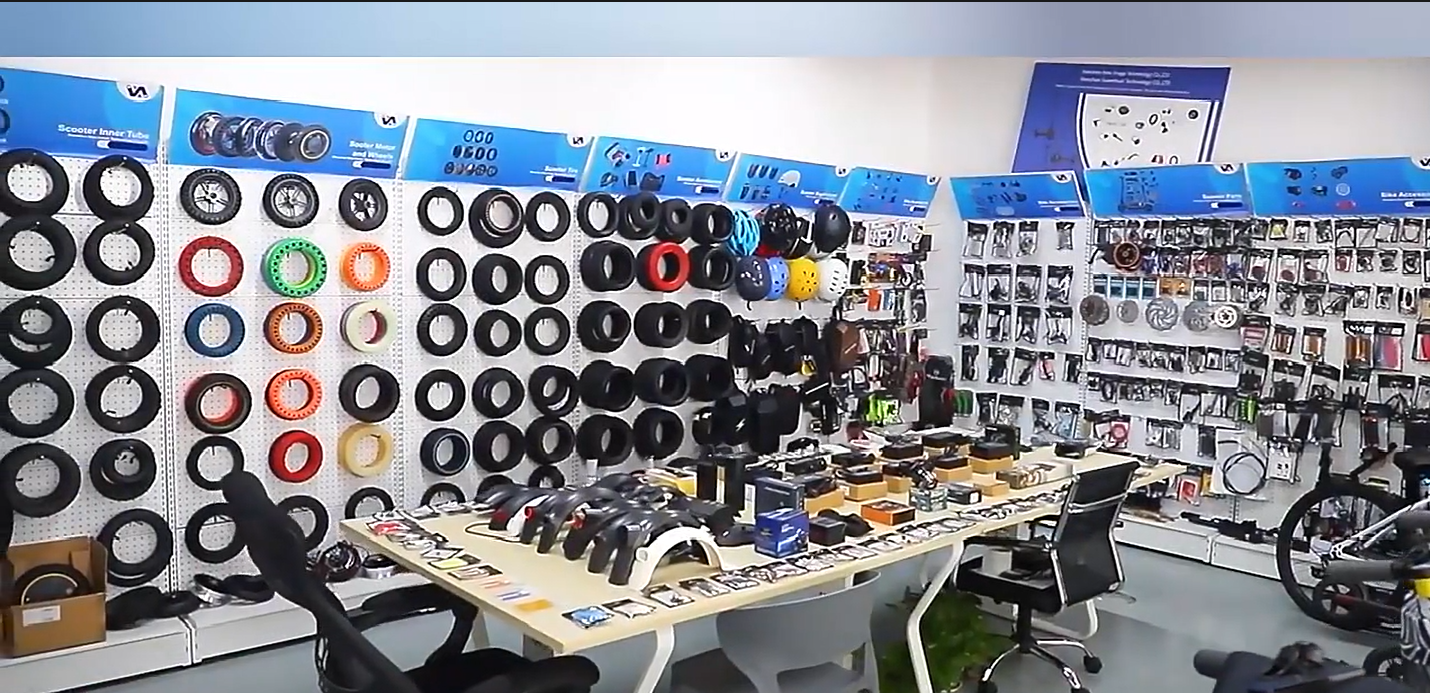
New Image focuses on e-bike and scooter replacement parts and can use this kind of documentation to help buyers review fitment before ordering. The practical goal is not to promise that every near-match will work; it is to identify the missing evidence before a part is shipped.
Final decision: only order when the evidence agrees
Reliable Engwe controller and display compatibility comes from agreement across several checks: model application, system voltage, controller specification, display identity, connector pin count, harness layout, and original part number. If one critical item is unknown, pause the order and collect a better photo or diagram. That small delay is usually less costly than an incompatible installation, a damaged plug, or a return shipment.
Use the checklist as a handover sheet for a supplier or technician. It creates a clear trail of what was verified and gives both sides a better basis for selecting the correct replacement component.