EN


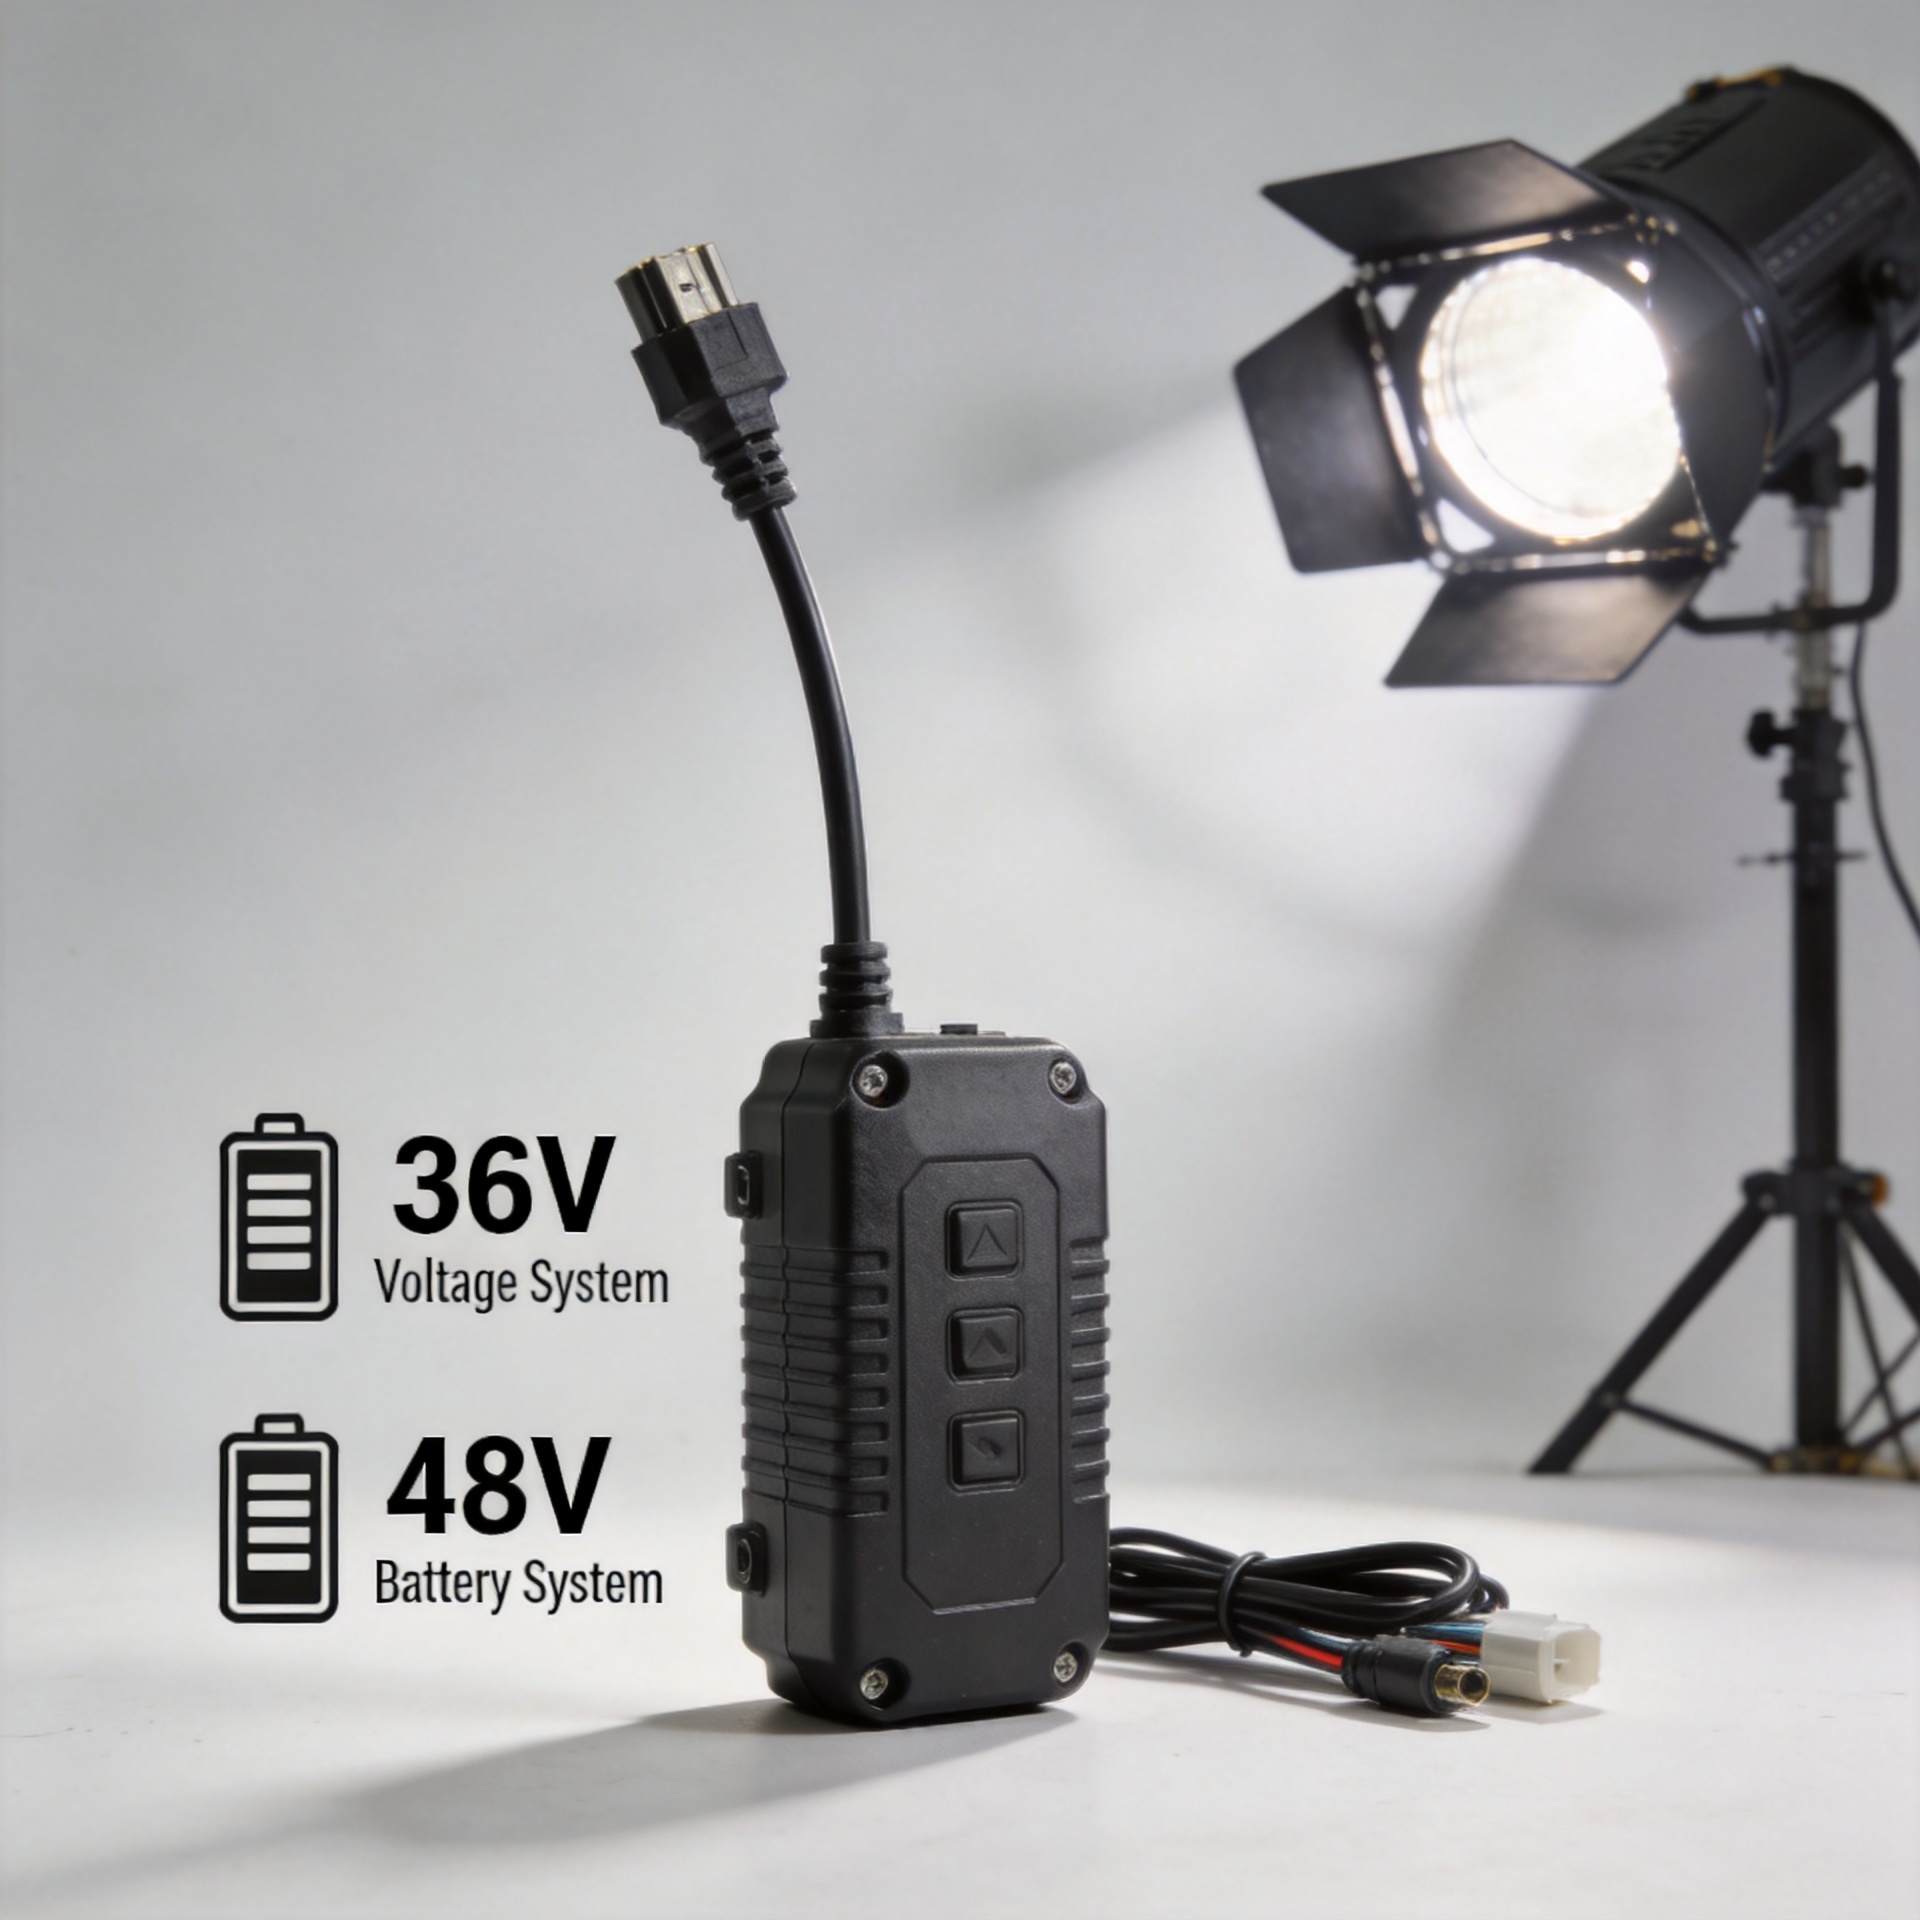
How to Choose an E-Bike Controller Kit for 36V and 48V Systems
A controller is the traffic manager between an e-bike battery, motor, and rider controls. For a distributor, repair shop, or conversion-kit buyer, choosing an e bike controller kit is not simply a matter of selecting 36V or 48V from a catalog. The reliable choice starts with the whole electrical system: battery voltage and BMS limits, motor type, controller current, wiring interfaces, and the display or control parts that will be installed together.
That system view matters because a controller may power on while still being a poor fit. An incompatible low-voltage cutoff can reduce usable range, a battery BMS may trip under demand, and a plug that looks familiar may use a different pinout. The following framework helps buyers narrow an e bike controller kit down before ordering or fitting it.
Start With the Battery: 36V and 48V Are System Ratings
The first check is nominal voltage. A 36V battery should normally be paired with a controller explicitly rated for 36V; a 48V battery should normally be paired with a controller explicitly rated for 48V. Some multi-voltage controllers are designed to support more than one nominal voltage, but this must be confirmed from the controller specification rather than assumed from connector style or a similar-looking housing.
For each proposed e bike controller kit, compare three values. This e bike controller kit check is more useful than selecting by enclosure shape or a marketplace photo:
- Battery nominal voltage: 36V or 48V, as stated for the pack.
- Controller operating-voltage range: the range the controller is designed to accept.
- Low-voltage cutoff: the point at which the controller reduces or stops output to protect the battery from excessive discharge.
A 48V system is often chosen when a build needs more electrical headroom, while 36V remains common for moderate-power city or replacement applications. Neither voltage is automatically “better.” The correct option is the one that matches the battery and motor system already specified for the bicycle.
Use Current and Power Together, Not a Wattage Label Alone
Voltage compatibility is only the first filter. Controller current determines how strongly the controller can draw from the battery and deliver power to the motor. That makes the battery’s continuous-discharge capability and BMS rating central to controller selection.
Ask for the controller’s maximum battery current and compare it with the battery’s documented continuous-discharge current. The battery and BMS should support the controller’s expected demand with a sensible margin. If the controller asks for more current than the battery protection system can supply, the bike can cut out under acceleration or load even when the voltage rating looks correct.
| Selection question | Why it matters | What to verify |
|---|---|---|
| 36V or 48V? | Sets the controller’s working voltage and cutoff expectations. | Battery nominal voltage, controller voltage range, cutoff setting. |
| Maximum battery current? | Influences acceleration, heat, and battery stress. | Controller battery-current specification and BMS continuous rating. |
| Motor power class? | Helps keep the controller in an appropriate operating range. | Motor documentation, intended load, and controller recommendation. |
| Cooling and enclosure? | Higher current can create more heat in real riding conditions. | Mounting space, airflow, and protection from water or debris. |
For example, a controller kit offered for a moderate 250W–350W application should be evaluated by its published voltage and current specifications, not upgraded by assumption. The motor label alone does not reveal every compatibility limit in the battery, BMS, wiring, or controller.
Confirm the Motor Connection Before You Buy
Most brushless e-bike systems use three high-current phase wires, and many sensored motors also use a Hall-sensor connector. A brushless e bike controller kit may support sensored operation, sensorless operation, or both, but the product description must match the motor you intend to use. When assessing a brushless e bike conversion or repair, make that motor-mode check before comparing secondary features.
Do not treat wire colors as a universal wiring standard. Before purchase, collect photos or pinout details for the motor plug, controller plug, and existing harness. Confirm:
- Whether the motor uses Hall sensors and whether the controller supports the required mode.
- Phase-wire connector type, wire gauge, and termination method.
- Hall-sensor plug shape, pin count, and pinout.
- Whether the kit uses separate leads or an integrated waterproof harness.
This is especially important for replacement work. A controller can have the right voltage and still need an adapter or a verified wiring plan before it is installed. For B2B purchasing, requesting connector photos and a pinout confirmation before a bulk order can reduce avoidable returns and workshop rework.
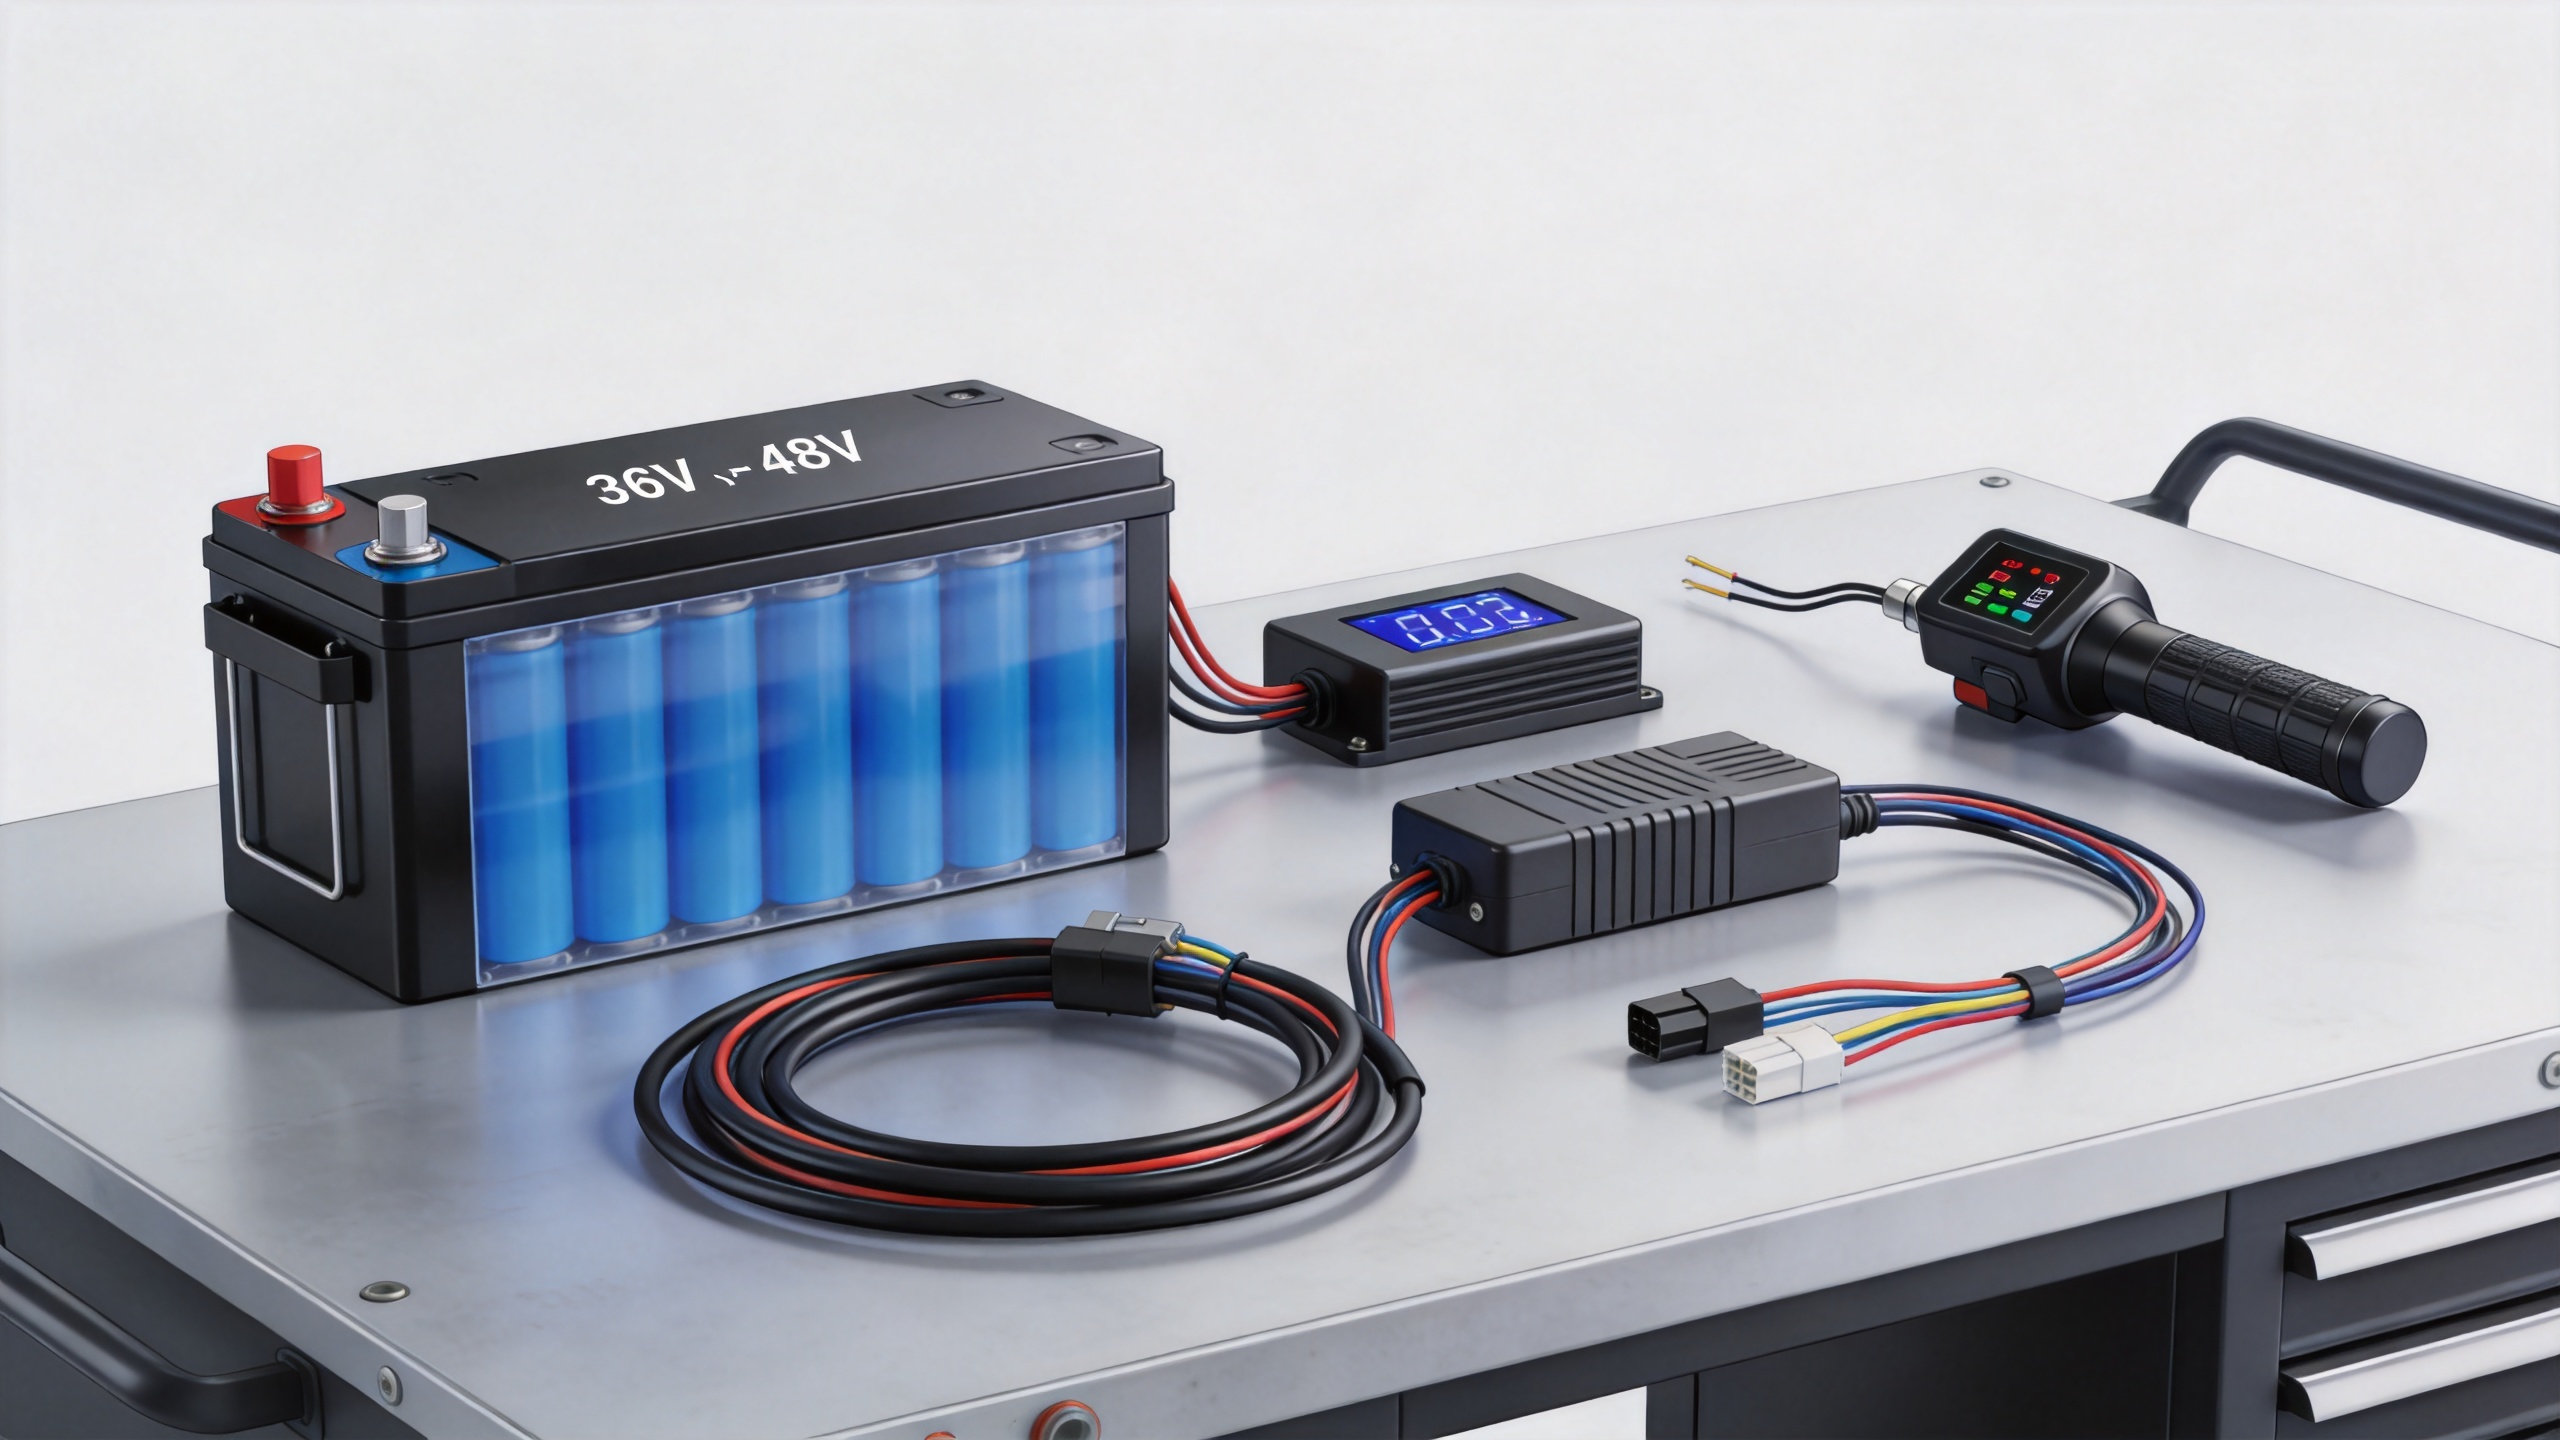
Check the Complete Control Kit: Display, Throttle, PAS, and Brake Inputs
An e bike controller kit is easier to install when its peripheral parts are chosen as one matched set. A complete e bike controller kit specification should identify the display, throttle, PAS, and brake-input interfaces rather than leave them to be guessed at installation. The display communicates with the controller through a protocol that may not be interchangeable across brands or generations. The same is true of throttle plugs, pedal-assist sensors, brake cutoffs, lights, and ignition or lock leads.
Build a simple interface checklist for the planned system:
- Display: protocol, connector type, voltage compatibility, and mounting format.
- Throttle: connector, signal voltage, and required operating mode.
- PAS sensor: sensor type, magnet count or direction requirements where specified, and plug compatibility.
- Brake cutoffs: normally open or normally closed behavior, connector type, and compatibility with the brake lever.
- Lighting or auxiliary outputs: only use them when their voltage and function are documented for the planned accessories.
If you need a bundled reference point, review the documented components of this brushless dual-mode e-bike controller kit with LCD display, throttle, and PAS. Treat the listing as a component set to verify against your own battery, motor, and connector requirements—not as a substitute for a full compatibility check.
Choose Between 36V and 48V With a Practical Decision Path
For consideration-stage buying, the fastest approach is to start with the existing battery and motor rather than with a target speed or a marketplace headline. Use this e bike controller kit sequence to document the decision:
- Identify the installed battery system. Record its nominal voltage, capacity, BMS continuous current, connector, and charge-port arrangement.
- Identify the motor. Confirm whether it is brushless, whether it has Hall sensors, its intended voltage and power class, and the existing cable connectors.
- Shortlist controllers by voltage. Keep only controllers explicitly specified for the battery’s nominal voltage or explicitly documented as multi-voltage compatible.
- Compare current limits. Select a controller whose maximum battery-current demand is compatible with the battery BMS and wiring.
- Match the interfaces. Validate the display, throttle, PAS, brake, motor, and battery connections before placing an order.
- Plan installation checks. Inspect connectors, secure wiring, use the appropriate fuse protection where the system design calls for it, and test the wheel off the ground before road use.
This path prevents a common purchasing mistake: selecting a 48V controller only because it appears more powerful when the rest of the system is 36V, or ordering a 36V kit without confirming the 48V pack’s actual operating limits. In both cases, the component choice must follow the verified system specification.
Questions to Send a Controller-Kit Supplier
For repeat purchasing or a conversion project, ask for answers in writing. The supplier quotation for an e bike controller kit should identify the exact electrical and connector configuration. A useful request covers the controller’s nominal-voltage support, operating range, maximum battery current, motor mode, connector photos or pinouts, compatible display model, and included peripherals. Also clarify whether the kit includes the throttle, PAS, brake leads, and LCD display listed for the exact SKU.
New Image supplies e-bike and electric-scooter replacement parts for buyers in markets including Europe, North America, Oceania, and South America. When discussing an e bike controller kit, provide the battery label, motor details, photos of the connectors, and the desired display configuration so compatibility can be checked before shipment.
Final Takeaway
Choosing between a 36V and 48V controller kit is a system-matching decision. The right e bike controller kit is the documented match for the battery, BMS, motor, and control interfaces—not the highest number in a listing. Start with nominal voltage, then validate low-voltage cutoff, maximum battery current, BMS capability, brushless-motor connections, and every accessory interface. A well-matched e bike controller kit creates a clearer installation path and helps buyers avoid the costly “almost compatible” parts that cause troubleshooting later.