EN


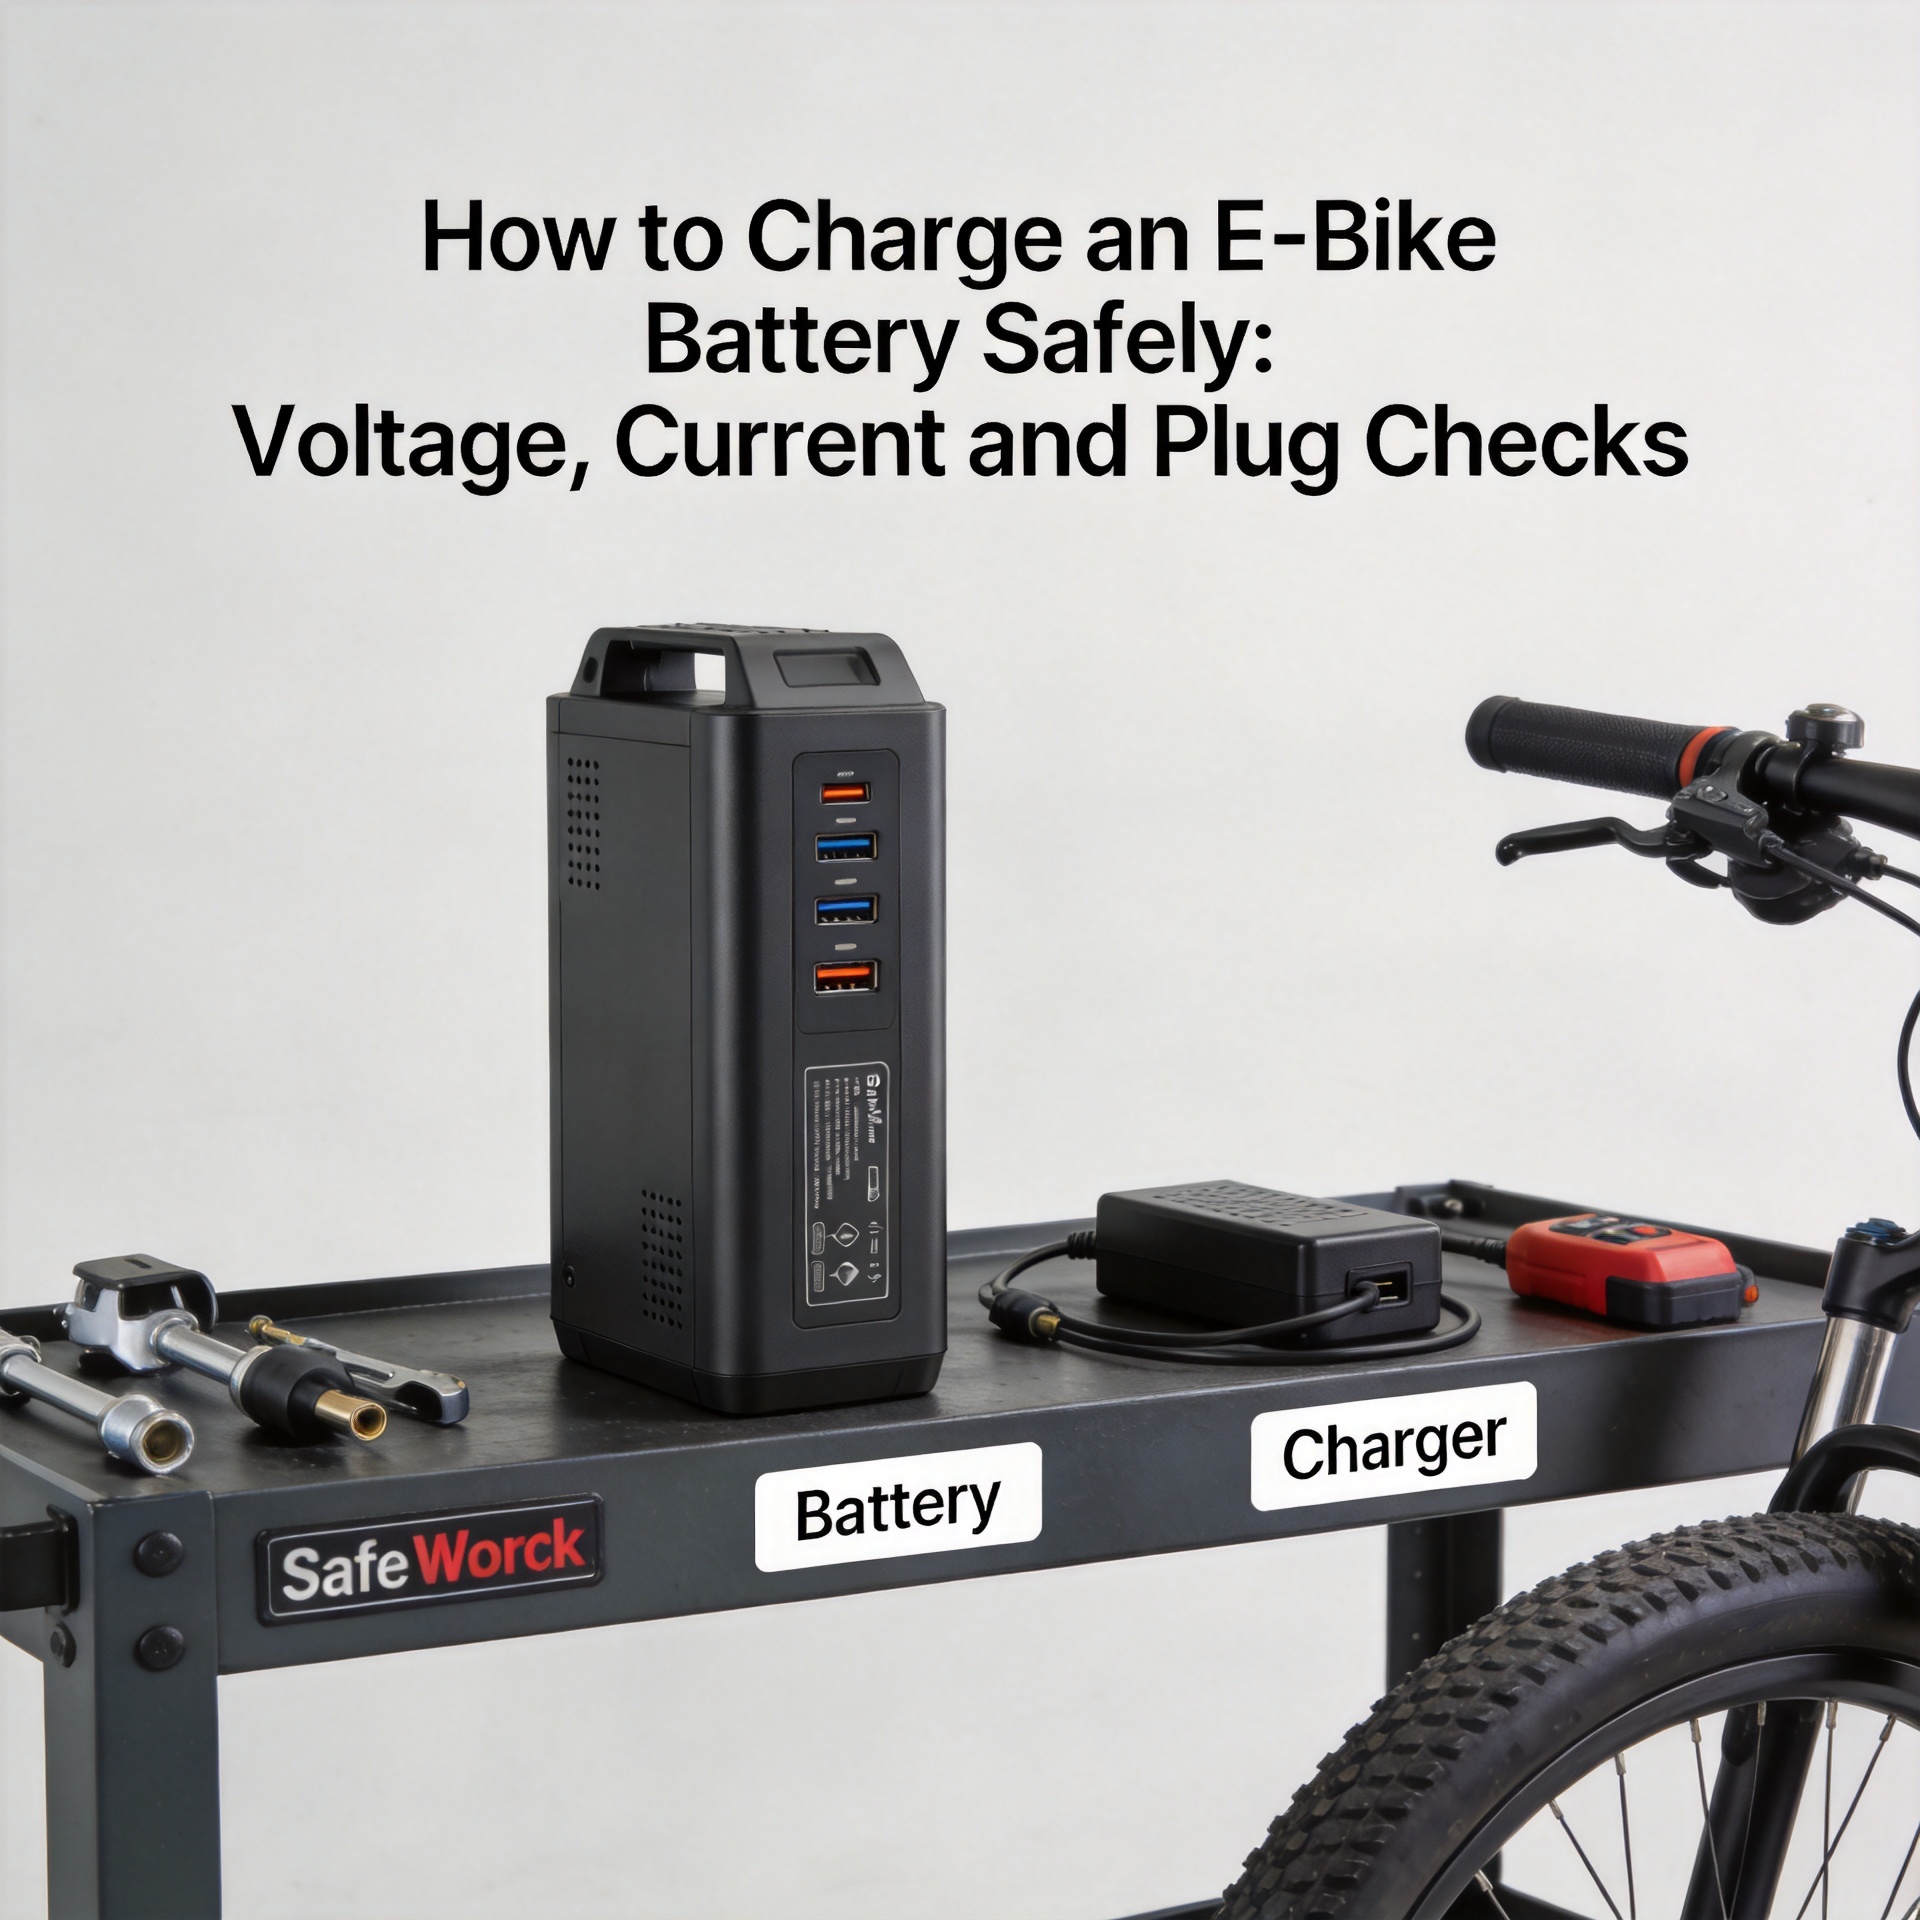
How to Charge an E-Bike Battery Safely: Voltage, Current and Plug Checks
Learning how to charge ebike battery safely starts before the charger reaches the wall outlet. For riders, repair shops, and replacement-parts buyers, the important question is not whether a plug fits. It is whether the battery, charger output, connector, and charging environment are all suitable for the exact pack in front of you.
From a parts quality-control perspective, compatibility is the first inspection point. A 48V battery bike may use a charger marked 54.6V output in a common 13-series lithium-ion configuration, but that example is not a shortcut for every battery. Chemistry, pack design, the battery-management system (BMS), and the maker’s documentation determine the correct charging specification. Read the labels before making any connection.
Start with the battery and charger labels
When you need to confirm how to charge ebike battery correctly, collect clear photos of the battery label, its charge port, the original charger label, and the replacement charger label. Record the bike model and model year as well. Similar-looking models can use different battery architectures.
- Battery information: model number, chemistry, nominal voltage, stated charge limit, and any charging instructions.
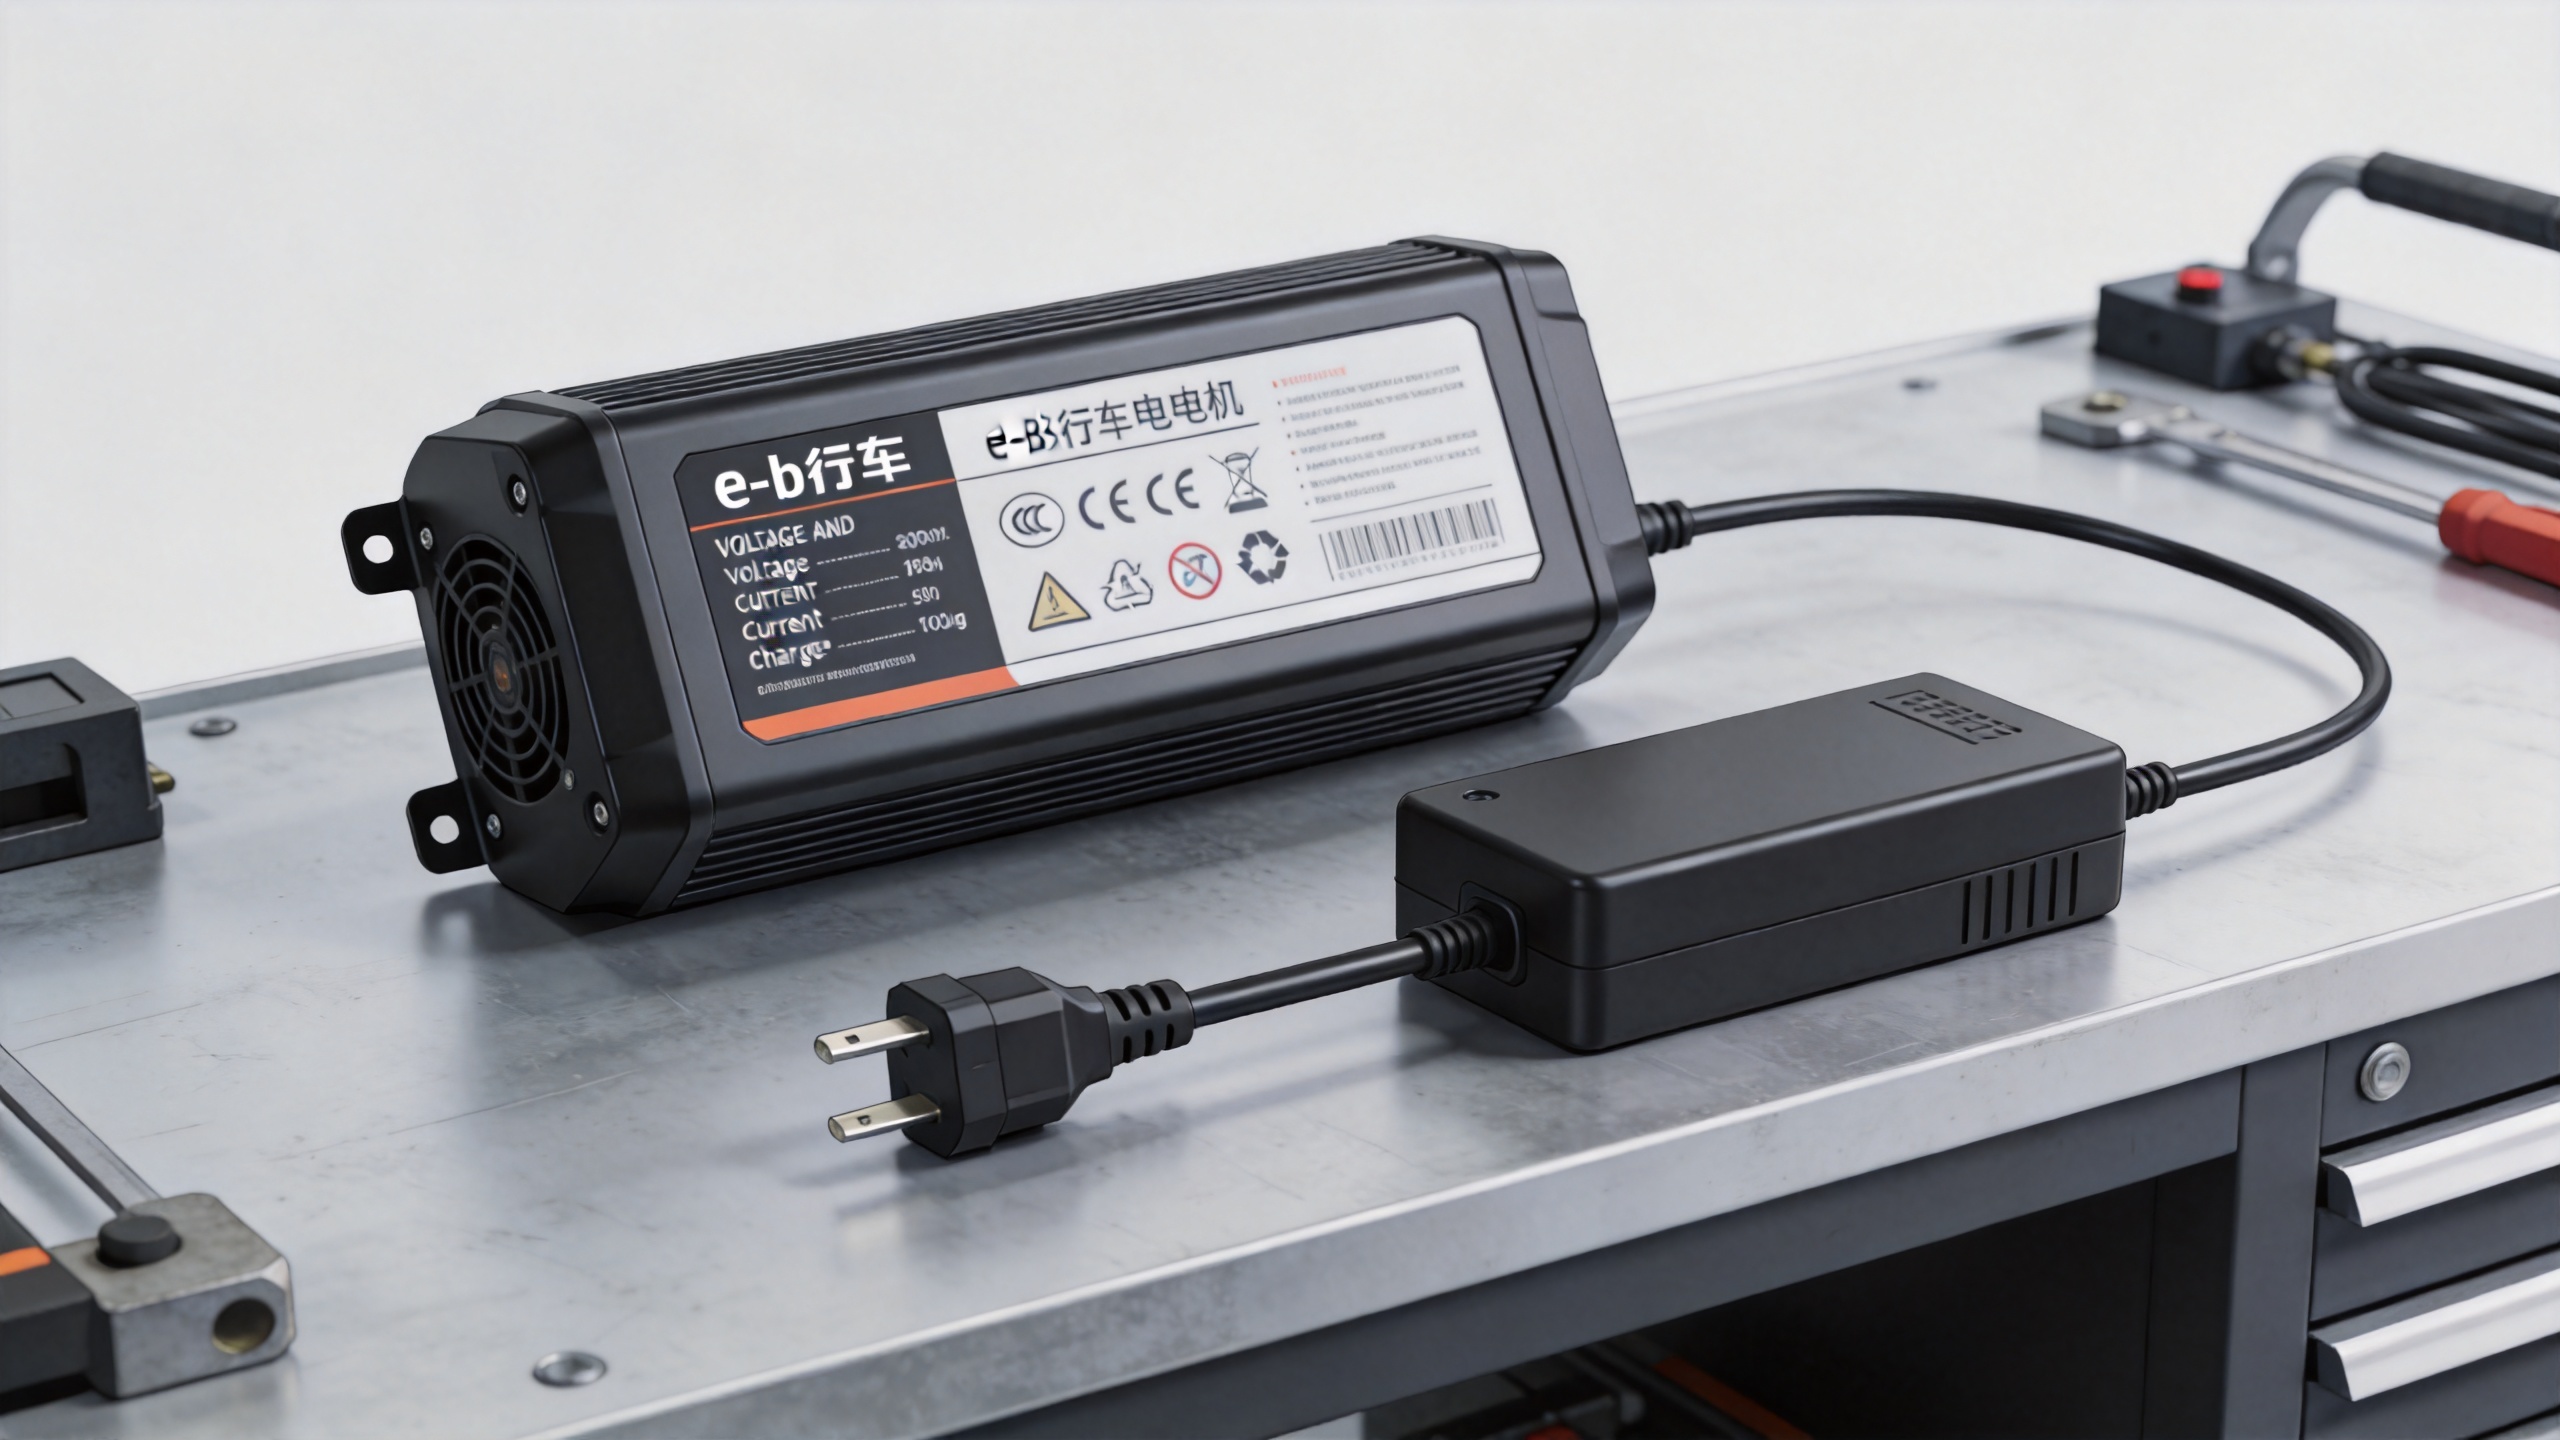
- Charger output: DC output voltage and rated current. Do not confuse the AC input line with the DC output line.
- Connector details: connector shape, keying, pin count, polarity, and any communication contacts.
- Condition: look for damaged insulation, bent pins, loose sockets, moisture, discoloration, swelling, odor, leakage, or unusual heat.
For a battery bike 48v setup, the nominal “48V” marking describes the pack category, not automatically the charger’s output label. Many lithium-ion 48V packs use 54.6V charging output, while a 48V lithium iron phosphate pack can require a different value. The approved number on the battery documentation or original charger takes priority.
Match voltage first, then verify charging current
Voltage mismatch is a stop sign, not a detail to work around. The charger output must match the full-charge voltage specified for the exact battery chemistry and series configuration. A higher-voltage charger may overstress a pack; a lower-voltage charger may fail to charge it fully or behave unpredictably. Do not select a charger by nominal voltage alone.
Current matters too. A lower-current approved charger may take longer, but it still needs approval for the pack and connector. Do not move to a higher-current charger just to reduce waiting time unless the battery maker confirms that the BMS, charge port, connector, wiring, and pack are rated for it. The rated current should be a documented compatibility point, not an assumption based on cable thickness or connector size.
| Check | What to compare | Action if unclear |
|---|---|---|
| Battery chemistry | Battery label and manufacturer documentation | Pause and request confirmation for the exact pack. |
| DC output voltage | Approved charge voltage versus charger output | Do not connect if the figures differ or cannot be verified. |
| Charge current | Approved current versus charger rating | Use only a current confirmed for the battery, BMS, port, and wiring. |
| AC input | Charger input range versus local mains supply | A plug adapter changes shape, not electrical supply voltage. |
A matching plug is not enough
The next part of how to charge ebike battery safely is connector verification. Two barrel connectors can look alike yet use different dimensions, polarity, pin assignments, or internal communication. Do not force a connector, modify a plug, or rely on an adapter to solve an unverified mismatch.
For replacement-part sourcing, request close photos of both mating sides, the connector code if available, and written confirmation of polarity and pinout. Some systems also require a model-specific signal or communication path. If a seller can provide only a voltage and a photo of the plug, the information is incomplete for a safe compatibility decision.
Where the model and specifications have been confirmed, buyers can review the available 54.6V 2A Charger for Engwe T14 alongside the product details. Confirm its intended model fit and all labels against the battery before ordering or connecting it.
Use a deliberate charging routine
Once the charger is verified, set up a dry, stable, non-combustible area with ventilation and a suitable wall outlet. Keep the battery well clear of exits, soft furnishings, direct heat, and combustible materials. Remain nearby while it is charging; unattended or overnight charging should not become the routine.
- Turn the e-bike system off and allow a battery that is unusually hot after riding to return to the temperature range specified by its maker.
- Inspect the charger cable, port, and plug. They should be clean, dry, intact, aligned, and free of debris.
- Follow the connection order stated in the battery or charger instructions. Manufacturers may specify an order for connecting the charger to AC power and the battery.
- Check that the plug seats fully without force, then observe the charger indicator according to its manual.
- During charging, periodically look for unexpected heat, smell, sound, or changes at the port. When charging is complete, follow the maker’s disconnect procedure rather than interpreting every green LED the same way.
When not to charge the battery
Stop and isolate the situation if the pack is swollen, cracked, leaking, unusually hot, making unusual noise, producing an odor, or has a damaged port or cable. Do not attempt to open the pack, repair the charger housing, or rewire the battery-side connector. Ask the battery maker, qualified service provider, or supplier for the correct next step.
This caution also applies after a crash, water exposure, a hard drop, or an unexplained charging interruption. A charger that repeatedly switches off, a loose connector, or a port that becomes hot needs investigation before another charging attempt. Safe charging depends on the condition of the whole system, not only the label values.
Replacement charger checklist for buyers and service teams
For a repeatable purchasing conversation, send this checklist with every request for a charger or battery bike 48v replacement:
- Exact e-bike brand, model, model year, and battery model number
- Battery chemistry, nominal voltage, and approved charge voltage
- Original charger DC output voltage and current, if available
- Photos of the battery label, charging port, original plug, and proposed replacement plug
- Connector type, pinout, polarity, and any communication requirement
- Local AC supply and charger input range
- Confirmation that the pack, BMS, port, wiring, and connector support the proposed current
If your replacement also includes the battery, review the listed 48V Ebike Battery for Engwe L20 only against the exact bike and battery specifications. Product category, voltage marking, and connector appearance do not replace documented model compatibility.
Quick compatibility questions to document
Use these short prompts during a service or sourcing review. Each answer should come from an approved label, manual, or manufacturer confirmation—not from connector appearance.
- For how to charge ebike battery correctly, what exact DC output voltage does this pack specify?
- For a battery bike 48v, which chemistry and series configuration are written on the battery label?
- When deciding how to charge ebike battery, is the proposed current approved by the battery maker?
- For a battery bike 48v, does the BMS allow the proposed charging current?
- When checking how to charge ebike battery, do the charger and battery connector keys align without force?
- For a battery bike 48v, have polarity and pin assignments been confirmed in writing?
- For how to charge ebike battery, does the charger input range suit the local mains supply?
- For a battery bike 48v, is the charge port dry, clean, undamaged, and firmly mounted?
- Before asking how to charge ebike battery, has the pack cooled to its specified charging temperature?
- For a battery bike 48v, is there any swelling, leak, odor, noise, or unexplained heat?
- When reviewing how to charge ebike battery, is the connection sequence stated in the manual?
- For a battery bike 48v, has the exact bicycle model and model year been confirmed?
- For how to charge ebike battery, is the proposed charger an approved original or replacement?
- For a battery bike 48v, do the cable, plug, port, and wiring show no visible damage?
- When confirming how to charge ebike battery, is the charging surface stable, dry, and clear of combustibles?
- For a battery bike 48v, is a person available to monitor charging rather than leave it unattended?
- For how to charge ebike battery, is the charger indicator understood from its own manual?
- For a battery bike 48v, will charging stop if any inspection point cannot be verified?
Final takeaway
The dependable answer to how to charge ebike battery is simple in principle: use the approved charger, verify DC output voltage and current, confirm connector details beyond plug shape, and charge only in a suitable monitored environment. For procurement teams, a short specification checklist helps avoid a costly mismatch. When any label, connector detail, or condition check is uncertain, pause the transaction or charging attempt and obtain confirmation for the exact battery system.