EN
EN


How to Choose a 48V 18A E-Bike Controller for Replacement
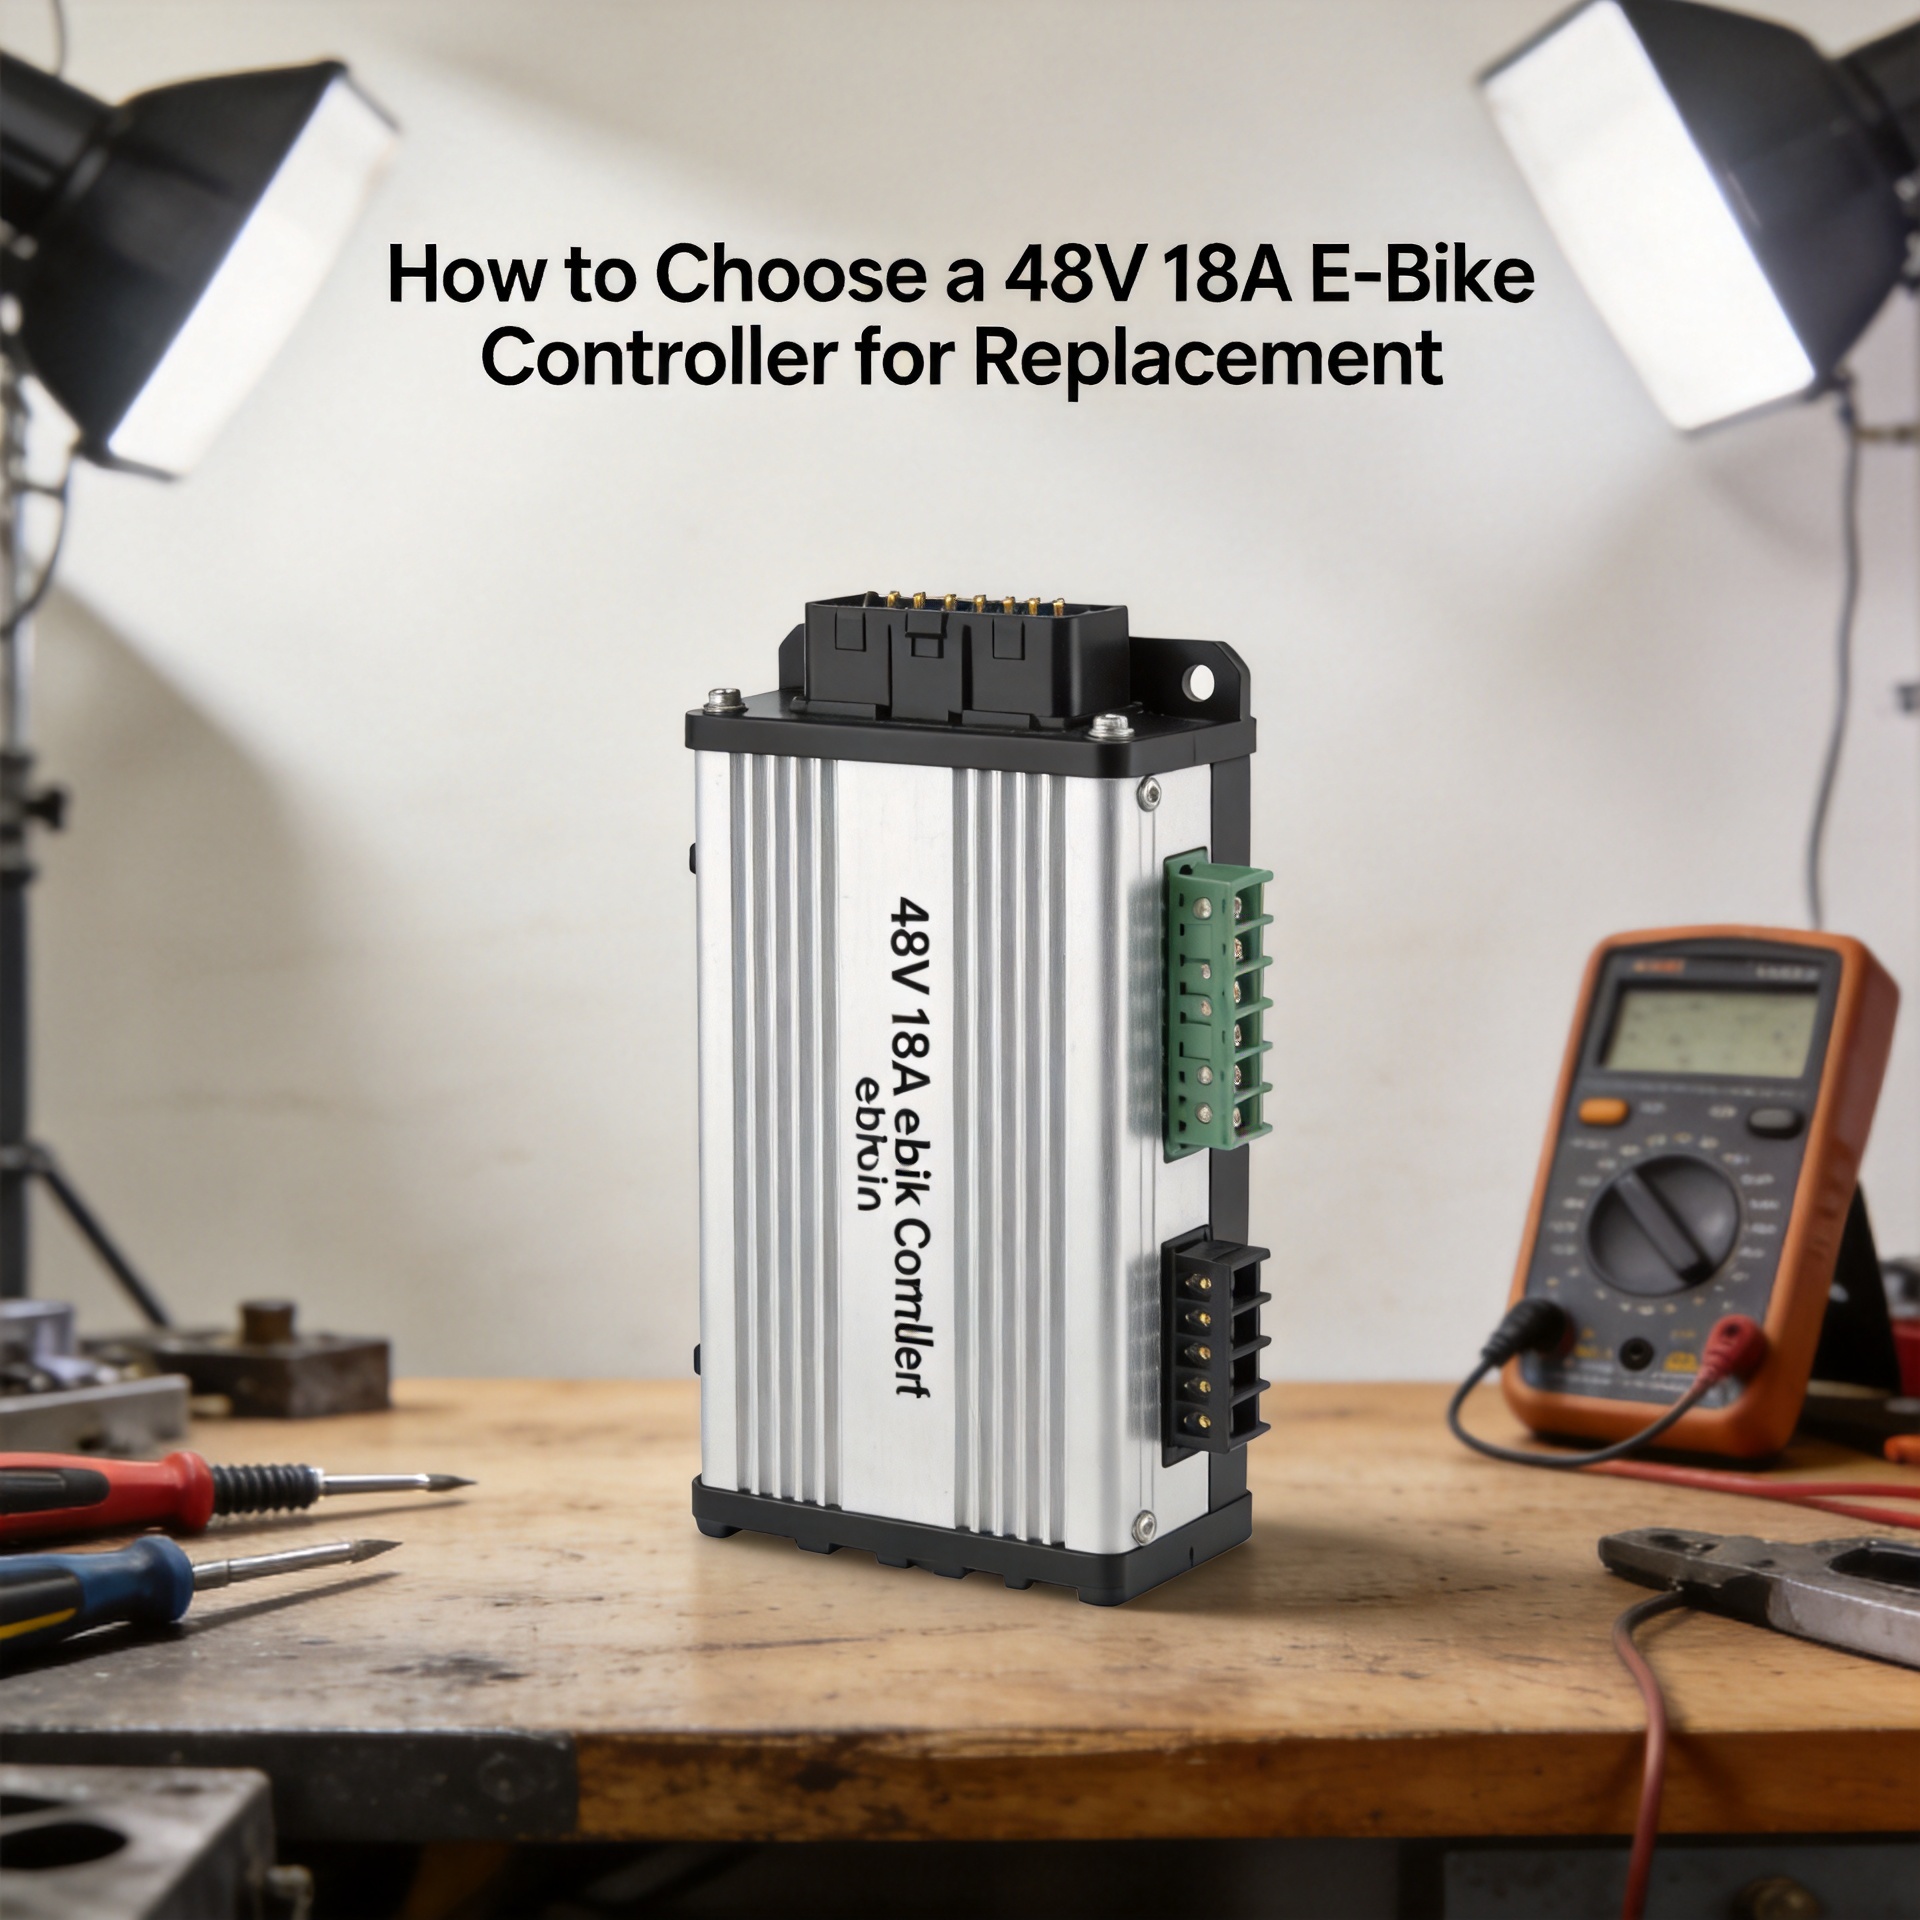
Replacing an e-bike controller is not a “same voltage, buy it” decision. A 48V 18A label gives you two important clues, but it does not confirm that the new unit will communicate with your display, read your motor sensors, fit the frame mount, or work safely with the battery. For workshops, resellers, and riders sourcing electric cycle spares, the safest approach is to treat controller replacement as a system-compatibility check.
This guide explains what the rating means, what to inspect before ordering, and when a model-specific controller is the more sensible choice. If you can read the old controller label and photograph every plug before purchasing, you will avoid most expensive mistakes.
Start with the 48V rating—not the connector color
A 48V controller is designed around a 48V nominal battery system. That is the first match to confirm, because voltage affects the controller’s operating range and the way it protects the system. Check the nominal voltage printed on the battery label, the original controller label, and, where available, the motor or vehicle documentation. Do not assume a 48V battery is interchangeable with a controller merely because the main battery plug physically fits.
For replacement work, record the battery connector type and polarity as well as the voltage. A connector can be mechanically similar while the wiring order differs. Before unplugging anything, switch the system off, remove or isolate the battery where the manufacturer’s instructions allow, and take clear photos of the full harness. That small step makes later troubleshooting much easier.
What does 18A actually mean?
The 18A figure generally refers to the controller’s current limit. In practical terms, it is one factor that governs how much current the controller can request from the battery and deliver to the motor under load. It is not, by itself, a universal performance upgrade. A replacement controller must be suitable for the motor, wiring, battery cells, and battery-management system (BMS).
Ask for the battery’s supported continuous discharge current rather than guessing from amp-hours. The controller’s current demand must stay within the battery BMS capability. An underspecified battery or BMS can cut out under load, run hot, or suffer reduced service life. Likewise, increasing current without confirming the motor and cables can create a problem instead of solving one. A like-for-like 48V 18A replacement is usually lower risk than fitting a higher-current controller simply to chase faster acceleration.
Use a compatibility checklist before you order electric cycle spares
Voltage and current are only the first two checks. For a dependable repair, compare the original and replacement controller across the whole vehicle system:
- Battery: Confirm 48V nominal rating, battery connector, polarity, and BMS continuous-current capability.
- Motor: Identify hub or mid-drive type, rated system voltage, motor cable format, phase-wire arrangement, and hall-sensor plug.
- Display and protocol: Count pins and verify the communication protocol. A plug with the same pin count is not proof that the display will work.
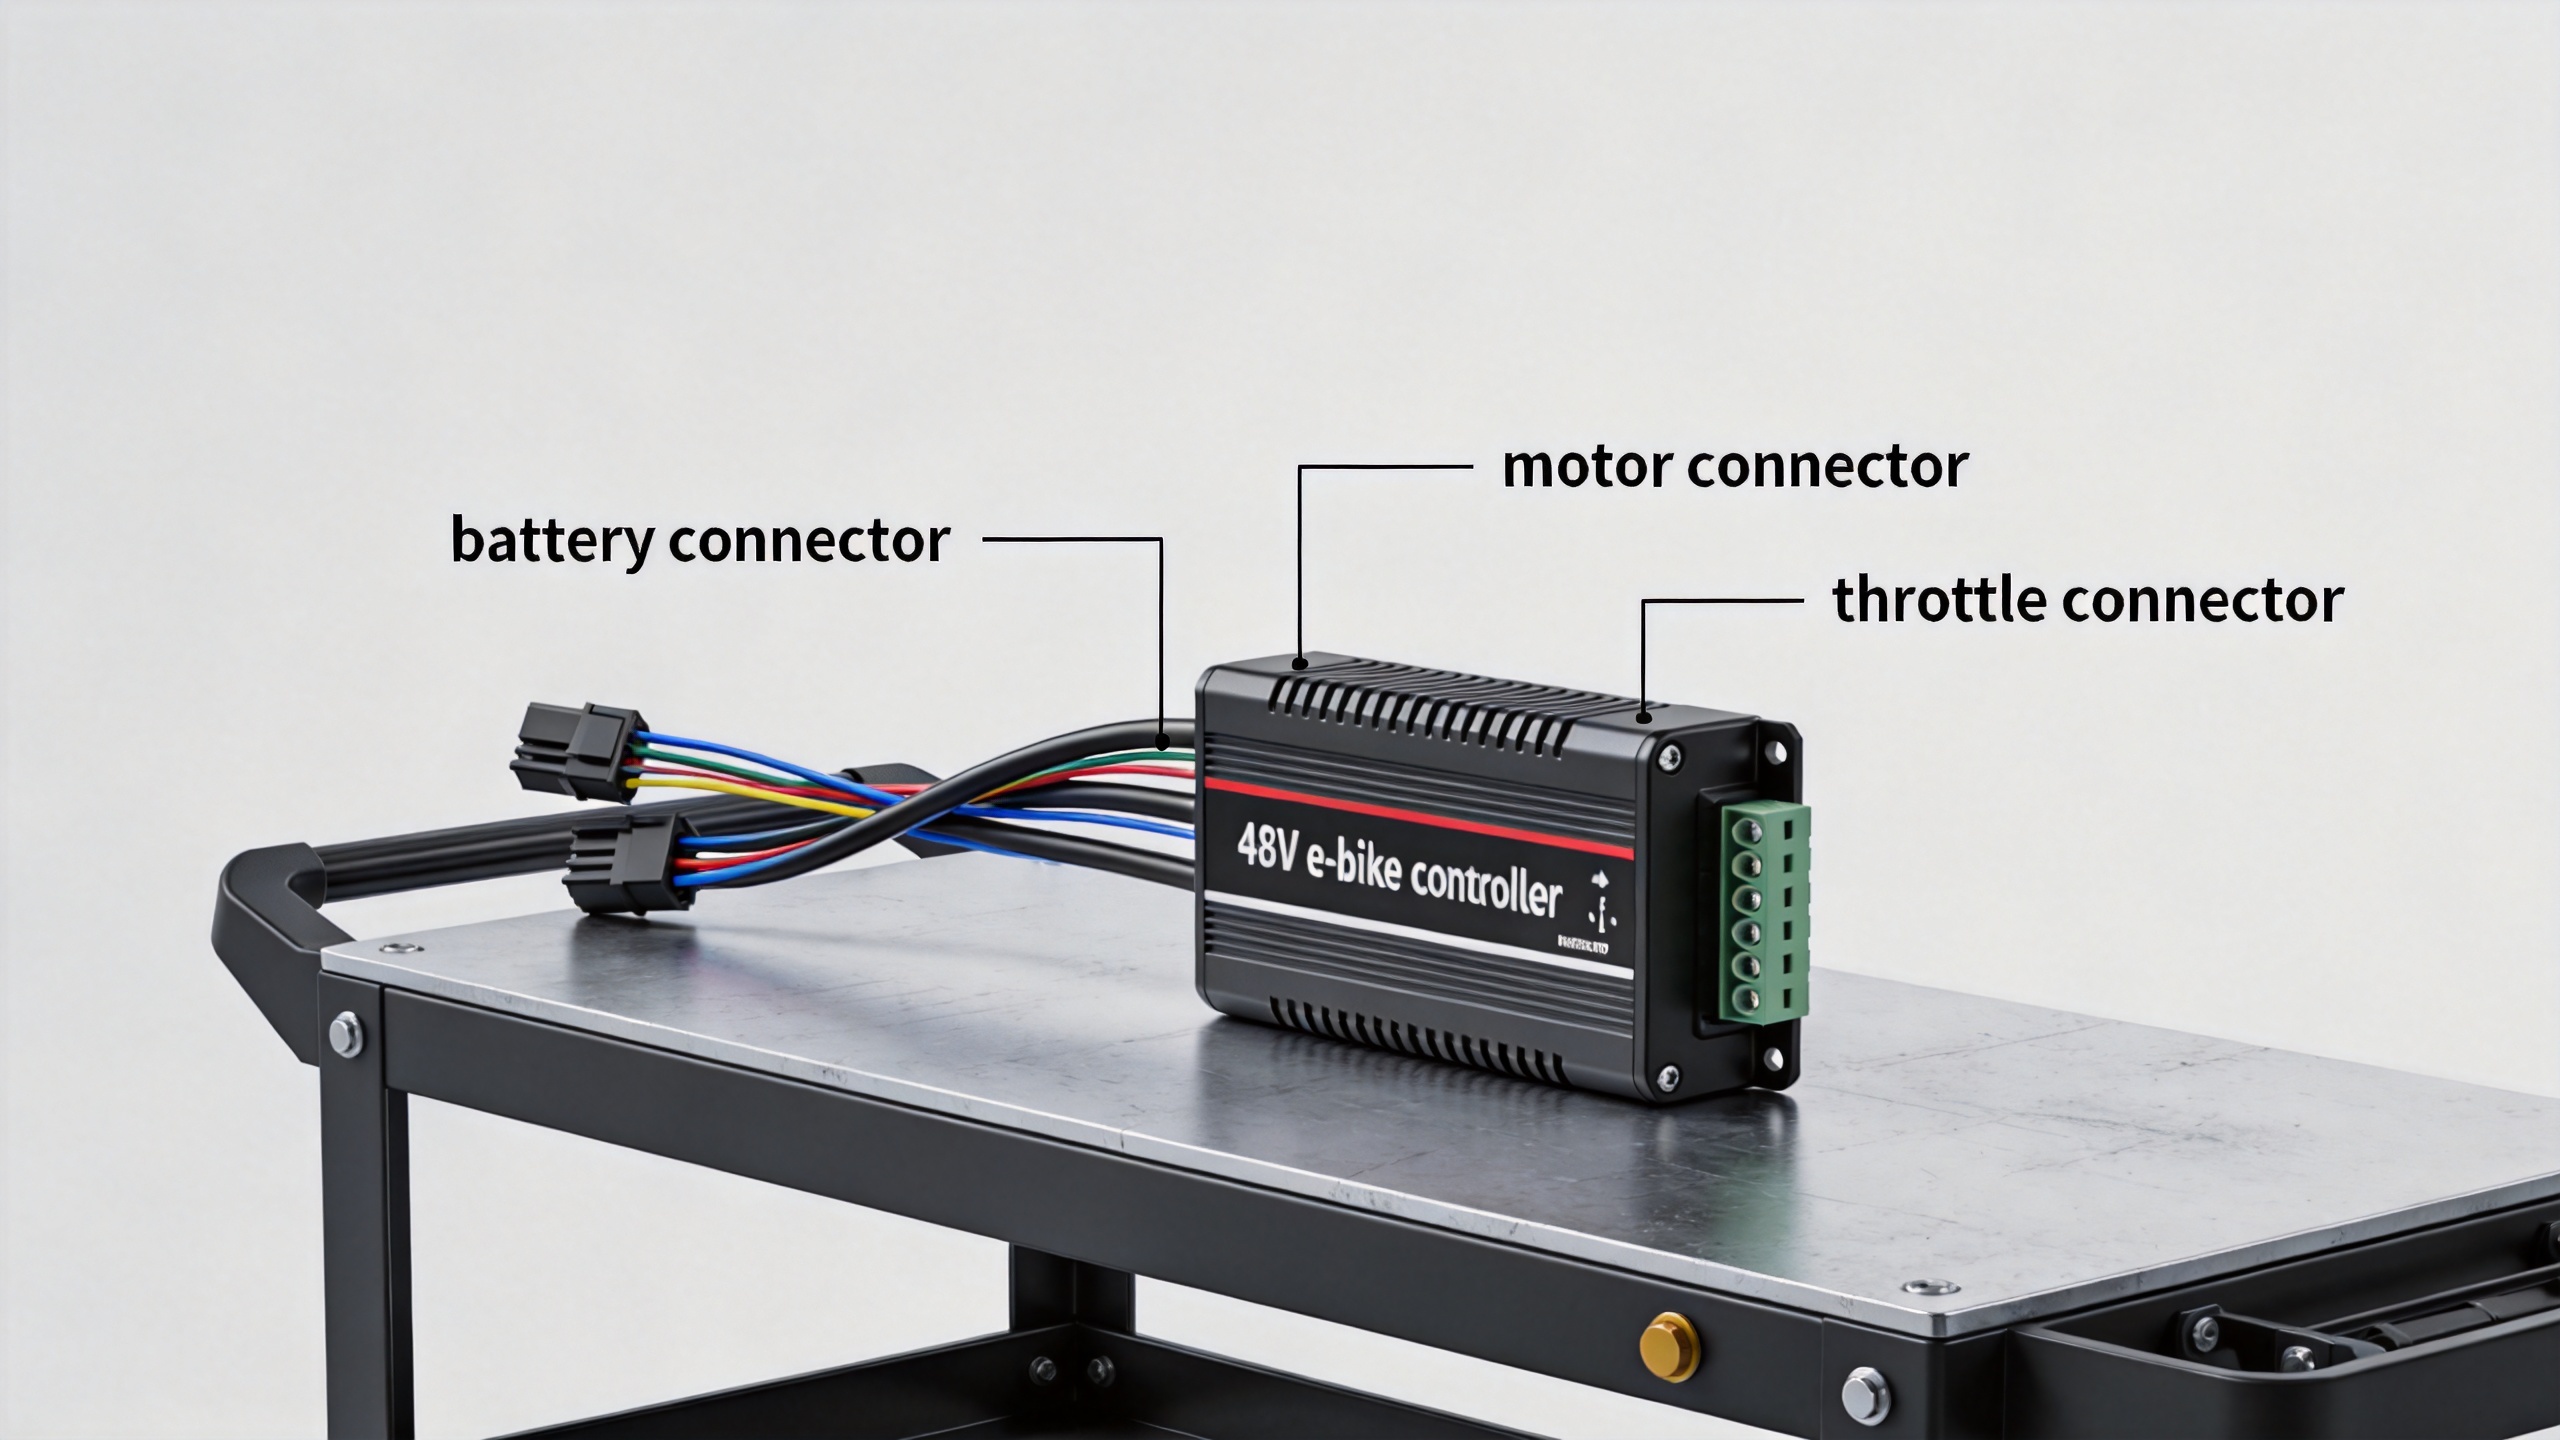
- Controls: Compare throttle, pedal-assist sensor (PAS), brake-cutoff, light, ignition/lock, and speed-signal connectors.
- Physical fit: Measure the controller enclosure, mounting holes, cable exit direction, and available ventilation space.
- Firmware or model coding: Some original equipment systems use model-specific settings. In that case, a generic controller may power on but still show errors or operate incorrectly.
This checklist is particularly useful for B2B buyers handling mixed inventory. Stocking common electric cycle spares can improve service coverage, but each SKU should be listed with connector photos, lead lengths, dimensions, and known vehicle compatibility—not only a voltage and amp number.
Why wiring compatibility is the usual failure point
Controllers sit between the battery, motor, display, throttle, PAS, and brake inputs. That means a replacement can have the correct 48V 18A rating and still be unsuitable. Phase wires, hall sensors, and display leads are especially important. Do not cut and join wires based only on color: manufacturers may use different color maps, and an incorrect connection can damage components.
Instead, compare plug style, pin count, keying, label markings, and wiring documentation. If the original controller has an error code, diagnose the battery, motor cable, brake switch, and display connection before ordering a replacement. A controller is sometimes blamed for a fault caused by a loose connector or failed sensor.
Choose generic or model-specific replacement?
A generic controller can be appropriate when the voltage, current range, motor type, connector set, protocol, and enclosure all match. It may suit technicians who are able to verify pinouts and configure compatible components. However, a model-specific unit is usually the more straightforward option for an OEM-style repair because it reduces uncertainty around mounting, harness length, display communication, and programmed behavior.
For example, buyers replacing the controller on a compatible Engwe EP-2 Pro platform can review the Engwe EP-2 Pro 48V 18A Controller — E Bike Controller Replacement Wholesale EN-EP2P23 as a model-specific sourcing option. Confirm the exact vehicle version, original part label, and connector set with the supplier before purchase; the product title alone is not a compatibility guarantee.
A practical receiving and installation routine
- Match the received controller label, connector count, plug keying, enclosure dimensions, and lead length against the approved order record.
- Inspect the wiring harness for transport damage, bent pins, moisture, or loose seals before installation.
- With the battery disconnected, connect plugs one at a time without forcing them. Keep phase and signal wiring organized.
- Perform the first power-on with the drive wheel safely off the ground when practical. Check display behavior, brake cutoffs, throttle response, PAS response, and error indicators.
- Run a controlled road test only after the no-load checks are normal. Stop if there is abnormal heat, cutout behavior, unexpected acceleration, or an error code.
For distributors and repair teams, this routine also creates a useful returns record. Photos of the original label, plug set, and test result make it easier to distinguish a compatibility issue from an installation or vehicle fault.
Stocking electric cycle spares for repeatable service
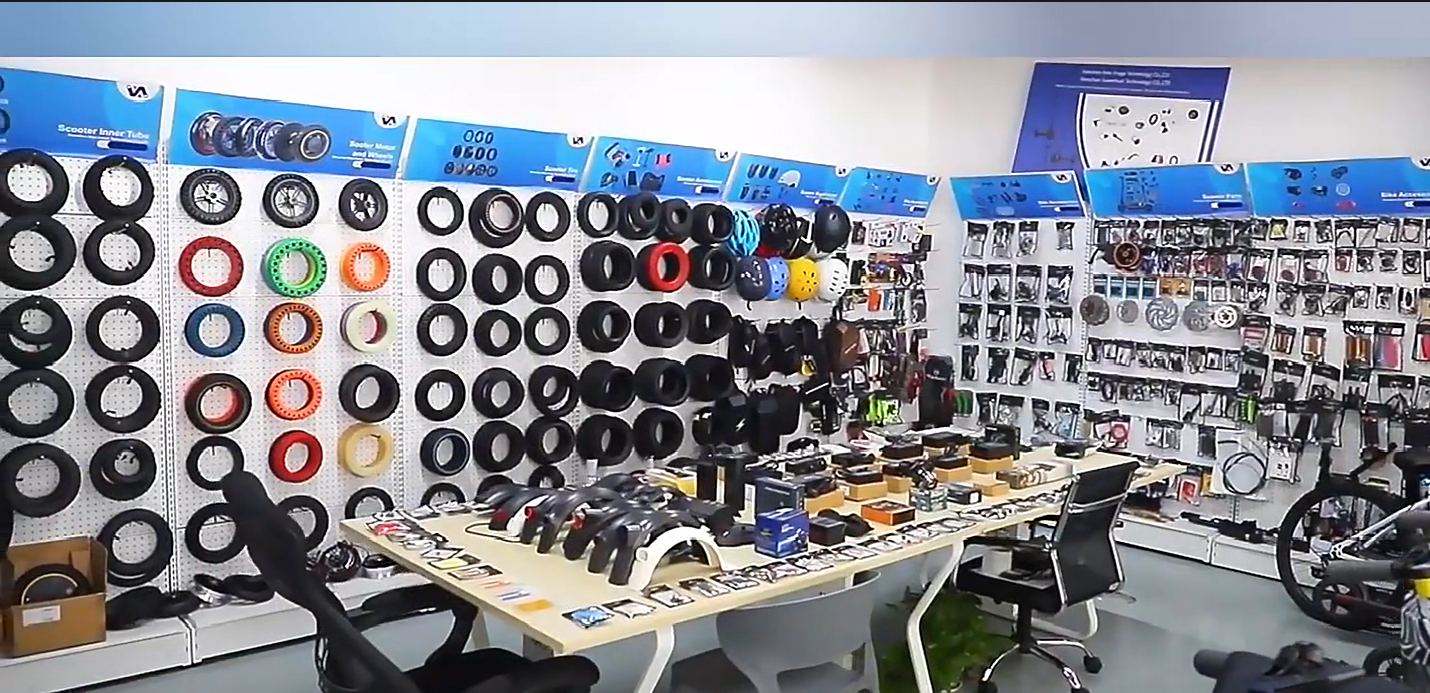
For a repair counter or wholesale program, classify electric cycle spares by confirmed platform, not by a broad controller label. A practical record for electric cycle spares includes the controller photo, connector map, battery-voltage range, current limit, mounting dimensions, and compatible display family. That documentation makes electric cycle spares easier to quote accurately and reduces return discussions after delivery.
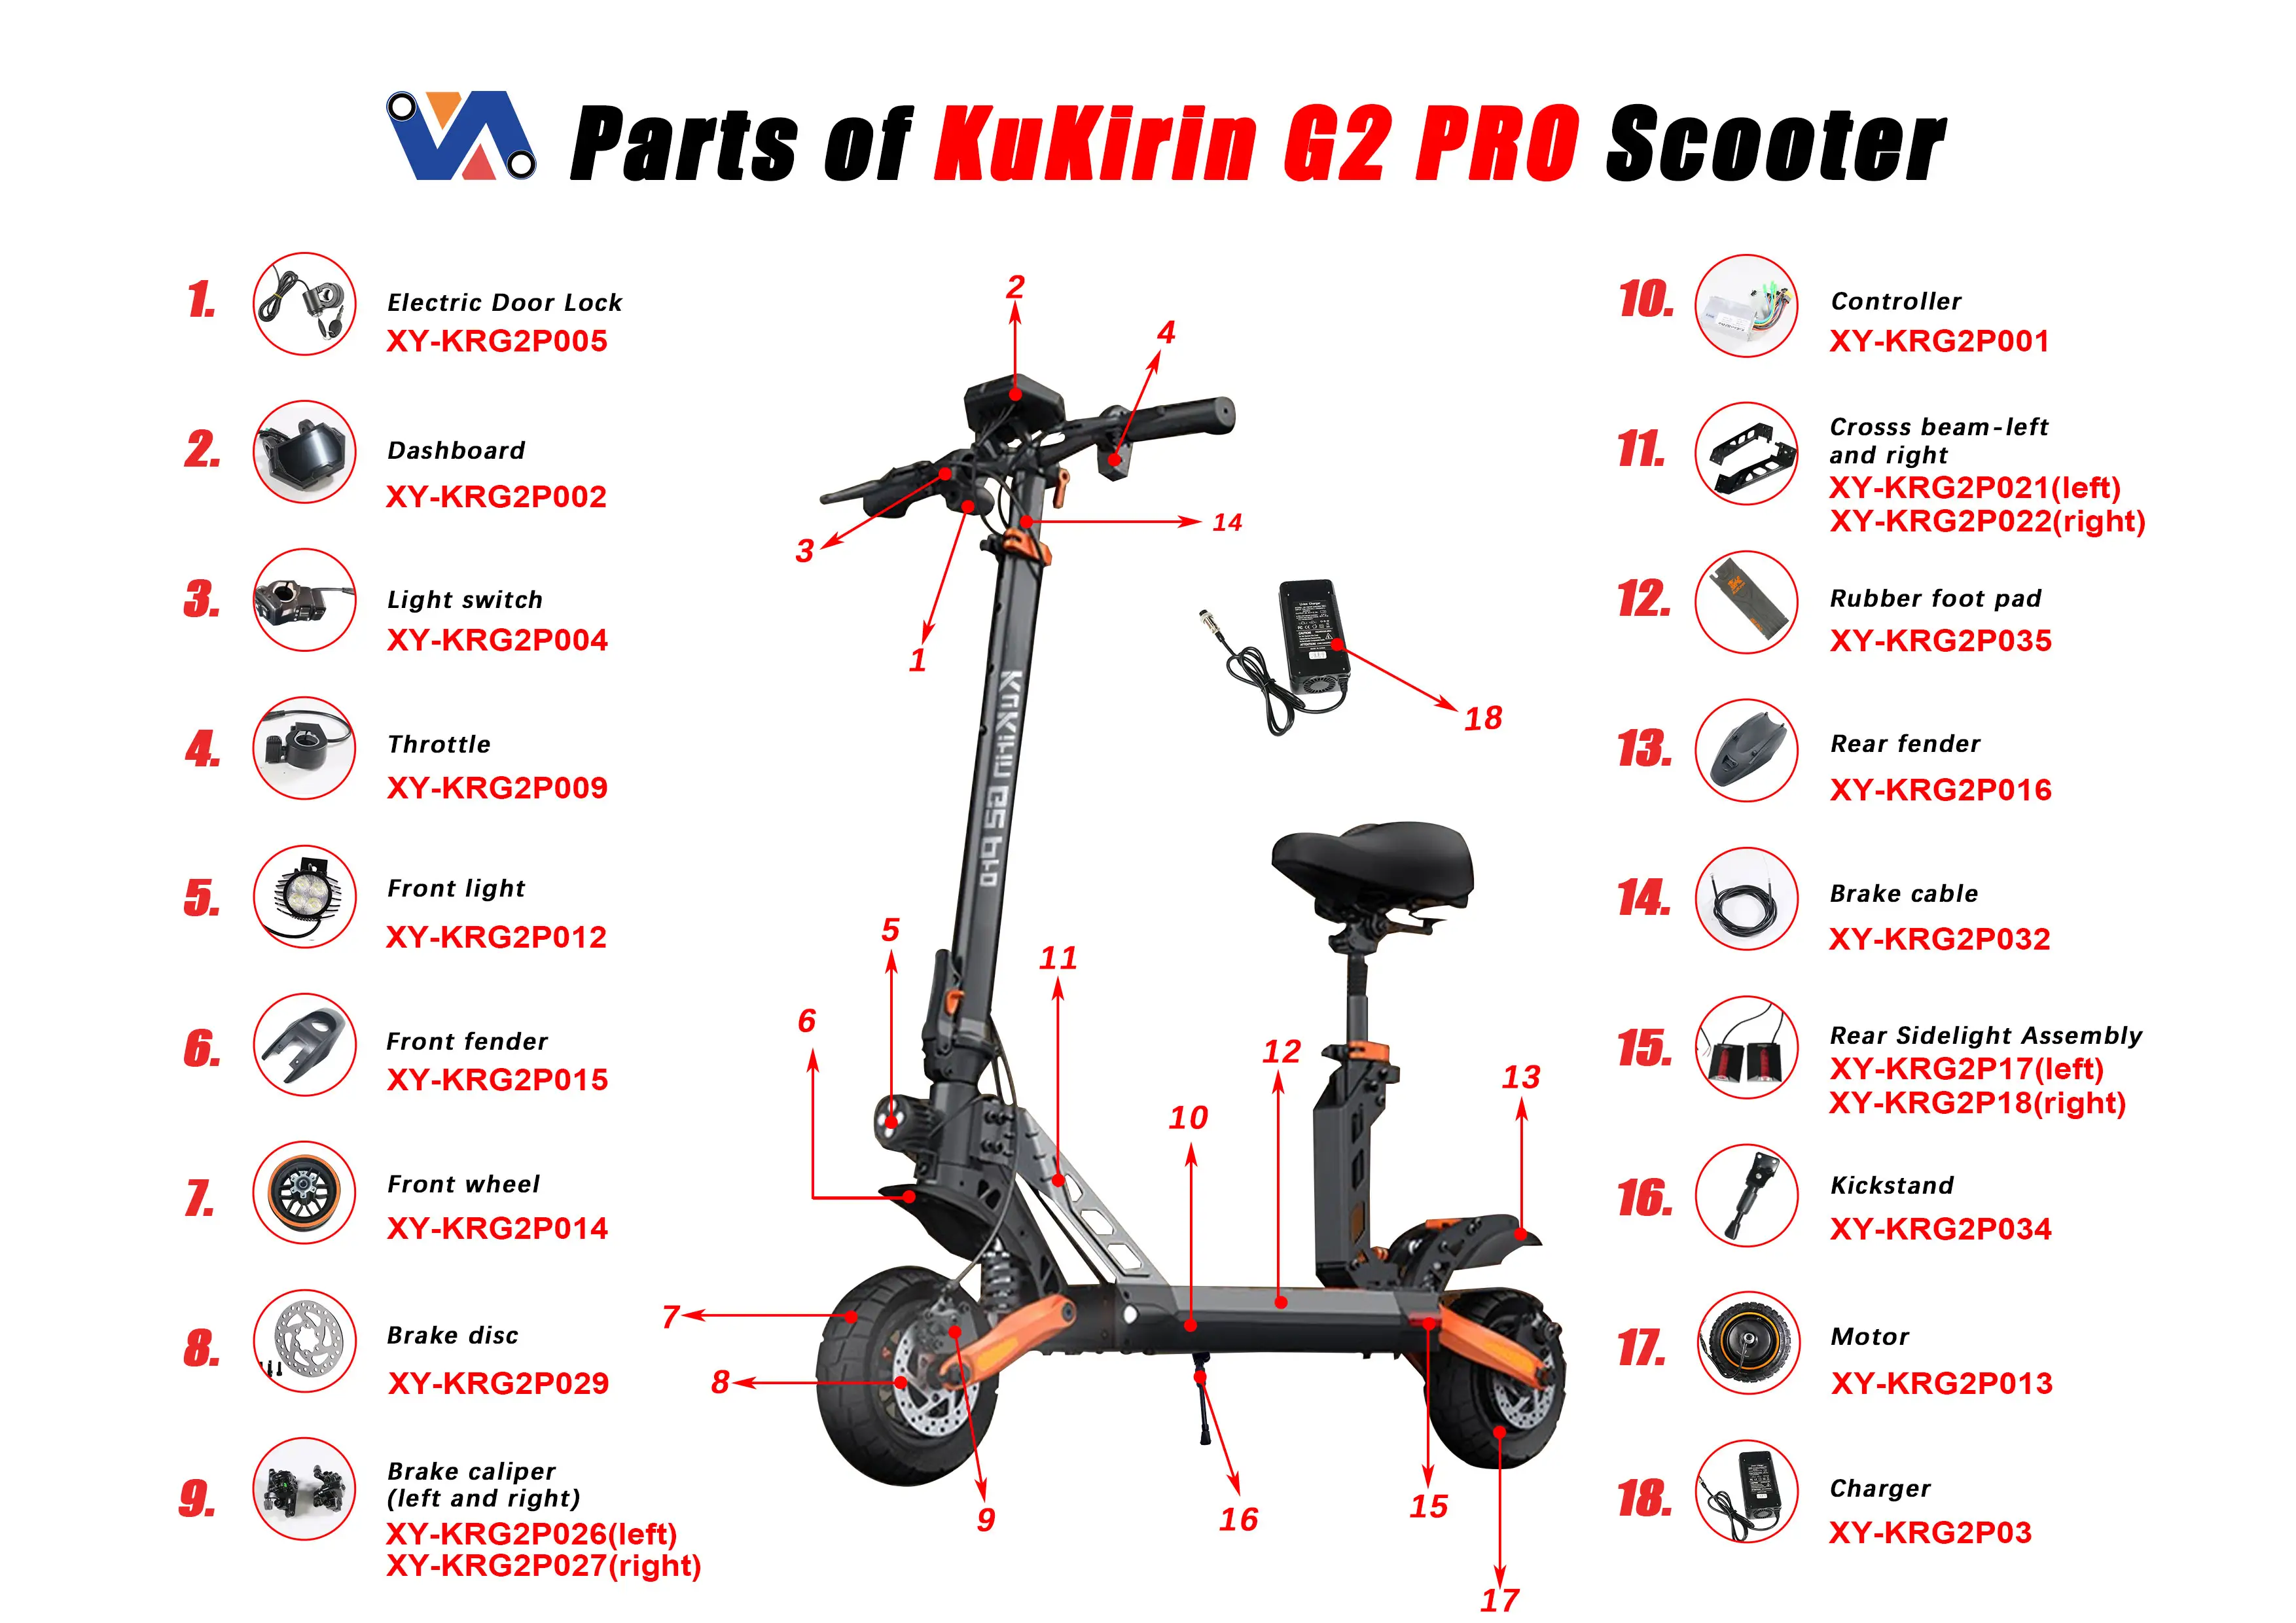
Keep each controller with related electric cycle spares such as matching cable harnesses, displays, brake switches, throttles, PAS sensors, and battery adapters only when their compatibility is documented. Buyers comparing electric cycle spares should be able to see which facts are verified and which must be checked on the vehicle. This is more useful than calling every 48V part universal.
Before placing a bulk order for electric cycle spares, ask the end user or service team for label photos, connector close-ups, and the e-bike model details. These inputs turn electric cycle spares from a generic catalog category into a controlled replacement decision. For distributors, a simple pre-sale form for electric cycle spares also helps technical support teams identify mismatches earlier.
After installation, log the test result beside the SKU. Over time, those records help a service business source electric cycle spares with clearer compatibility notes, while technicians can identify recurring plug, display, or mounting issues. Careful documentation is one of the most practical ways to improve the reliability of electric cycle spares supply.
Final buying decision: match the system, not just the label
A 48V 18A controller can be the right replacement when its voltage range, current capability, motor interface, battery BMS requirements, display protocol, connectors, and physical dimensions all align with the e-bike. Treat the 48V 18A label as the beginning of the evaluation, not the conclusion.
When sourcing electric cycle spares, provide the old controller label, full connector photos, vehicle model and year, battery specifications, and any fault code to the supplier. That information supports a more accurate compatibility check and helps keep the repair safe, efficient, and repeatable.