EN



OUXI GT2000 54.6V Charger Replacement Guide for Repair Technicians
When an OUXI GT2000 arrives after an e bike battery replacement, the charger is often treated as an afterthought. That is a costly shortcut. A battery may be new, yet the bike can still refuse to charge because the charger output, connector, polarity, charge current, or battery-management-system (BMS) behavior has not been checked as a set.
From a repair-bench perspective, successful e bike battery replacement work starts with identification, not with plugging in the first charger that has a similar-looking connector. This guide explains a practical way to evaluate a 54.6V charger for an OUXI GT2000, isolate common faults, and document the checks for a workshop or parts counter.
Why charger checks belong in every e bike battery replacement
A typical “48V” lithium-ion e-bike pack may be built as 13 cells in series. When each group reaches about 4.2V, the pack reaches approximately 54.6V. That is why 54.6V is a familiar full-charge voltage for a typical 13S lithium-ion pack. It is a useful clue during e bike battery replacement, but it is not a complete compatibility verdict.
Before connecting power, verify the battery chemistry, series configuration, charge-port function, and manufacturer documentation. A nominal-voltage label alone does not confirm that a charger is correct. In particular, do not assume that a charger for a different “48V” battery has the right termination behavior, plug wiring, or BMS handshake.
Technicians commonly see a simple pattern: the replacement pack fits the frame, the display powers on, and then charging fails. The fault may be the charger, a damaged charge-port lead, an incompatible connector, or a BMS that is protecting the pack. Treating this as an e bike battery replacement diagnosis rather than a single-part swap keeps the process controlled.
Start with a five-point compatibility record
- Read the battery label. Record nominal voltage, chemistry, capacity, model reference, and any stated charging specification. Photograph the label for the job file.
- Read the charger label. Confirm its stated DC output. The verified OUXI GT2000 replacement listing identifies a 54.6V, 4.5A charger; verify that this specification matches the particular battery being serviced.
- Inspect the connector, not just its shape. Check pin count, keying, pin condition, and polarity with appropriate test equipment. Similar barrel or aviation-style connectors are not automatically interchangeable.
- Check the current requirement. Charge current influences heat, charging time, and the limits set by the battery and BMS. A higher-amp label is not automatically an upgrade for an e bike battery replacement.
- Inspect the harness and port. Look for loose terminals, corrosion, melted insulation, or a recessed contact before applying charger power.
This record is especially useful when a customer brings in a spare ebike battery. A spare pack should be verified with the same discipline as the original: model compatibility, physical retention, charge connection, and safe charging behavior all matter.
A repair-bench workflow for the OUXI GT2000 charger
1. Confirm the symptom before replacing parts
Ask whether the charge indicator changes state, whether the battery has been left unused, and whether the bike operates from the pack. Then inspect the charger cable and connector with the charger unplugged. If the connector or cable is damaged, stop there; an e bike battery replacement cannot compensate for a compromised charging path.
2. Measure output only with safe procedures
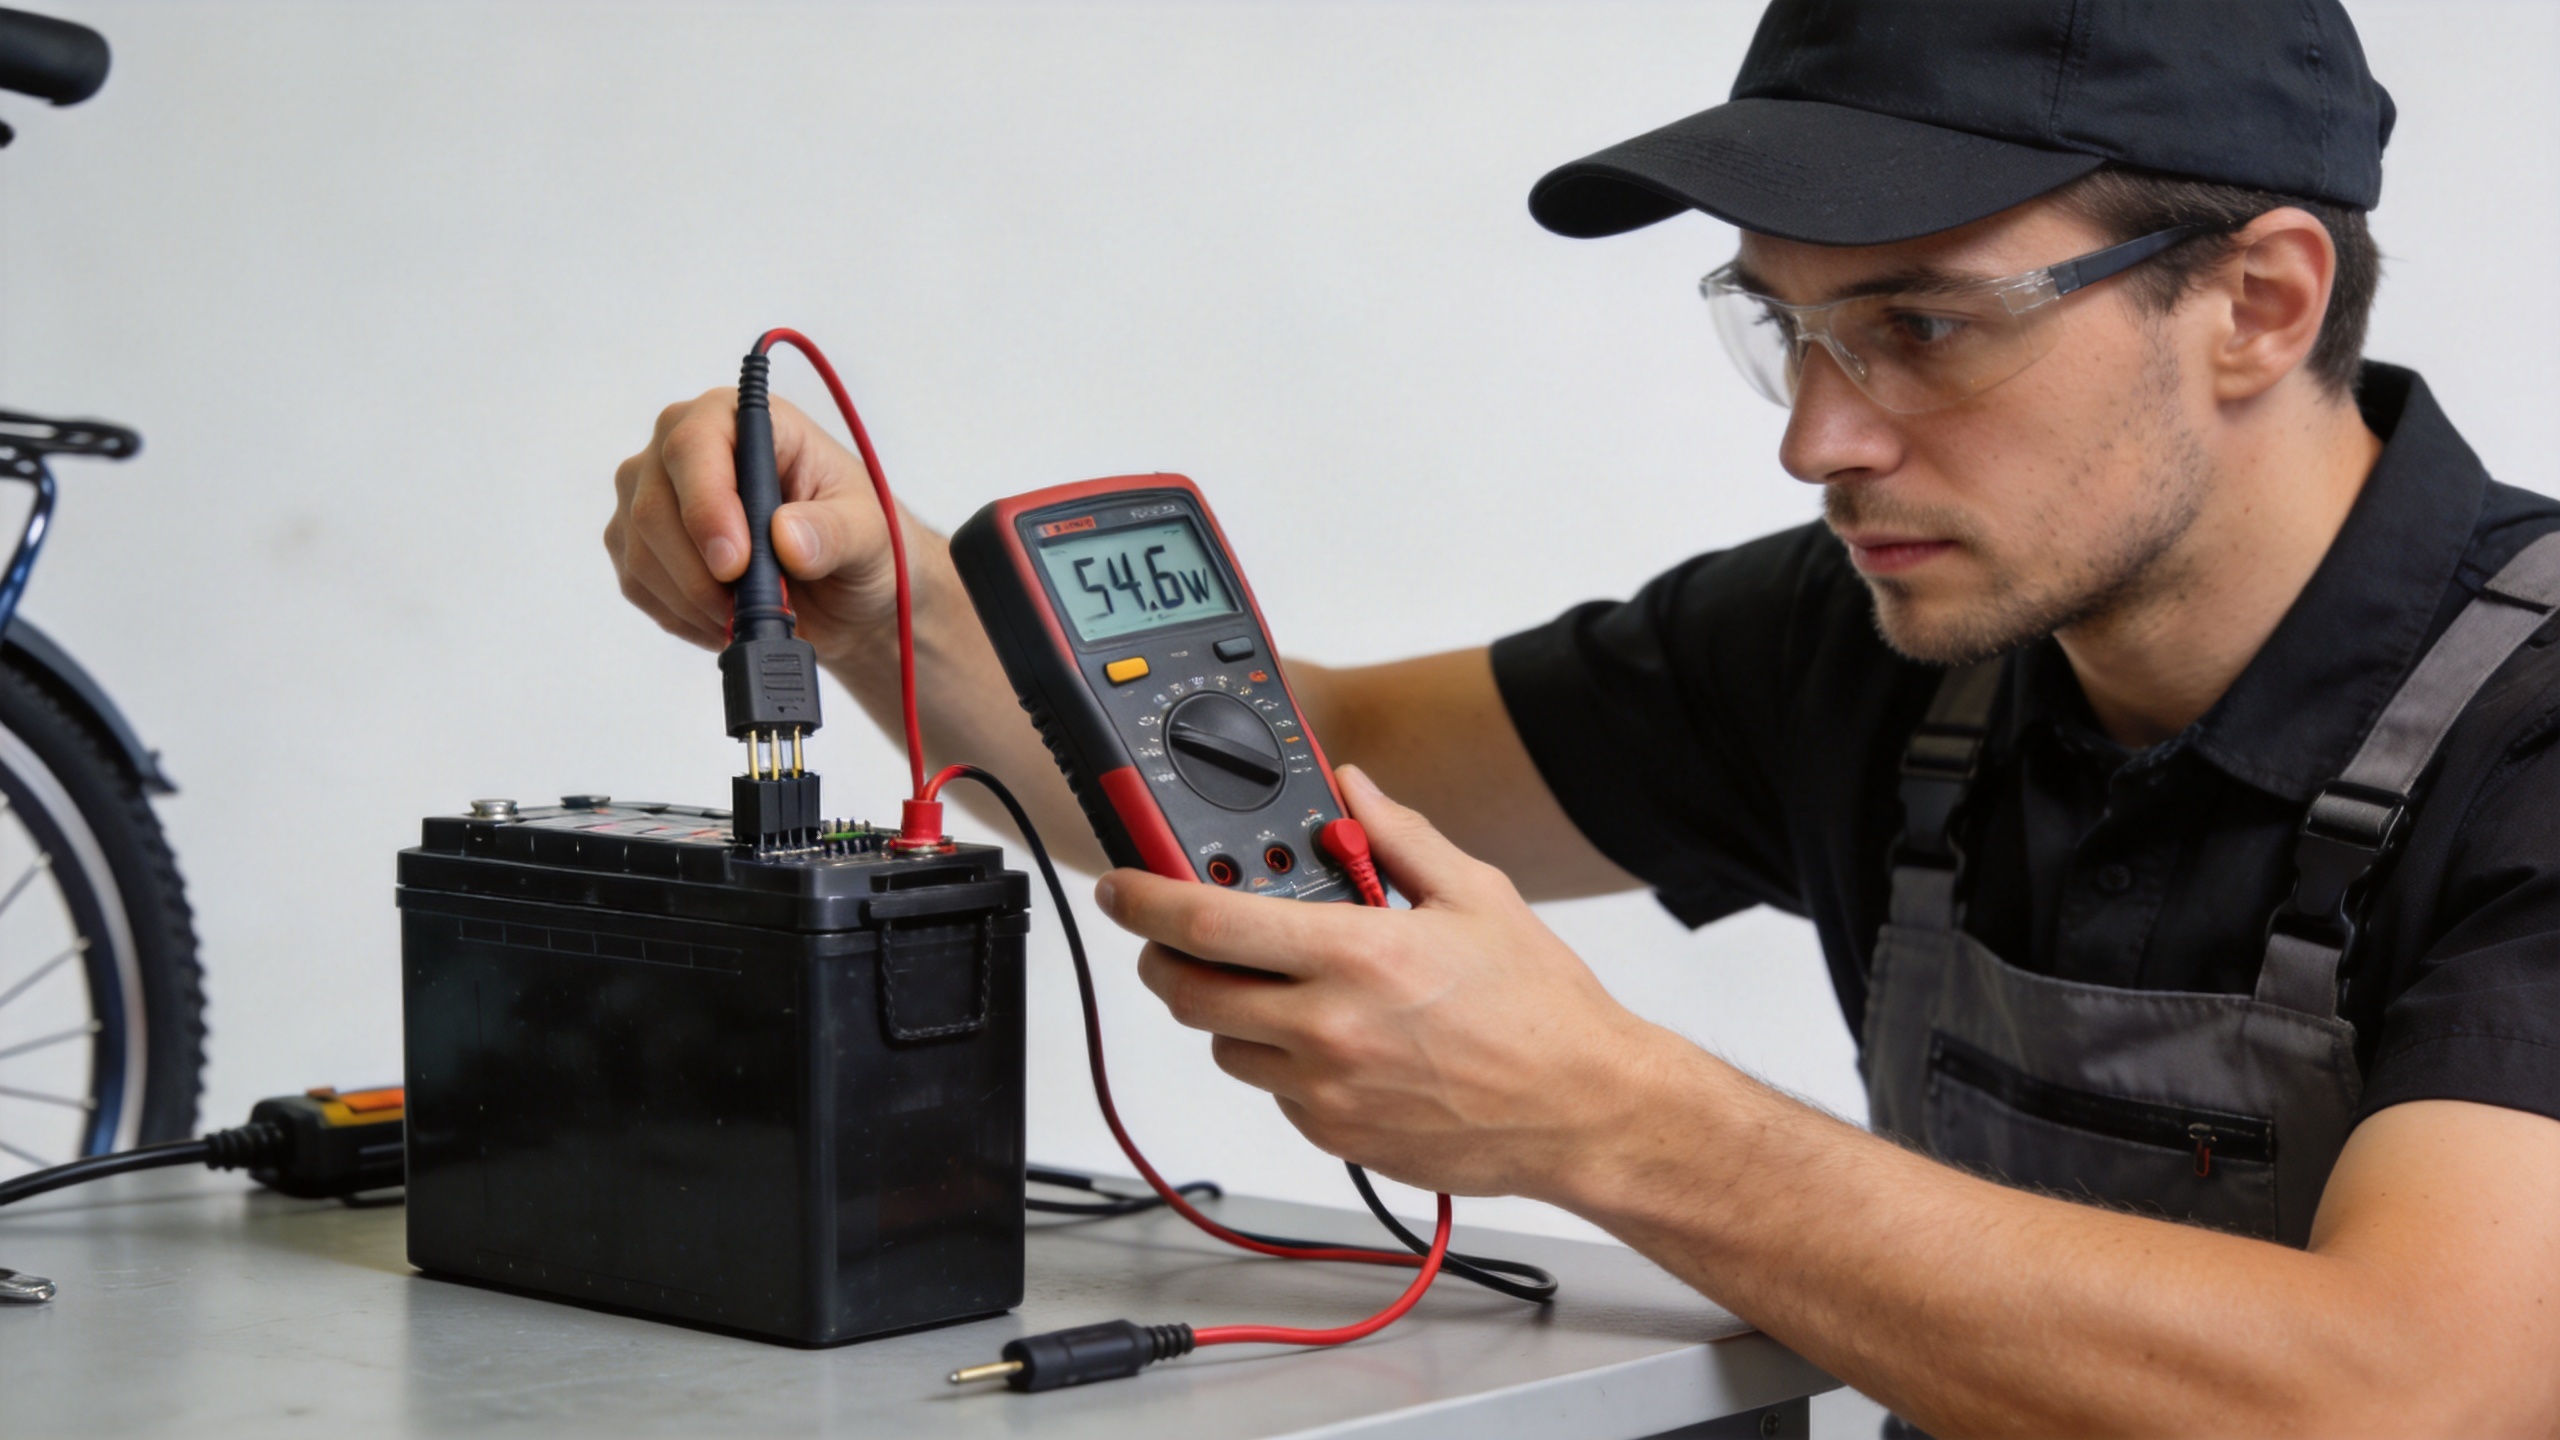
Using appropriate electrical safety practices and a suitable meter, compare the charger’s no-load output with its label specification. A reading alone does not prove that the charger will perform correctly under load, but a clear mismatch is a reason not to connect it to the battery. Do not bypass the BMS or improvise wiring to “make it fit.”
3. Check the battery-side charge path
With the correct documentation and tools, inspect the charge-port continuity and connector condition. If the charger output is appropriate but charging does not begin, the next step is to evaluate the port, harness, and BMS state—not to substitute an arbitrary charger. This distinction prevents a second e bike battery replacement from being blamed for an existing wiring fault.
4. Observe the initial charge session
After all compatibility checks pass, monitor the first connection. Watch the charger indicator, connector temperature, cable condition, and any abnormal smell or heat. If anything appears abnormal, disconnect power and investigate. Do not leave a newly configured battery-and-charger combination unattended.
How to use the verified 54.6V 4.5A replacement option
For a repair case where the battery specification, connector, polarity, and current requirement have all been confirmed, the New Image OUXI GT2000 54.6V 4.5A charger replacement is a model-specific option to evaluate. Its listing confirms the charger’s stated 54.6V and 4.5A specification; it does not eliminate the need to validate the individual vehicle and battery before installation.
For parts teams, this is the moment to document the exact bike model, battery label, connector photo, and technician sign-off. It reduces repeat troubleshooting when a customer later returns with a different spare ebike battery or an unverified adapter.
Common mistakes after e bike battery replacement
- Matching on nominal voltage while ignoring chemistry and series count.
- Assuming a physically compatible plug has the correct polarity or pin assignment.
- Using a higher-current charger without confirming the battery and BMS allowance.
- Replacing the battery before checking a worn charge port or damaged harness.
- Leaving the first charge session unobserved after an e bike battery replacement.
Many repair problems are not caused by the replacement battery itself. They come from a missing compatibility record. For service businesses, a repeatable inspection sheet is more valuable than a fast guess because it gives every technician the same decision path.
Final checklist for technicians
Complete the e bike battery replacement only after you have confirmed: the battery’s chemistry and configuration; the charger’s stated output; connector fit and polarity; charge-current suitability; cable and port condition; and normal behavior during an attended initial charge. For the OUXI GT2000, a 54.6V 4.5A replacement charger may be appropriate only when those model- and battery-specific checks support it.
The practical takeaway is straightforward: verify first, connect second. That approach protects the battery, helps the workshop find the real fault, and gives customers clearer guidance when they need a charger or a spare ebike battery.