EN
EN


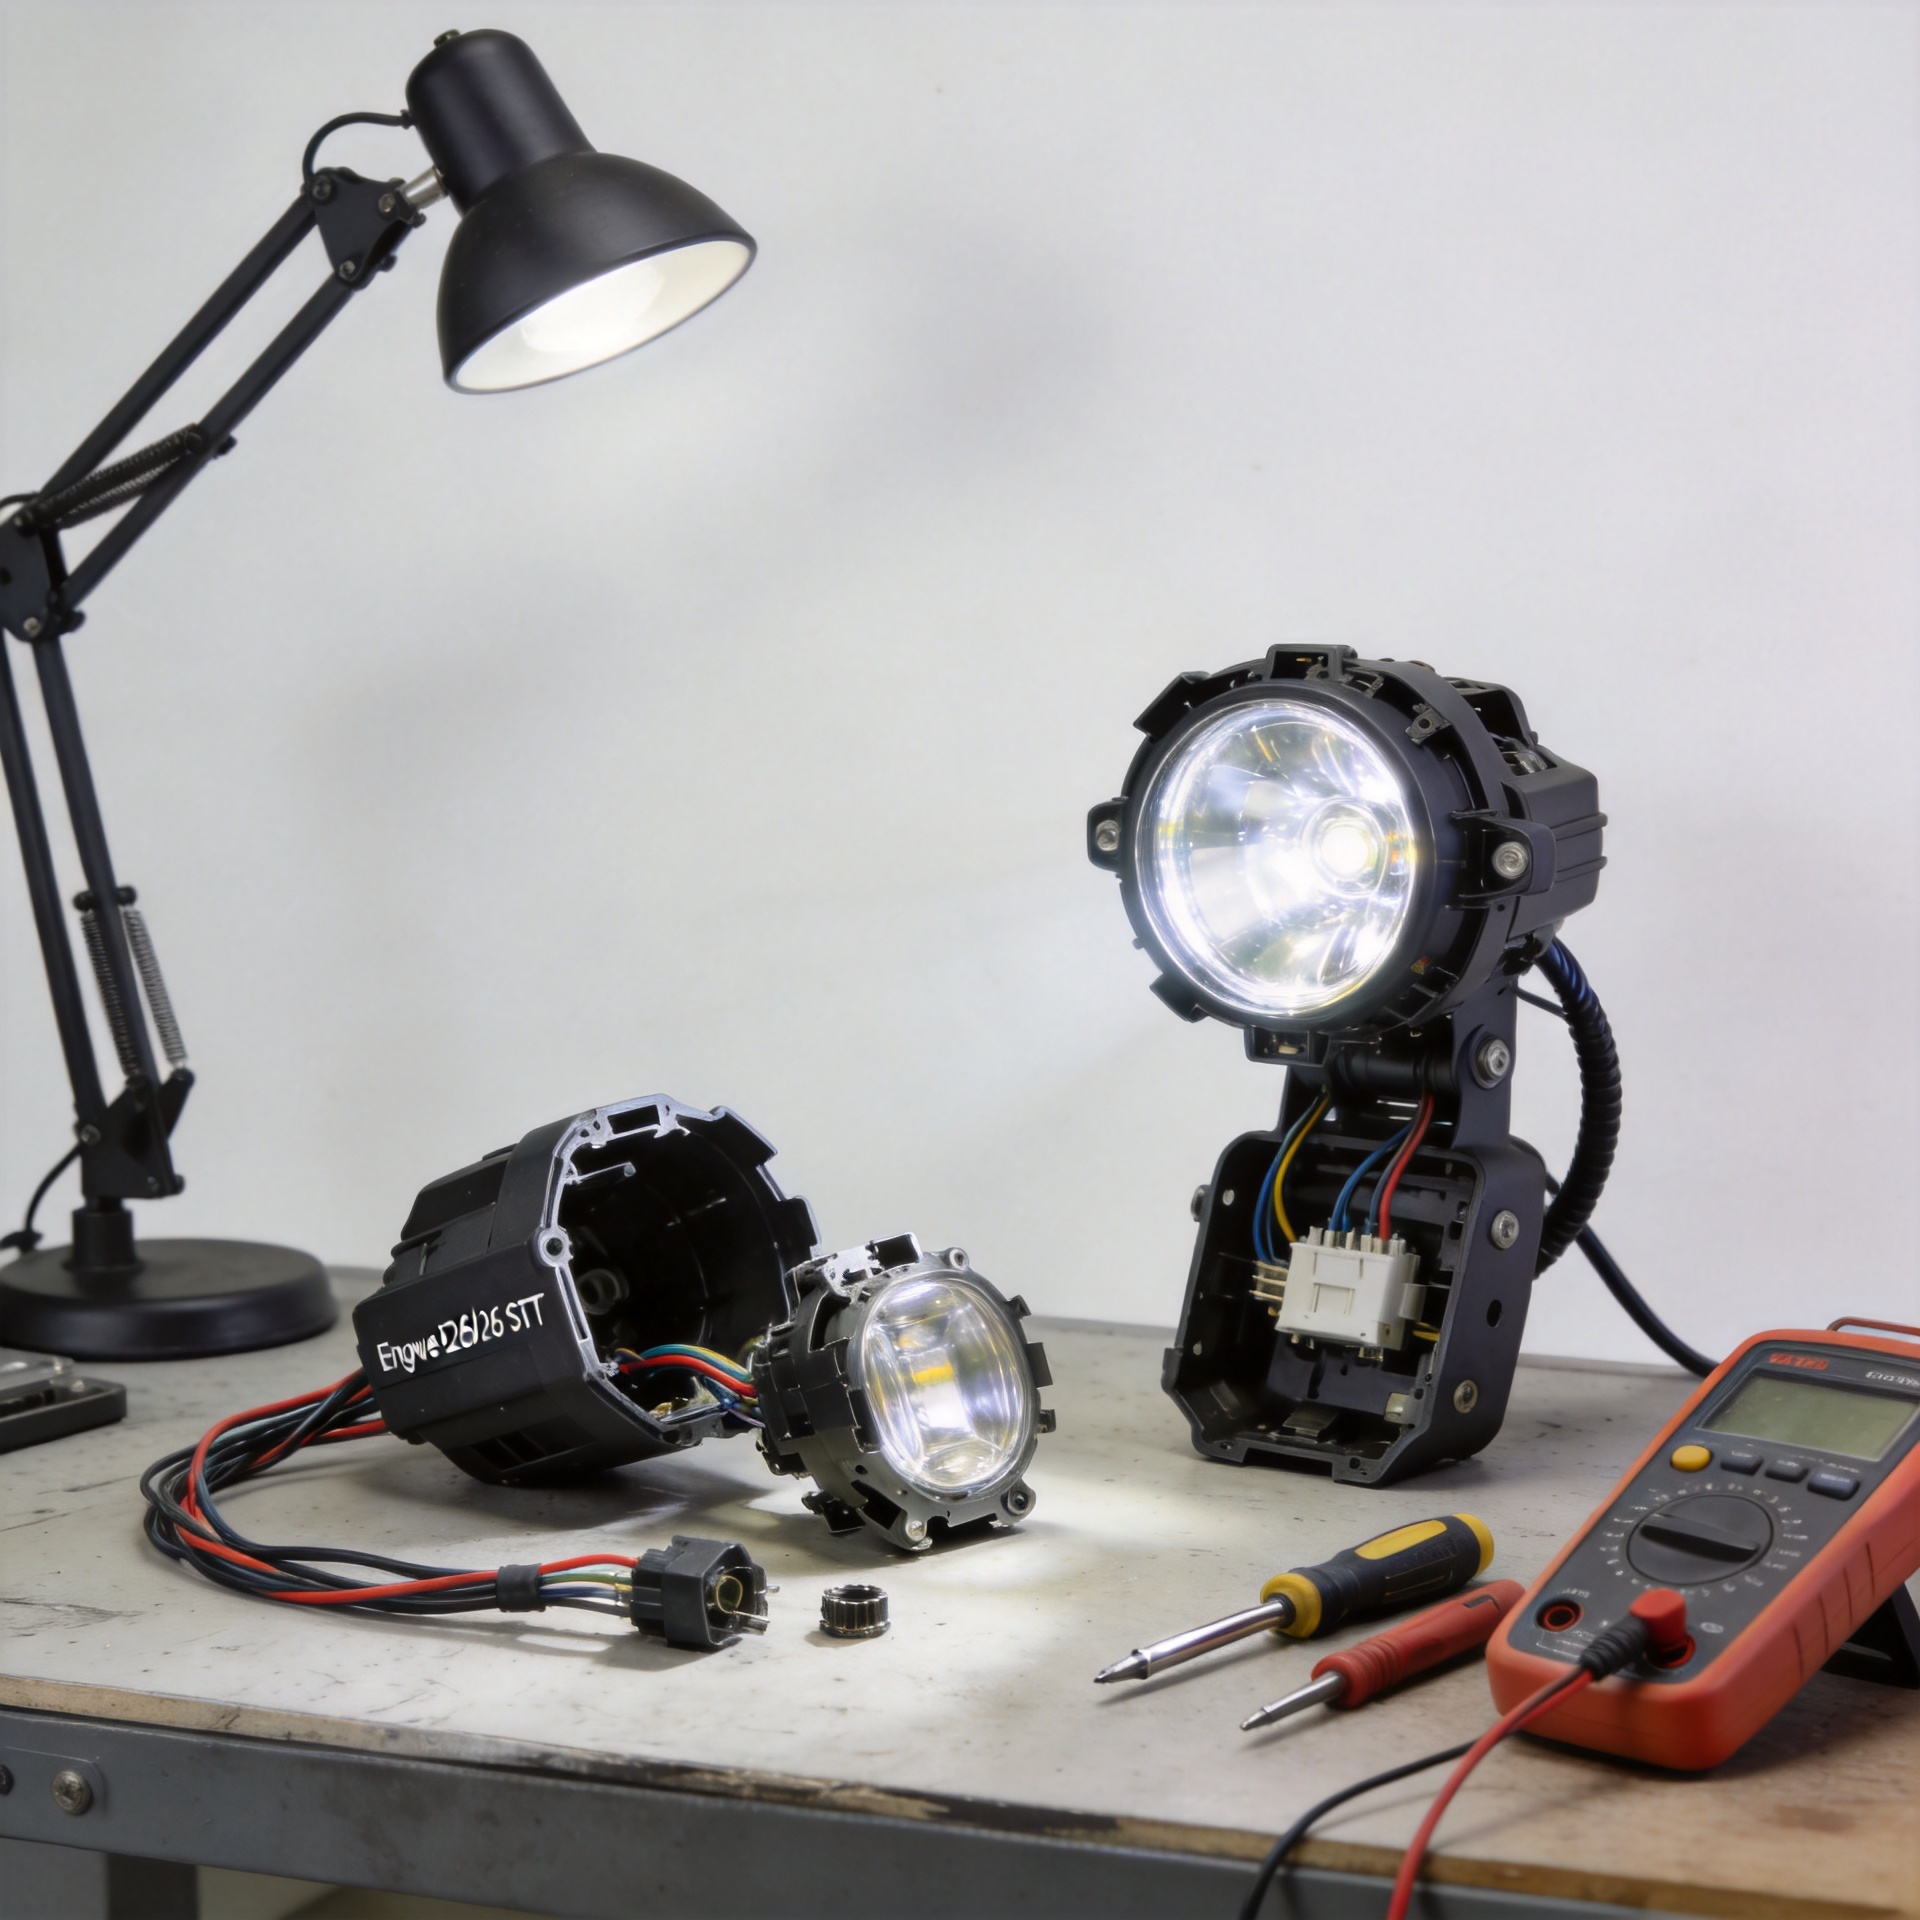
What to Check Before Replacing an Engwe E26 or E26 ST E-Bike Headlight
Replacing a front lamp can look like a simple job, but e bike lights may not be interchangeable just because the housing looks similar. Before ordering a replacement for an Engwe E26 or E26 ST, treat the task as a compatibility check: confirm the bike version, inspect the original lamp and wiring, and verify the mounting and weather-sealing details. That approach is more useful than choosing by brightness claims alone.
From a parts-support perspective, the first question is not “Which light is brightest?” It is “Which light matches the bike that is actually in front of me?” A close photo, the original part label, and a few measurements can prevent an incorrect purchase and an avoidable wiring repair.
1. Identify the exact bike and the exact front-light position
Start with the model name shown on the frame, purchase record, or original documentation. Confirm whether the bike is an Engwe E26 or E26 ST, then confirm that you are replacing the front headlight rather than a rear lamp, reflector, or accessory light. Small model revisions can use different brackets, cable routing, or controller connections.
Take clear photos before removing anything: one wide photo of the fork and handlebar area, one of the lamp body, one of the bracket, and one of the connector. Also record where the cable enters the frame or fork. These references make it much easier to compare a replacement listing with the original installation.
2. Inspect the original light label instead of guessing electrical specifications
The most important check for e bike lights is the original electrical information. Look for a label on the lamp body, cable tag, controller documentation, or wiring diagram. Record every readable marking, including voltage, power, polarity symbols, connector information, and any model or batch code.
Do not assume that two lights with similar plugs operate from the same supply. A replacement needs to suit the headlight output provided by the bike’s electrical system. If the marking is missing or unclear, pause before ordering. Ask a qualified technician or the bike supplier to confirm the controller’s light-output specification; a multimeter check should be performed only by someone who understands the bike’s electrical system and safe test procedure.
It is tempting to judge compatibility by the connector shape. In practice, a matching-looking plug does not prove matching voltage, pin assignment, or power demand. This is where a few minutes of verification can save far more time than a return shipment.
3. Compare the connector, wire count, and cable condition
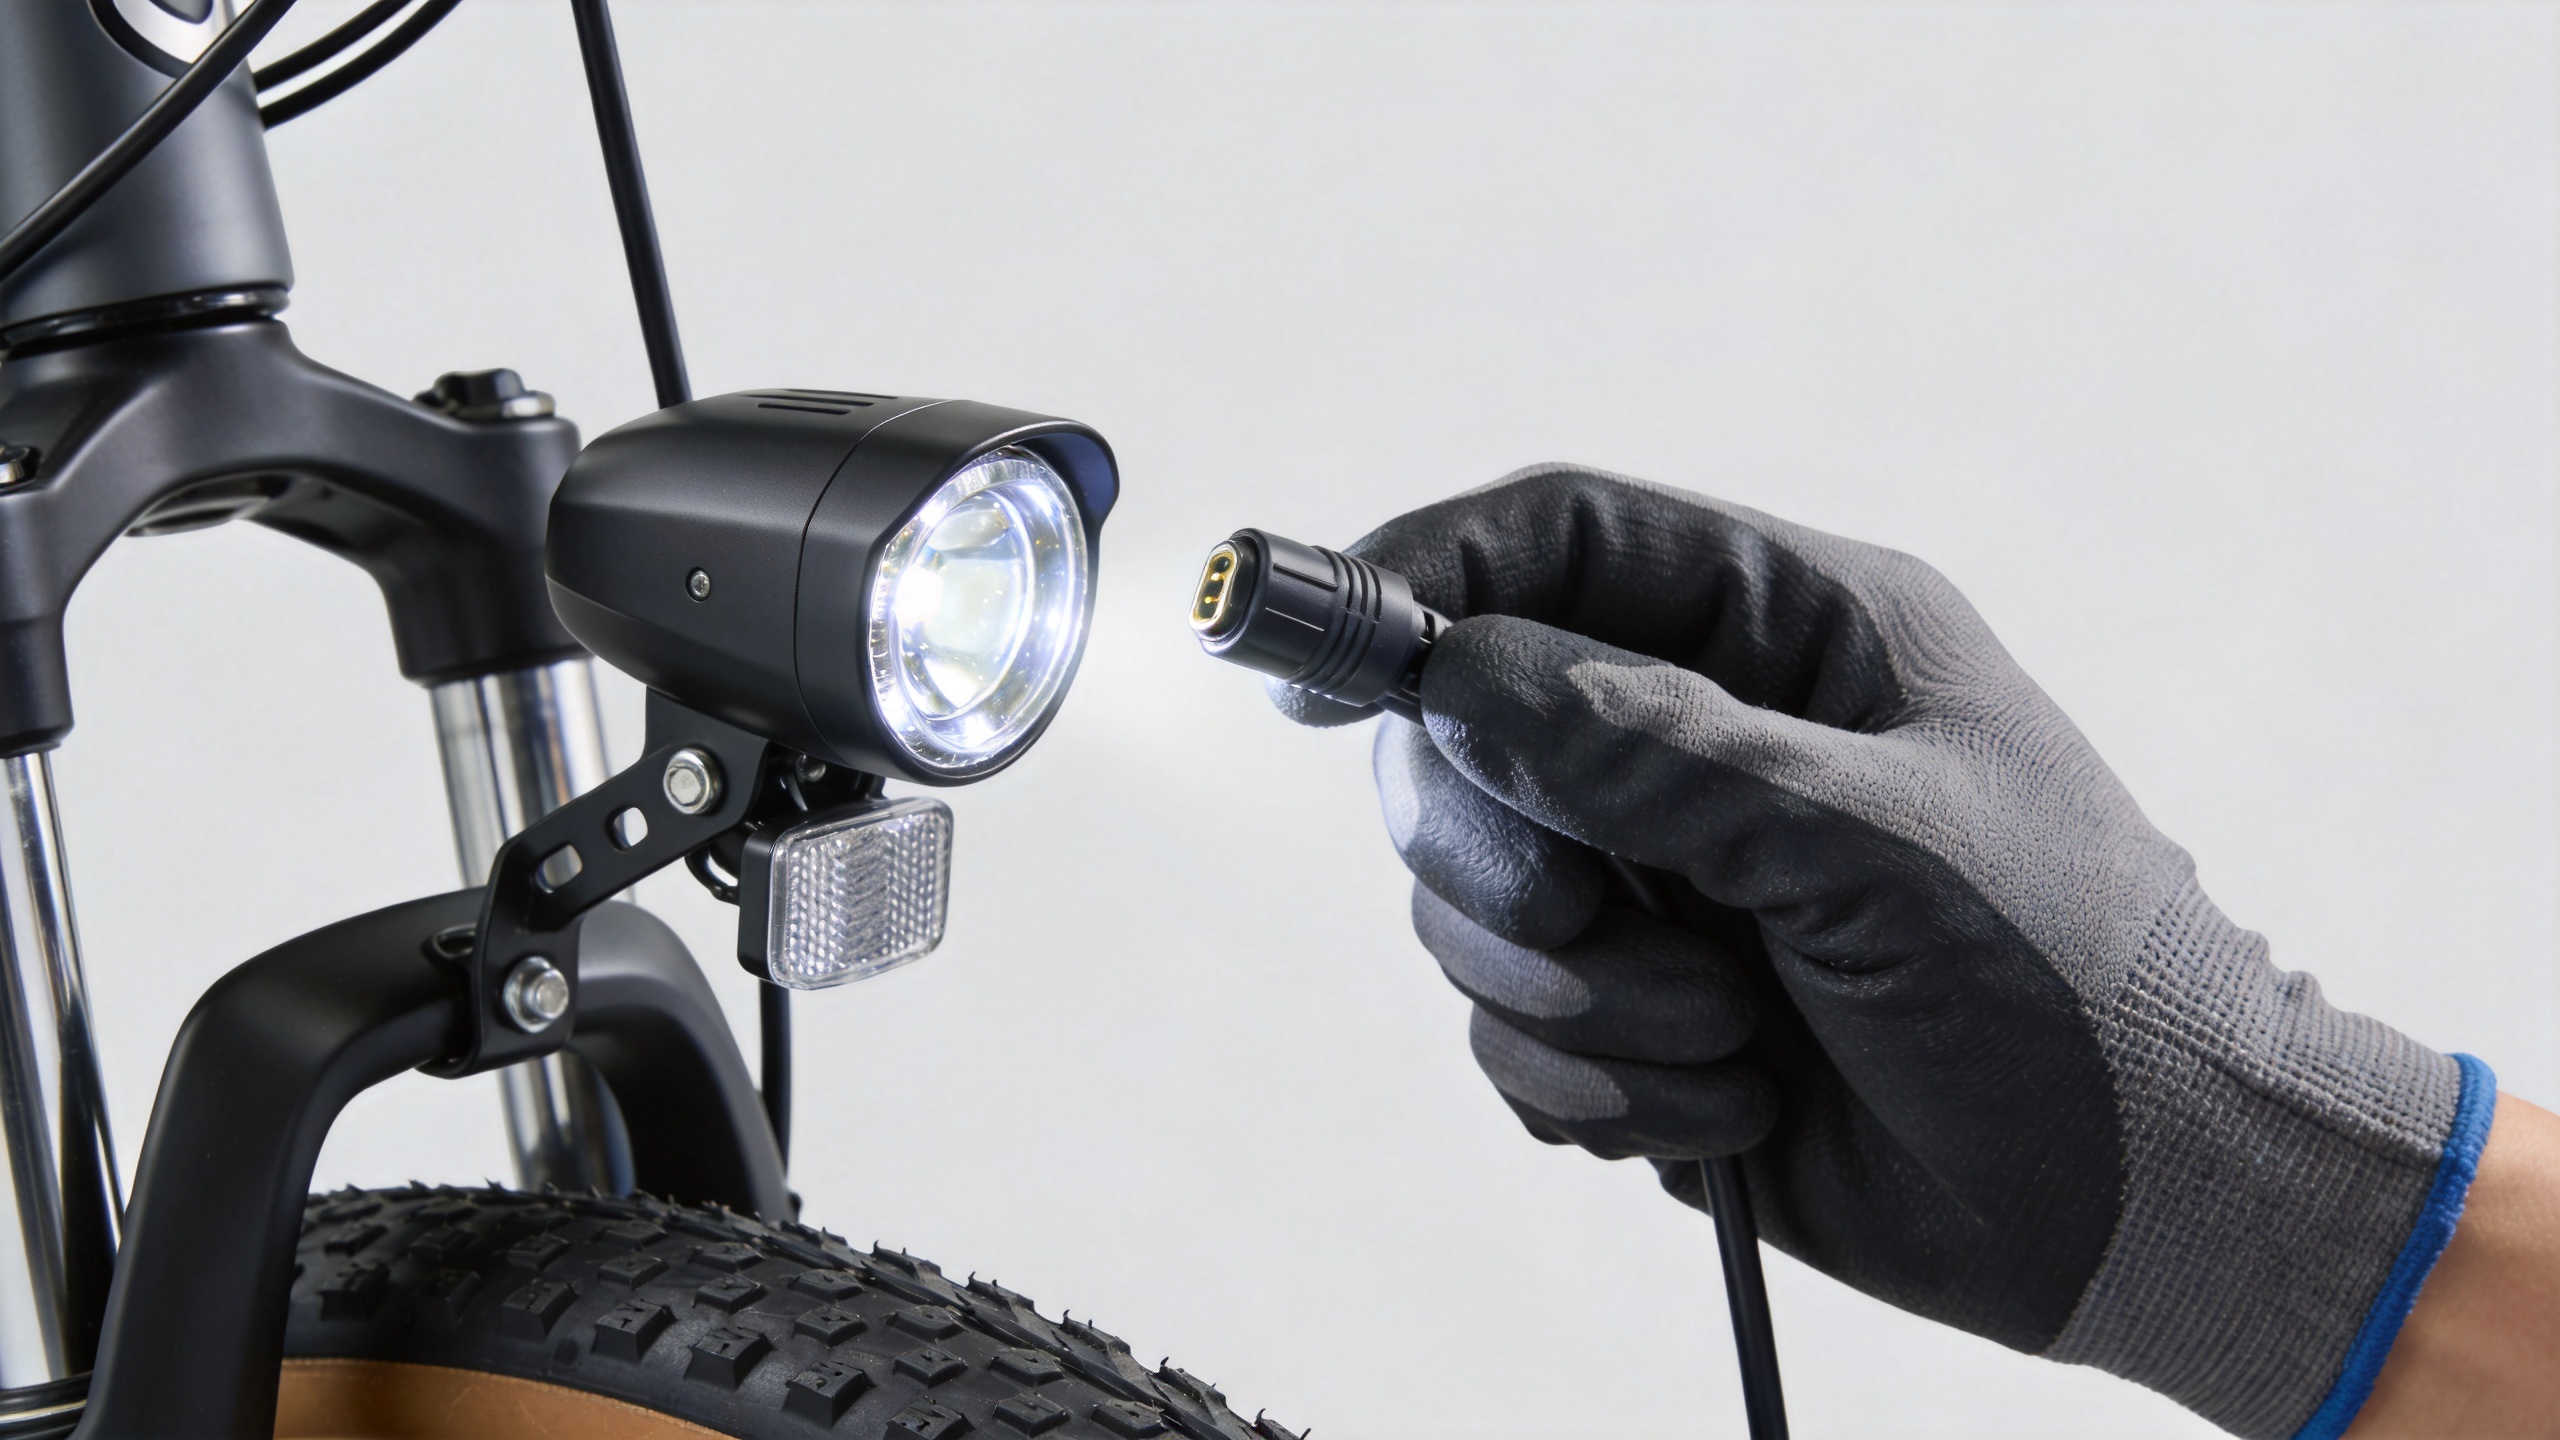
With the bike powered off, inspect the original connector without forcing it apart. Note the number of pins, the connector shape, locating key, sealing rings, cable length, and any color markings. Check the cable for flattened sections, cracked insulation, corrosion, or a loose strain-relief point near the light housing.
- Pin count: Count visible terminals; do not rely on a product photo alone.
- Keying: Check how the plug is oriented. A connector that cannot mate naturally should not be forced.
- Wire route: Make sure a replacement lead can follow the existing route without pulling tight during steering.
- Damage source: If the cable or connector is damaged, replacing only the lamp may not solve the fault.
For an E26/E26 ST-specific replacement search, use the original photos and identifiers to compare against the product description. The verified catalog item is listed as Engwe E26 E26 ST Special Front Headlight Waterproof LED Lamp Electric Bike Lighting Spare Accessory. The title supports the intended model and front-light application; it does not by itself confirm an individual bike’s connector or electrical specification, so those checks still matter.
4. Check the bracket, aiming position, and physical clearance
Before selecting e bike lights, inspect how the original unit is secured. Measure the bracket width, mounting-hole diameter, bolt location, and the distance between the lamp and nearby cables. Turn the handlebar slowly from lock to lock and watch for contact with the light, wire, fork, fender, or basket.
Also note the beam direction. A lamp mounted at the wrong angle can reduce useful road illumination or create glare for other road users. Mark the original bracket position with a removable reference before disassembly. That gives you a practical starting point when fitting the replacement, while final alignment should be checked in a safe, controlled location.
5. Evaluate water exposure and the condition of seals
Water resistance is a system issue, not only a lamp feature. Inspect the lens edge, cable entry, connector seal, and mounting location for cracks, missing caps, dirt, or corrosion. If the old light failed after rain or washing, look for the path water may have taken. Replacing the lamp without addressing a damaged connector seal or split cable sheath can repeat the same problem.
Do not translate a generic “waterproof” claim into a confirmed rating for your bike. Instead, verify the marking on the replacement documentation and compare it with the exposure your bike sees: rain, road spray, storage outdoors, or cleaning. Keep connectors clean and fully seated; avoid directing high-pressure water at electrical joints.
6. Use this pre-order checklist
- Confirm the frame model and that the failed unit is the front headlight.
- Photograph the lamp, bracket, cable path, and connector before removal.
- Copy the original electrical markings; do not infer them from plug appearance.
- Match pin count, keying, cable reach, and strain-relief layout.
- Compare bracket dimensions and steering clearance.
- Inspect seals and cable damage, especially if moisture was involved.
- Keep the original hardware until the replacement has been tested and aimed safely.
Quick e bike lights compatibility record
Use this short record while comparing e bike lights. It keeps the order focused on evidence from the bike, not assumptions from a listing.
| e bike lights check | What to record |
|---|---|
| e bike lights model check | Frame model and front-light location. |
| e bike lights label check | Every readable electrical marking. |
| e bike lights connector check | Pin count, keying, and seal condition. |
| e bike lights cable check | Wire route, length, and damaged insulation. |
| e bike lights bracket check | Hole position, width, and fastener type. |
| e bike lights clearance check | Space at full steering lock. |
| e bike lights seal check | Lens edge, cable entry, and connector gasket. |
| e bike lights moisture check | Corrosion, dirt, or evidence of water entry. |
| e bike lights supplier check | Photos and identifiers supplied for confirmation. |
| e bike lights listing check | Model wording matches the intended application. |
| e bike lights power check | Controller-output information is verified. |
| e bike lights polarity check | Qualified support confirms it if needed. |
| e bike lights mount check | The lamp can be aimed without interference. |
| e bike lights hardware check | Original bolts and spacers are retained for comparison. |
| e bike lights test check | Testing is planned only after correct installation. |
| e bike lights safety check | Do not force a plug or bypass a damaged cable. |
| e bike lights photo check | Keep before-removal images with the order record. |
| e bike lights review check | Resolve any mismatch before connecting power. |
| e bike lights final check | Confirm a secure fit and sensible beam aim. |
| e bike lights support check | Ask for help when labels or wiring remain unclear. |
This e bike lights record is intentionally conservative. For e bike lights used on an E26 or E26 ST, verified compatibility is more valuable than an untested upgrade. Keep the e bike lights record with your photos so a parts adviser can review the e bike lights installation details efficiently.
When to stop and ask for technical support
Stop the replacement process if the connector is burnt, the wiring insulation is damaged, the lamp has no readable information, or the bike’s light output cannot be confirmed. Those conditions call for an informed compatibility check rather than trial-and-error wiring. For parts buyers and repair teams, sending photos of the original lamp, connector, bracket, and frame model is usually the fastest way to obtain useful confirmation.
In short, a suitable e bike lights replacement is one that fits the bike electrically, physically, and environmentally. For an Engwe E26 or E26 ST, verify the original installation first, use the model-specific product listing as a starting point rather than proof of every specification, and resolve uncertainty before connecting a new lamp.