EN


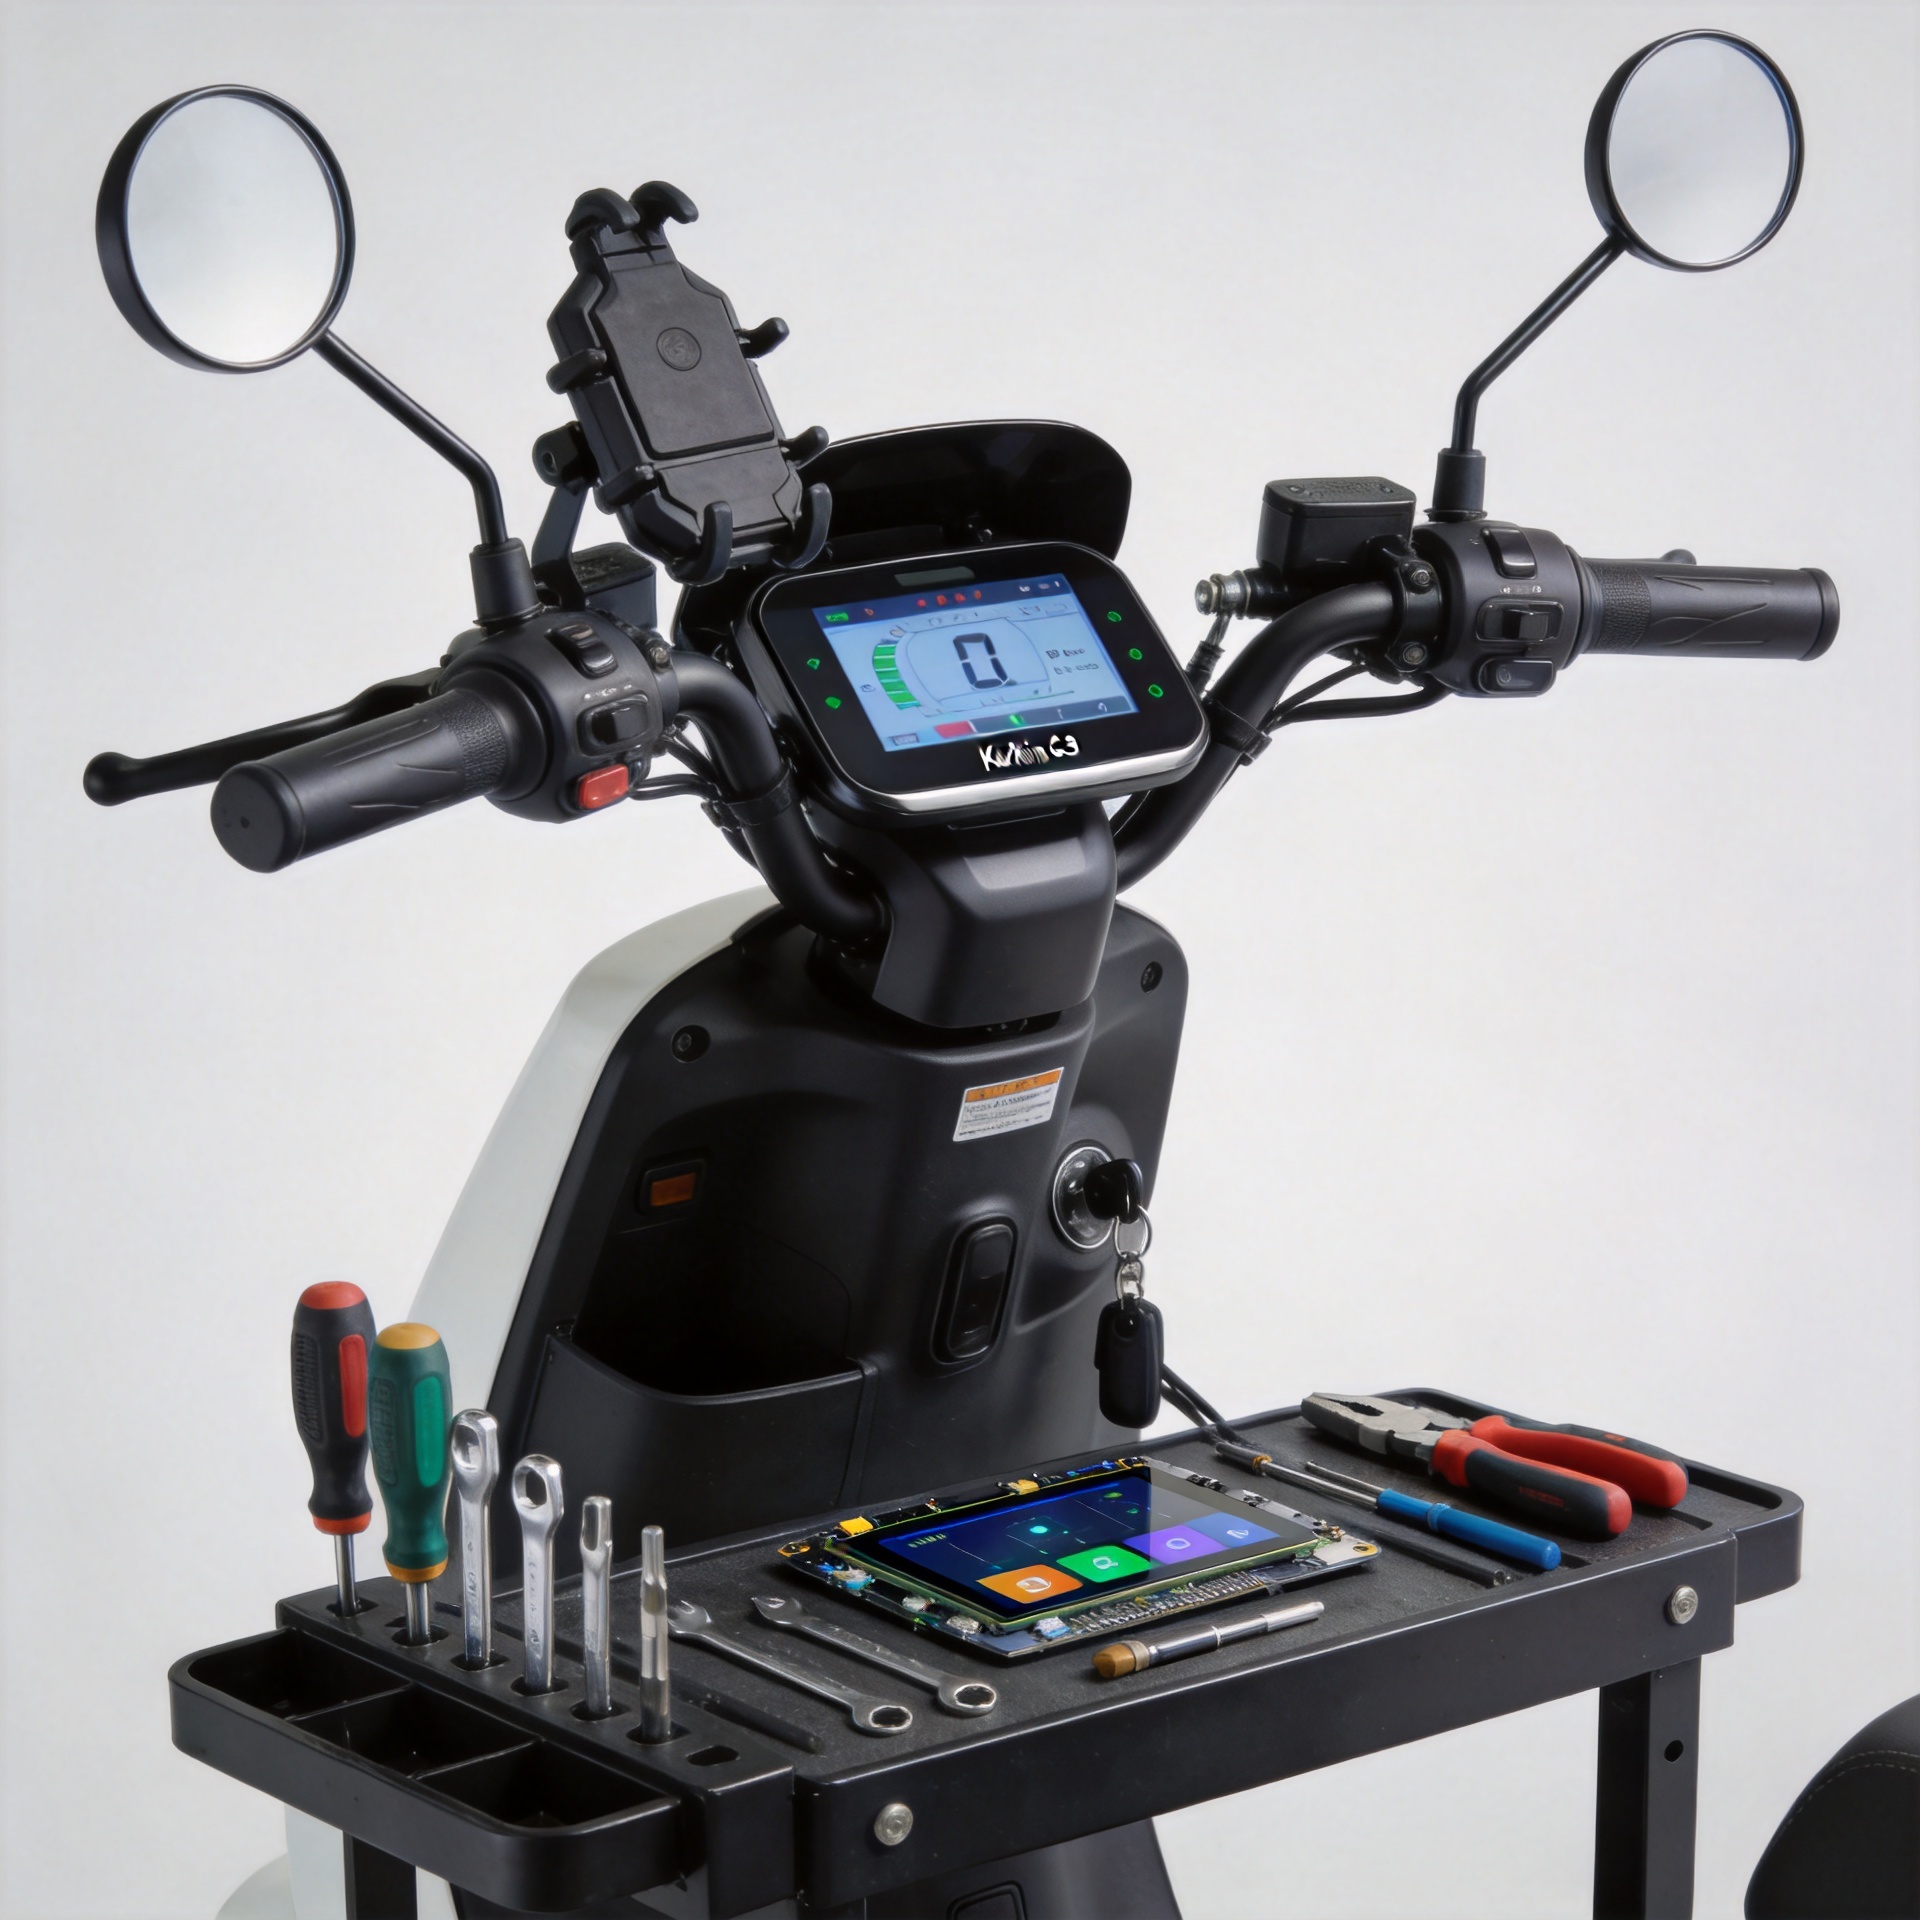
How to Replace a KuKirin G3 Pro Display Screen: A Step-by-Step Guide
A blank, cracked, flickering, or unresponsive dashboard can make an otherwise rideable scooter difficult to use. If you are researching how to replace a Kukirin G3 Pro display screen, the job is usually manageable with careful preparation—but it is not a “plug in any screen and go” repair. The important part is confirming that the replacement matches your scooter before you open the deck or unplug the old display.
From a repair-bench perspective, the most useful rule is simple: protect the electrical system first, then make every connection deliberately. This guide follows a safe sequence—power isolation, access, old-screen removal, cable and mounting checks, installation, and testing—so you can work methodically rather than chase a fault after reassembly.
Before You Start: Confirm the Right Replacement and Work Safely
Start with a model-specific replacement display. Similar-looking scooter dashboards can differ in voltage, connector shape or pin arrangement, mounting hardware, controller communication, and firmware behavior. A screen that physically fits the handlebar may still fail to communicate correctly with the scooter. Compare the model designation, connector style, cable length, mounting position, and the supplier’s compatibility information before installation.
For a confirmed replacement option, review the product details for the 48V LCD Electric Scooter Display Screen for Kukirin G3 Pro Replacement and verify the fitment against your own scooter before ordering or fitting it.
Prepare a clean, dry, well-lit workspace and keep small fasteners in a tray. You may need the appropriate screwdriver or hex key for the display clamp and housing, a plastic trim tool, clean cloths, and a camera or phone for reference photos. Do not work while the charger is connected. Switch the scooter off, remove the key if applicable, and disconnect battery power according to the manufacturer’s service guidance before touching display wiring. Lithium-ion battery systems store significant energy; stop and seek qualified service if you see damaged insulation, heat marks, a swollen battery enclosure, or a burnt smell.
Step 1: Document the Fault and Isolate Power
Before dismantling anything, record the symptom. Does the display stay completely dark, power on but show an error, flicker over bumps, or work while the throttle and lights do not? A quick photo or short video preserves error codes and screen behavior for later troubleshooting. It also prevents you from mistaking a pre-existing controller or harness problem for a display fault.
- Park the scooter on a stable surface and switch it off.
- Unplug the charging cable and allow the scooter to sit for a few minutes.
- Follow the scooter’s approved procedure to isolate battery power before opening electrical compartments.
- Take photos of the handlebar, display position, cable route, and any connector labels.
Do not pull a cable to disconnect it. Grasp the connector body instead. If the wiring route is not visible without removing a cover, pause and make sure you understand which fasteners secure that cover; forcing plastic tabs or cable glands can create a second repair.
Step 2: Remove the Old Display Without Straining the Harness
Remove the display clamp, housing screws, or handlebar fasteners in the order that gives you access without twisting the cable. Support the screen with one hand as the final fastener comes free. Some assemblies have a seal, grommet, or cable guide that needs to be lifted gently rather than pried.
Once the old unit is loose, trace its lead to the connector. Check for a locking tab, threaded collar, or alignment marks. Release the lock first, then separate the connector straight along its axis. Do not rotate or force a plug that is keyed; bent pins and torn seals are common causes of a new screen that will not power on after an otherwise correct installation.
Use this moment to inspect the harness. Look for crushed sections near the stem fold, corrosion around connectors, moisture residue, loose pins, or insulation worn by cable movement. If the connector does not match the replacement exactly, stop. Do not improvise an adapter or pin swap based on appearance alone.

Step 3: Compare the New Screen Before Connecting It
This comparison is the part of how to replace a Kukirin G3 Pro display screen that saves the most time. Place the old and new units side by side and compare the display bracket, fastener holes, cable exit direction, connector keying, and any printed identification on the labels. Confirm that the new cable reaches the original connector route without a tight bend or tension at full steering lock.
| Check | What to confirm | Why it matters |
|---|---|---|
| Model fitment | The listing and part identification are intended for KuKirin G3 Pro use. | Closely related scooter models can use different electronics. |
| Connector | Shape, keying, lock, pin condition, and cable-side orientation match. | A forced connection can damage pins or create intermittent contact. |
| Electrical compatibility | Verify voltage and controller/display compatibility with reliable product or service information. | A display is part of the scooter’s electrical communication system, not just a screen. |
| Mounting and cable route | Clamp, screw positions, grommets, and cable length fit without strain. | A pinched or stretched lead can fail after the first few rides. |
Step 4: Connect and Secure the Replacement Display
Route the new cable along the original path before making the final connection. Keep it away from sharp edges, moving steering parts, and places where the stem folds or closes. Align the connector using its key or marks, press it together evenly, and engage the lock. If it does not seat with gentle, controlled pressure, recheck the alignment—do not force it.
Place the display in its normal riding position and install the clamp or housing hardware. Tighten screws evenly, using the manufacturer’s specified method where available. Avoid over-tightening plastic housings and do not trap the wire beneath a clamp, cover, or screw. Turn the handlebars from lock to lock to confirm that the cable neither pulls tight nor rubs against moving parts.
Step 5: Test Before You Fully Reassemble
Reconnect power only after the connectors are secure and no loose tools remain near the wiring. Turn the scooter on while it is safely supported. Check the display for normal startup behavior, readable information, and responsive buttons. Then test only the functions that can be checked safely without riding: power button response, mode controls, light control where applicable, and whether obvious warning indicators appear.
If the display remains blank, switch the scooter off again before investigating. Recheck connector seating, locks, pin condition, and the cable route. A blank screen does not automatically prove the new part is defective; the issue may be a loose connection, damaged harness, battery-side fault, controller issue, or an incompatible display/controller pairing. Do not continue repeated power cycles if you notice heat, smell, smoke, or abnormal battery behavior.
Common Mistakes to Avoid During Electric Scooter Display Screen Installation
- Skipping compatibility checks: A display can look correct while having a different connector or communication setup.
- Working with the charger or battery system still connected: Isolate power before handling connectors.
- Pulling on wires: Disconnect by the plug body and protect the cable from strain.
- Forcing a keyed connector: If it will not align naturally, stop and inspect it.
- Testing only after every cover is reinstalled: A controlled test before final reassembly saves time if a connector needs reseating.
- Ignoring moisture or corrosion evidence: Replace or diagnose the affected wiring before assuming the display alone caused the fault.
When to Hand the Repair to a Technician
Limit DIY replacement to a clearly compatible display and an undamaged harness. Use a qualified scooter technician if wiring colors do not match, pins are bent, a connector is melted or wet, the scooter has a recurring error after a verified installation, or access requires battery-pack work beyond the manufacturer’s documented service steps. The same applies when the display fault follows a crash, deep water exposure, or signs of electrical overheating.
Final Checklist
To finish how to replace a Kukirin G3 Pro display screen with less guesswork, verify the correct G3 Pro fitment, isolate the battery system, photograph the original routing, disconnect and reconnect by the connector bodies, secure the new unit without pinching the cable, and run a controlled function test before riding. A careful electric scooter display screen installation guide is not just about getting the screen to light up—it is about ensuring the display, harness, and controller work together safely.