EN
EN


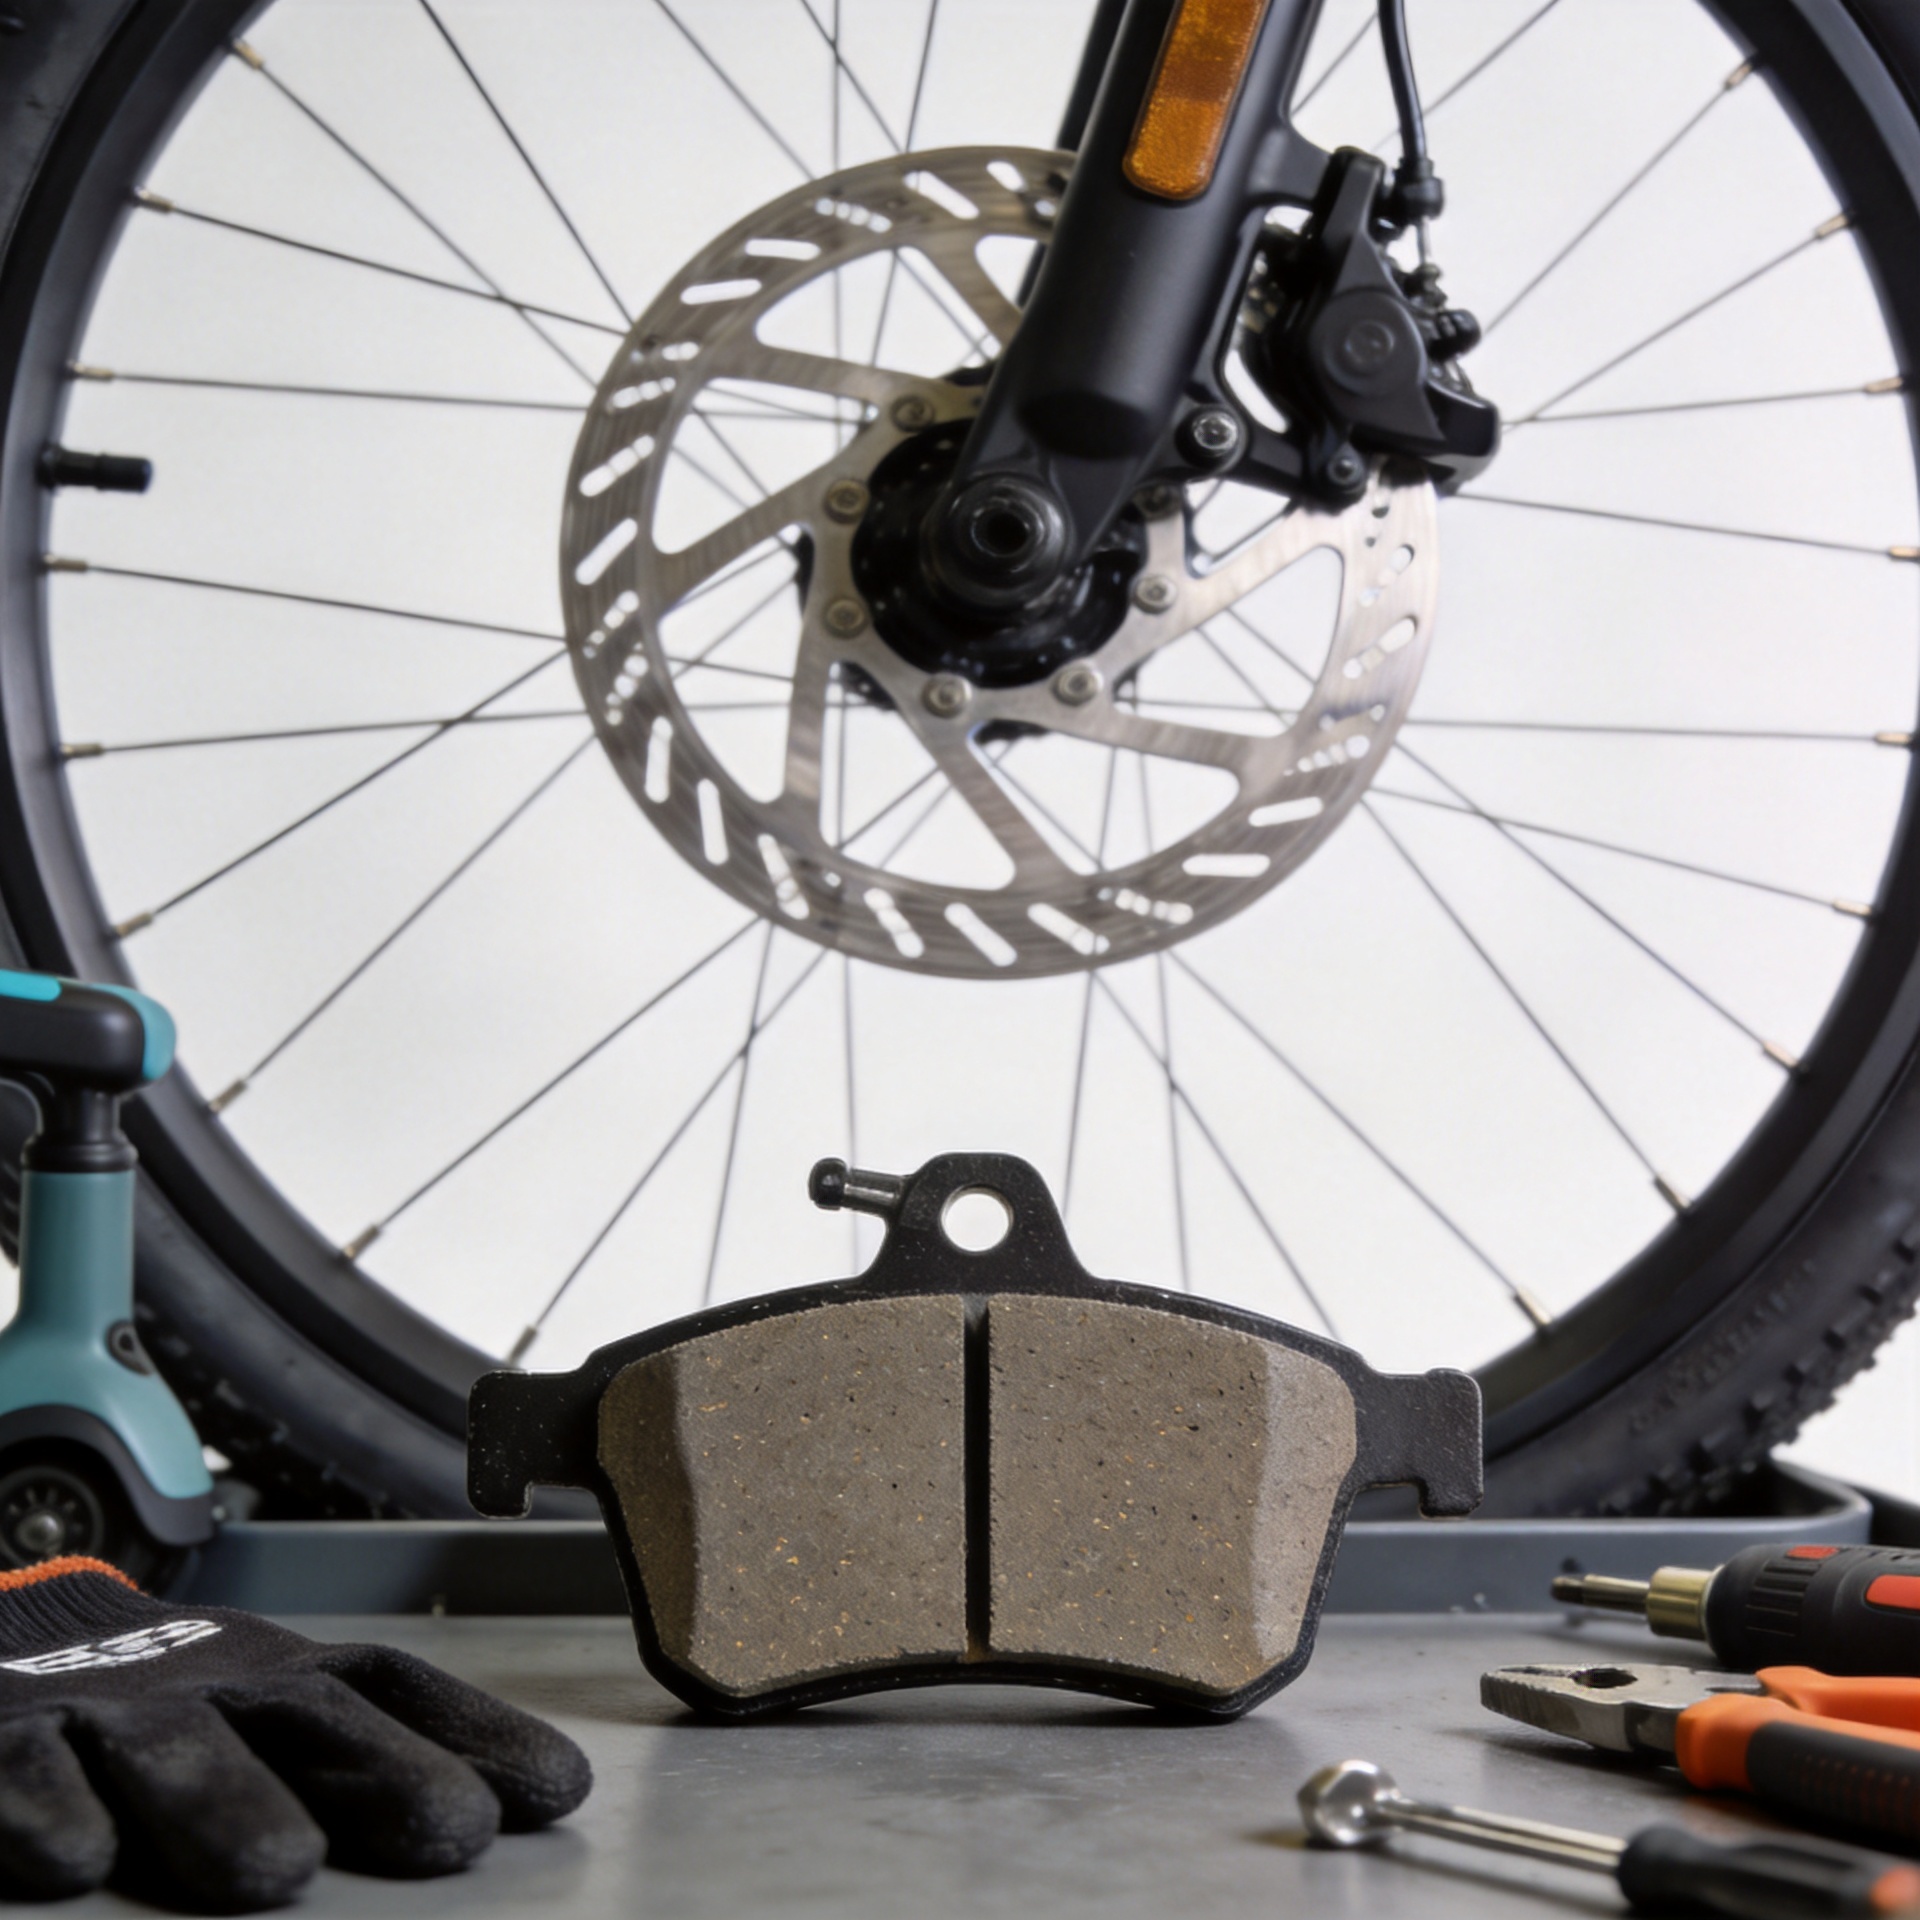
How to Replace Electric Scooter Brake Pads and Check Brake Performance
Replacing worn bicycle disc brake pads on an electric scooter is a practical maintenance job, but it is also a safety job. The pad shape, retaining hardware, caliper type, and rotor condition must all be correct before the scooter goes back on the road. This guide focuses on disc-brake scooters; follow the scooter maker’s manual if its procedure or torque values differ.
As a parts technician, I would start with fitment rather than price. Bicycle disc brake pads may look similar across listings, yet the backing plate, tab position, thickness, and compound can differ. A pad that almost fits can cause drag, noise, poor lever feel, or an unsafe loss of braking.
Know When Your Bicycle Disc Brake Pads Need Replacement
Check bicycle disc brake pads before they are worn down to the backing plate. Common signs include a thinner friction layer, persistent squeal after cleaning, reduced bite, a lever that must travel farther than usual, or visible uneven wear. Wet, gritty, or hilly riding can shorten service life, so use condition-based inspections instead of relying on one fixed mileage number.
Do not assume a noise automatically means new bicycle disc brake pads are required. A contaminated rotor, loose caliper fastener, bent rotor, or improperly centered caliper can make similar symptoms. Inspect the complete brake system first.
Tools, Parts, and Safety Preparation
- Correct replacement bicycle disc brake pads and any required spring, pin, clip, or bolt
- Hex keys or other tools specified by the scooter manufacturer
- A clean plastic tire lever or pad-spreader tool—avoid a sharp metal tool against a piston
- Clean lint-free cloth and isopropyl alcohol for the rotor
- Gloves and a stable work stand or safe way to keep the scooter from moving
Power the scooter off, remove the key if applicable, and keep it stable. Do not squeeze the brake lever after the pads are out; on a hydraulic caliper, that can push the pistons outward. Keep oil, chain lube, and greasy fingers away from the rotor and from the friction surface of the new bicycle disc brake pads.
Check Fitment Before You Remove the Old Pads
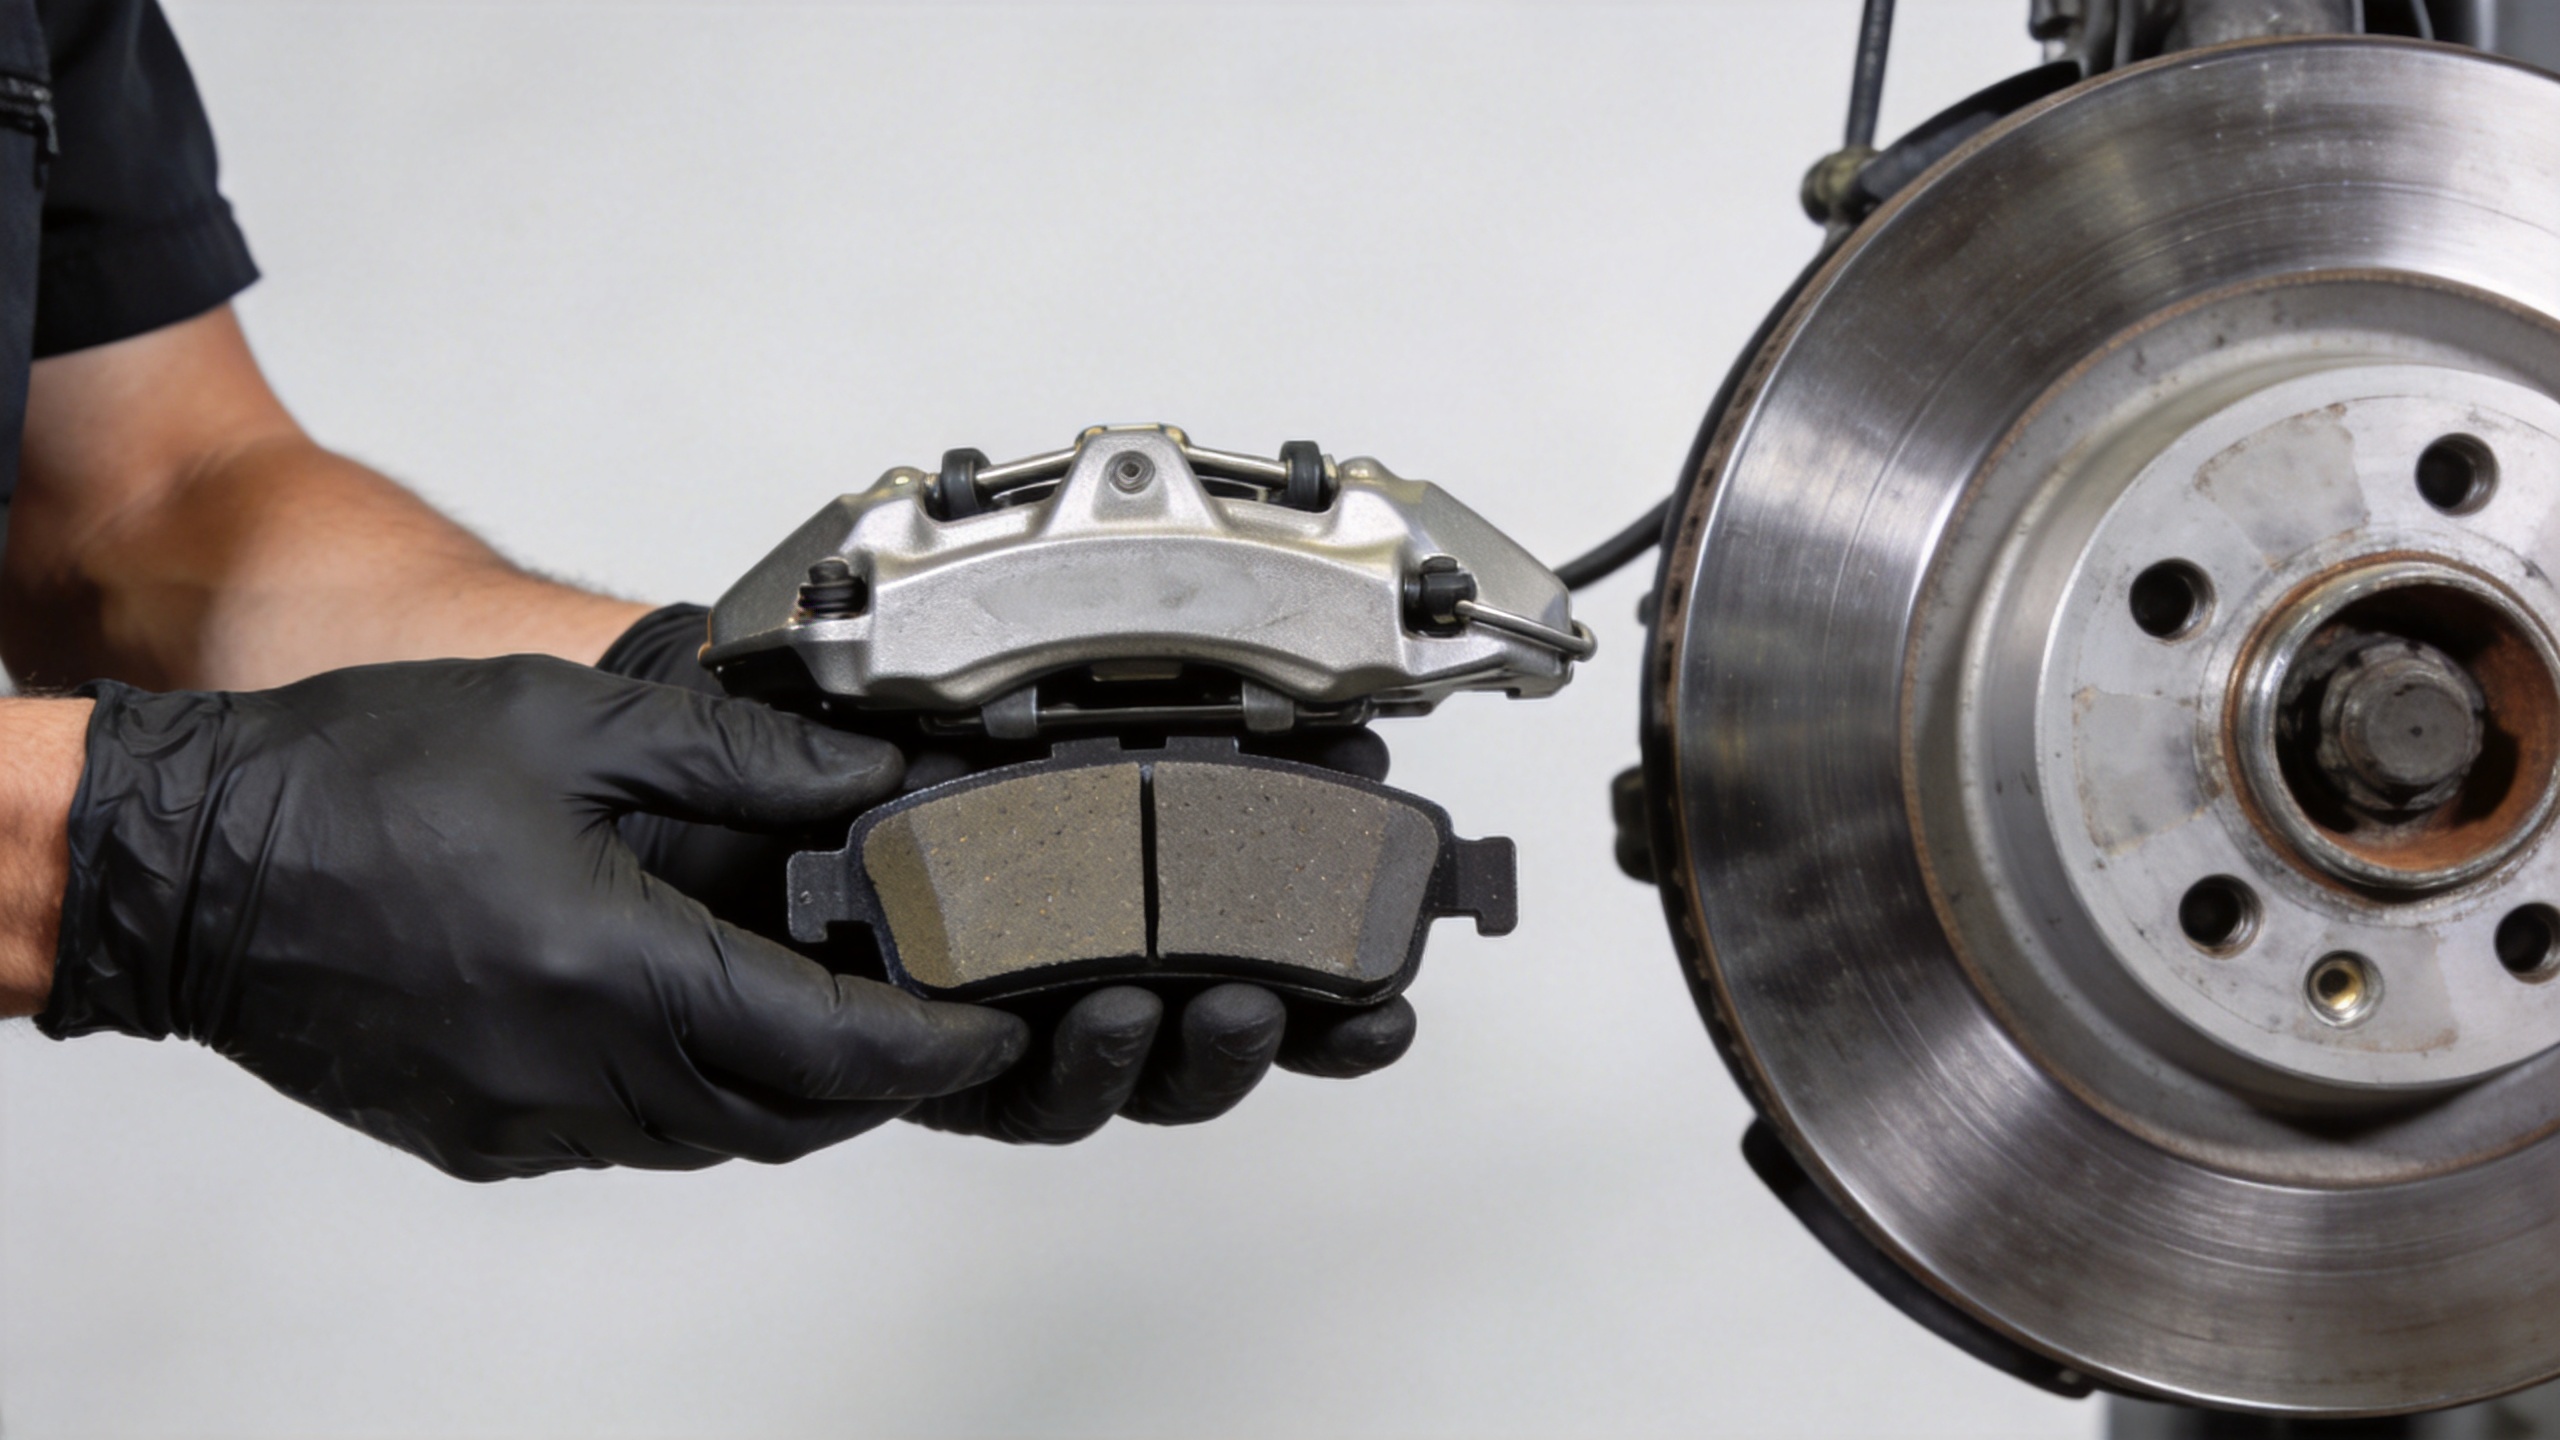
Compare the new and old bicycle disc brake pads side by side. Verify the backing-plate outline, locating tabs, retention-pin hole, spring position, and the friction material orientation. This compatibility check matters even more with cross-brand scooter parts. The correct shape is not enough if the pad cannot sit squarely in the caliper.
For a compatible replacement option, review the product details for New Image electric scooter brake disc pads for Xiaoniu KQ3/KQ3 Pro/KQ2 kick scooters. Confirm the model and caliper arrangement before ordering; the product title identifies supported scooter models, not a universal application.
How to Replace Bicycle Disc Brake Pads Step by Step
- Remove the wheel only if access requires it. Many scooter calipers allow pad service in place. If you remove the wheel, note washers, axle orientation, and any brake-cable routing.
- Remove the retention hardware. Locate the pin, clip, or bolt that holds the old bicycle disc brake pads. Remove it carefully and keep reusable hardware clean and organized.
- Slide out the old pads and spring. Observe their orientation. Uneven wear can be useful evidence of a sticky piston or a misaligned caliper.
- Reset the pistons gently. With the old pads removed, press the pistons back slowly and evenly using a clean plastic tool. If a piston resists, stop and investigate; forcing it can damage the seal or introduce contamination.
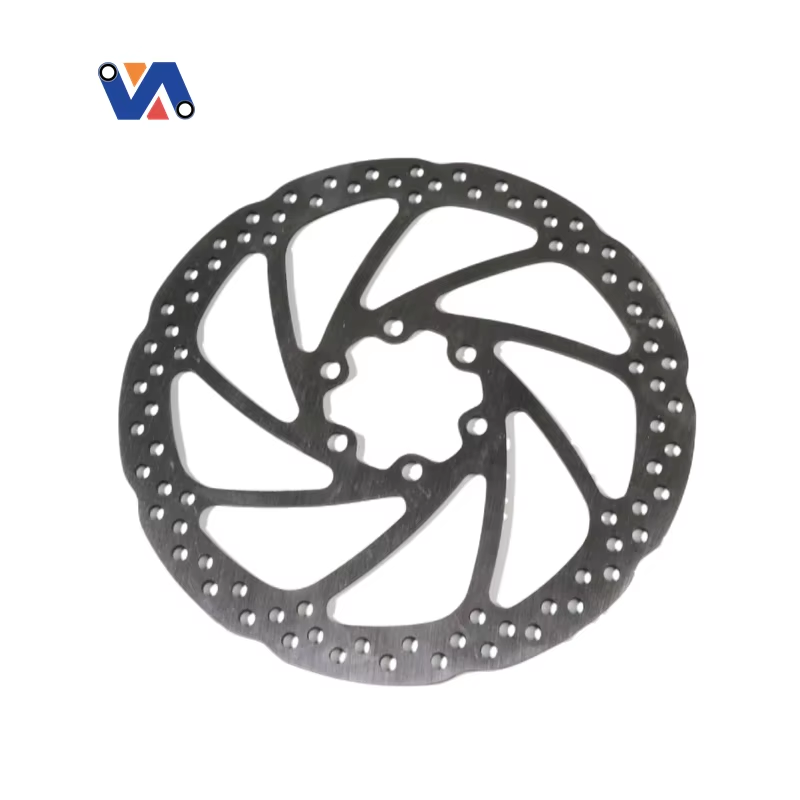
- Clean and inspect the rotor. Wipe the rotor with isopropyl alcohol and a lint-free cloth. Check for deep scoring, blue heat marks, looseness, or obvious runout. Do not apply lubricant to the rotor.
- Install the new bicycle disc brake pads. Place the spring between the pads if the design uses one, insert the assembly in the same orientation as the original, then reinstall the pin, clip, or bolt securely.
- Center the caliper if needed. If the rotor rubs, follow the manufacturer’s alignment method. Avoid guessing torque values for caliper or mounting bolts.
Restore Lever Feel and Bed In the New Pads
Before moving the scooter, pump the brake lever several times until it feels firm. This brings the pads back toward the rotor. If the lever stays soft, pulls to the grip, or the pistons do not move normally, do not ride—recheck the installation or have a qualified technician inspect the brake.
New bicycle disc brake pads need a controlled bedding-in period. In a traffic-free area, accelerate gently to a low speed and make several smooth, firm stops without locking the wheel or holding the brake on while stationary. Let the brake cool briefly between stops. The goal is to transfer an even layer of pad material to the rotor, not to overheat it.
Perform a Safe Brake Performance Check
Use this sequence after replacing bicycle disc brake pads:
- Spin the wheel. A light intermittent sound may indicate minor rotor runout, but continuous hard rubbing needs adjustment.
- With the scooter stationary, apply the brake firmly and try to roll the scooter. The wheel should remain securely held.
- At walking speed in an open area, test progressive lever response and straight-line stopping.
- Repeat at a modest speed only after the first test feels predictable. Check that the lever stays firm, the scooter does not pull sideways, and no hardware has loosened.
- After the test, inspect the caliper and rotor for unusual heat, fluid leakage, loose retention hardware, or fresh rubbing.
Stop using the scooter if new bicycle disc brake pads produce weak braking, a pulsing lever, severe noise, visible fluid leakage, or a wheel that will not spin freely. These are system-level symptoms, not problems to solve by simply squeezing the lever harder.
Simple Maintenance Habits That Protect Bicycle Brake Pads
Keep the rotor clean, check fasteners according to the scooter manual, and inspect bicycle brake pads after prolonged rain, mud, or dusty riding. When sourcing replacement bicycle disc brake pads for resale or service inventory, record model fitment and retention-hardware details instead of grouping every disc pad under one universal SKU. That extra verification reduces installation errors and helps riders regain consistent braking confidence.
Final reminder: Correctly fitted bicycle disc brake pads, a clean rotor, a firm lever, and a controlled low-speed road test work together. If any one of those checks is uncertain, pause the job and obtain professional brake service before riding.