EN
EN


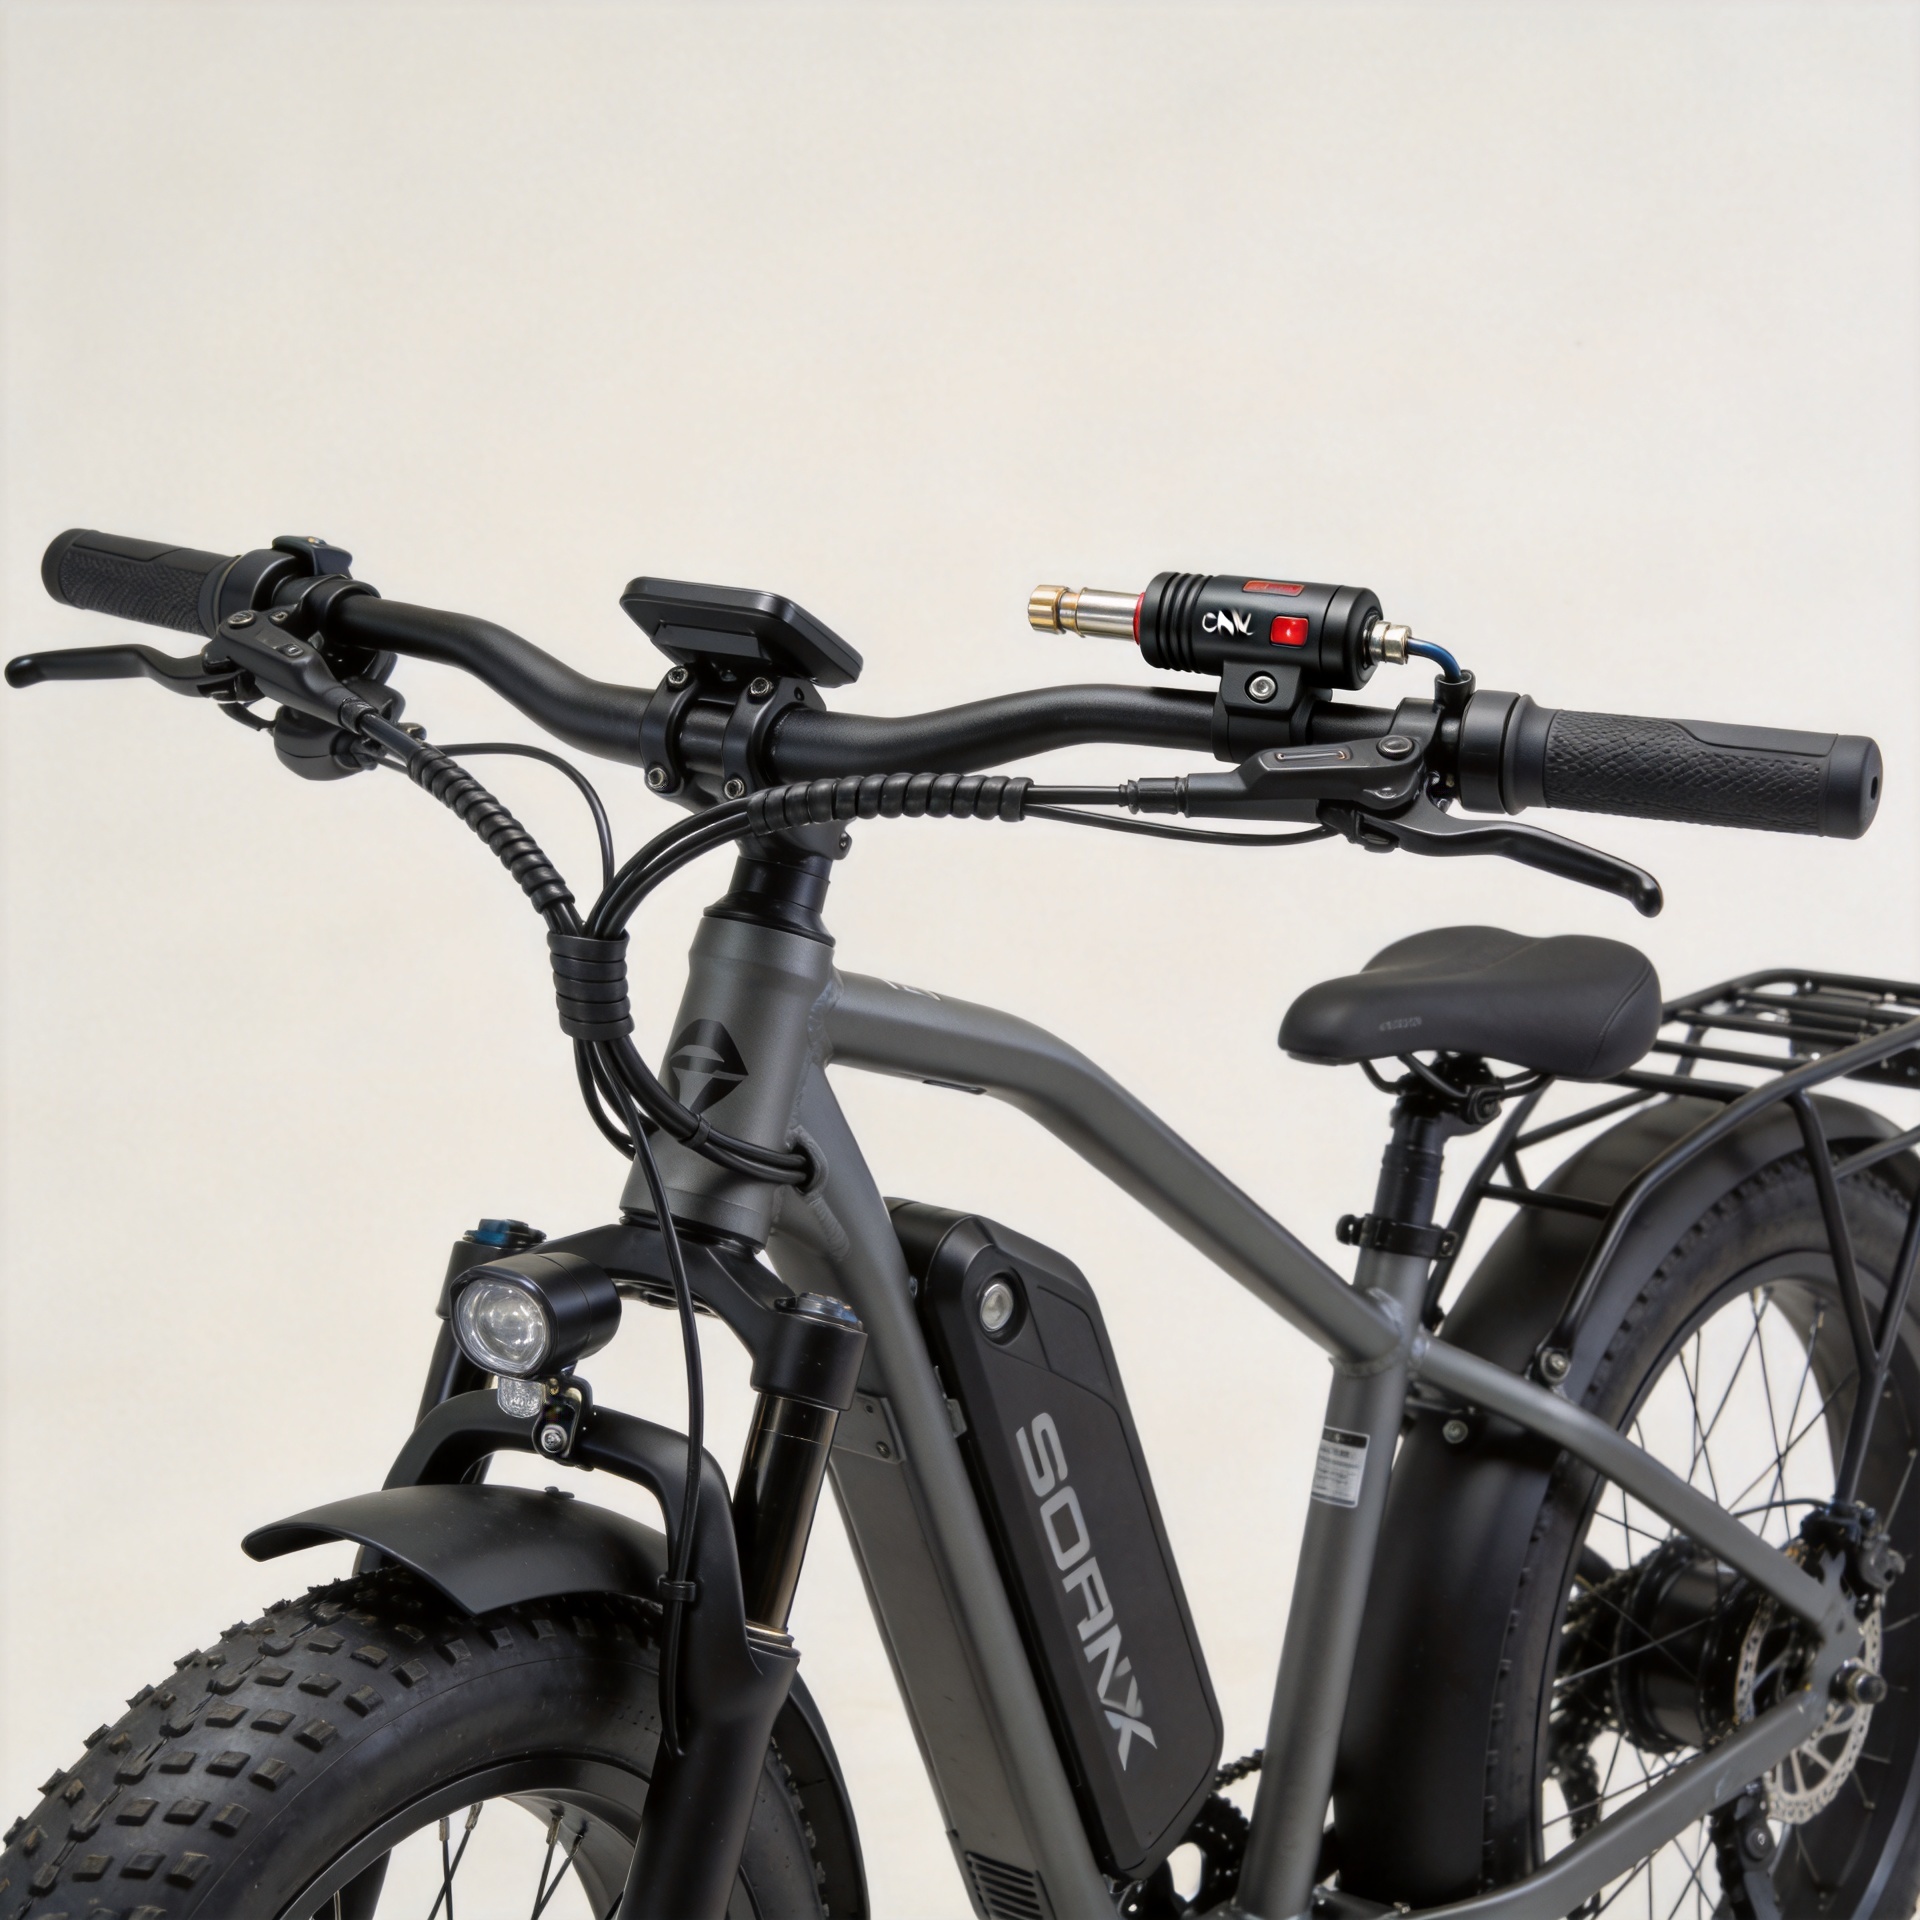
E-Bike Throttle Replacement Guide: Fault Diagnosis, CNC Throttle Selection, and Installation Steps
When your electric bike throttle stops responding or starts behaving erratically, the ride is over before it begins. After working through enough e bike throttle replacement jobs — from budget commuter builds to fat-tire off-road setups — the pattern is clear: most riders waste time ordering the wrong part because they skip two steps: proper fault diagnosis and connector compatibility verification. This guide walks you through both, then covers how to complete a clean CNC twist throttle swap, including specific notes for OUXI V8 and fat-tire e-bike frames.
Step 1: Diagnosing Your Electric Bike Throttle Problem
Before buying a replacement, narrow down whether the fault is actually in the throttle itself. A surprisingly high share of "dead throttle" cases turn out to be a loose connector or corroded pin rather than a failed sensor. Run these checks first.
No Response at All
If the electric bike throttle produces no signal, start at the connector. Unplug and re-seat the throttle connector, then use a multimeter to confirm the power pin reads approximately 5V with the battery on. Hall-effect throttles rely on that 5V supply; without it, the signal wire stays silent regardless of how far you twist the grip. If voltage is present but you still see no output on the signal pin, the hall sensor inside the throttle body has likely failed.
Signal Drift or Erratic Acceleration
An electric bike throttle that causes jerky, inconsistent acceleration is usually sending a drifting voltage rather than a clean linear sweep. Normal hall-sensor output spans roughly 0.8 V at rest to 4.2 V at full twist. If a cheap meter shows the resting voltage jumping between 0.8 V and 1.5 V without you touching the grip, the hall sensor is losing its reference; water ingress and magnet wear are the two most common causes in high-use commuter bikes.
Intermittent Cutouts
Cutouts that happen only over bumps typically trace back to a fractured wire near the throttle housing, where the cable flexes most. Wiggle the cable at the base of the throttle while watching the controller display; a momentary drop in power output confirms a broken conductor. This is the easiest e bike throttle replacement scenario — the controller is fine and you only need to match the connector type.
Step 2: 3-Pin vs 5-Pin — Choosing the Right Throttle Configuration
The pin count defines what signals pass between the throttle and controller, so it is not interchangeable. A standard hall-effect throttle uses three wires: power (red, 5 V), ground (black), and signal output (typically yellow or green). That three-wire setup is what you find on the vast majority of aftermarket twist throttles, including CNC aluminum-body designs.
Five-pin throttles add two extra conductors, most commonly a low-speed enable wire and a battery level indicator line. If your original throttle has five pins and you swap in a three-pin unit, those two secondary functions disappear — usually fine for a straightforward e bike throttle replacement, but worth confirming against your controller's pinout before ordering.
Thumb throttles use the same electrical pin count as twist throttles; the difference is mechanical. A thumb throttle ebike design is preferred by riders who want full hand grip on the bar at all times, particularly on technical trails or cargo bikes. Twist throttles — especially CNC machined versions — offer a more natural ramp rate for road riding and are easier to modulate over longer distances. If you are replacing a failed thumb throttle ebike unit with a twist grip, verify that a 3-pin twist throttle shares the same connector and voltage range as your current setup before the swap.
Step 3: Connector Compatibility — M8, SM, and WP Interfaces
The single biggest cause of a returned e bike throttle replacement is a connector mismatch. Three connector families cover the majority of the market:
- M8 (3-pin waterproof screw connector): A round, threaded connector that locks with a quarter-turn collar. Used extensively on aftermarket throttles sold as universal replacements. Strong weather sealing makes it the go-to choice for builds where moisture exposure is a concern.
- SM (JST-SM style, 2- to 5-pin housing): A flat, keyed housing common on Asian OEM builds and budget controllers. The 5-pin SM variant is standard on many stock e-bikes from brands that add speed-limit or display signal lines.
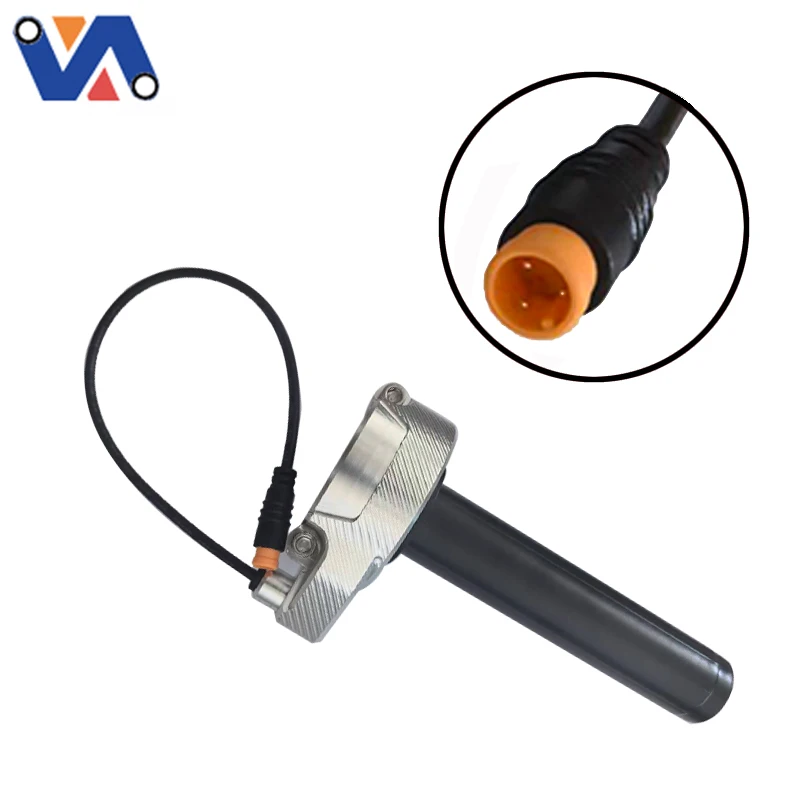
- WP (waterproof plug, Higo-style): Used on several branded fat-tire and e-MTB platforms including OUXI V8 builds and super73-style fatbikes. The WP connector has a specific locking tab orientation — confirm which sex (male vs female) the controller side presents before ordering.
To verify compatibility, photograph the connector on the controller harness before searching for a replacement. The outer diameter, pin count, and locking mechanism are all you need to make a confident match. For OUXI V8 builds, the WP male connector on the throttle side mates with the controller's WP female socket — a direct-fit replacement is available without any adapter work.
Step 4: CNC Twist Throttle Installation — OUXI V8 and Fat Tire E-Bike
With the right throttle in hand, most installations take roughly fifteen minutes. Here is the sequence that avoids the common re-work traps:
- Disconnect the battery. Remove the battery pack or disconnect the main battery connector completely. Do not rely on the power switch alone; some controllers hold residual voltage.
- Remove the existing throttle. Loosen the bar clamp screw (typically M4 or M5 Phillips). On fat-tire bars, the oversized 25.4 mm or 35 mm diameter means the clamp band must match — confirm the replacement throttle's listed bar diameter before fitting.
- Route the new cable. Feed the new throttle cable along the same path as the original, securing it with the existing cable ties. Avoid sharp bends at the bar end and near the head tube.
- Connect the wiring. Align the connector keys and push until you hear or feel the tab click. On WP connectors for OUXI V8 and fat-tire builds, the locking tab should seat flush. A half-connected WP connector is a common source of intermittent faults after installation.
- Tighten the clamp and position the grip. Torque the clamp screw to approximately 1.5–2 N·m — enough to prevent rotation without cracking the CNC housing. Position the throttle angle so the grip falls naturally under the thumb without wrist strain at a neutral riding posture.
- Reconnect the battery and power on. Before riding, check that the resting voltage on the signal wire is stable (around 0.8–1.0 V) and that full twist produces the expected acceleration response.
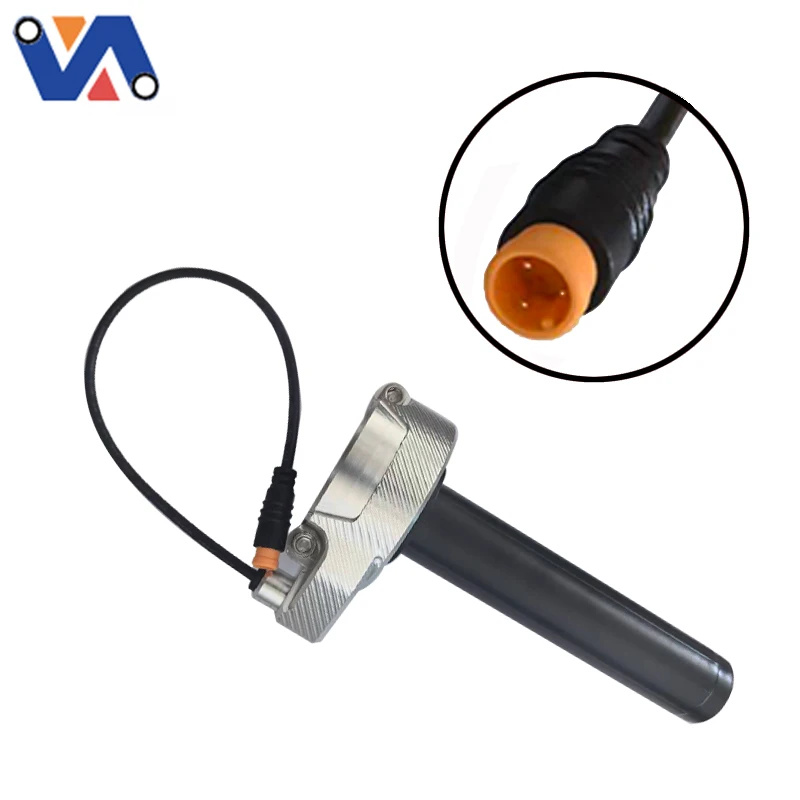
For OUXI V8 fat bike builds, a well-matched option is the 3PIN CNC Twist Grip Throttle with WP Male Connector for OUXI V8 Fat Bike and super73-style Ebikes. The WP male connector is a direct fit to the OUXI V8 harness without adapters, and the CNC aluminum housing offers better long-term durability than the stock plastic body.
If your build uses the M8 connector standard, the 3-Pin Twist Throttle CNC Electric Bike Accelerator with M8 Male Connector is designed as a direct-fit spare part for e-bikes using the M8 screw-lock connector — a reliable choice for generic builds and rebuild kits where weatherproofing is important.
Step 5: Testing and Calibration After Installation
Power the bike on in a safe, stationary position. Confirm the display lights up without error codes. Gradually twist the throttle from rest to full while watching the wheel or listening for smooth motor spin-up. A properly functioning hall-effect throttle will produce a linear, stutter-free response across the full twist range. If you see a spike at the start or a dead band at the top of the travel, the controller may need a brief throttle calibration — check your controller manual for the recalibration procedure, which usually involves holding a button while turning the throttle from zero to full at power-on.
One thing experience makes clear: a CNC-machined electric bike throttle with a machined aluminum grip ring and a quality hall sensor ages far more gracefully than stock plastic units. The investment in a properly matched, connector-specific replacement pays back in consistent signal output and fewer roadside surprises — which, at the end of the day, is the whole point of doing the e bike throttle replacement right the first time.