EN


Hydraulic Brakes for Fat E-Bikes: How to Verify Caliper and Lever Compatibility
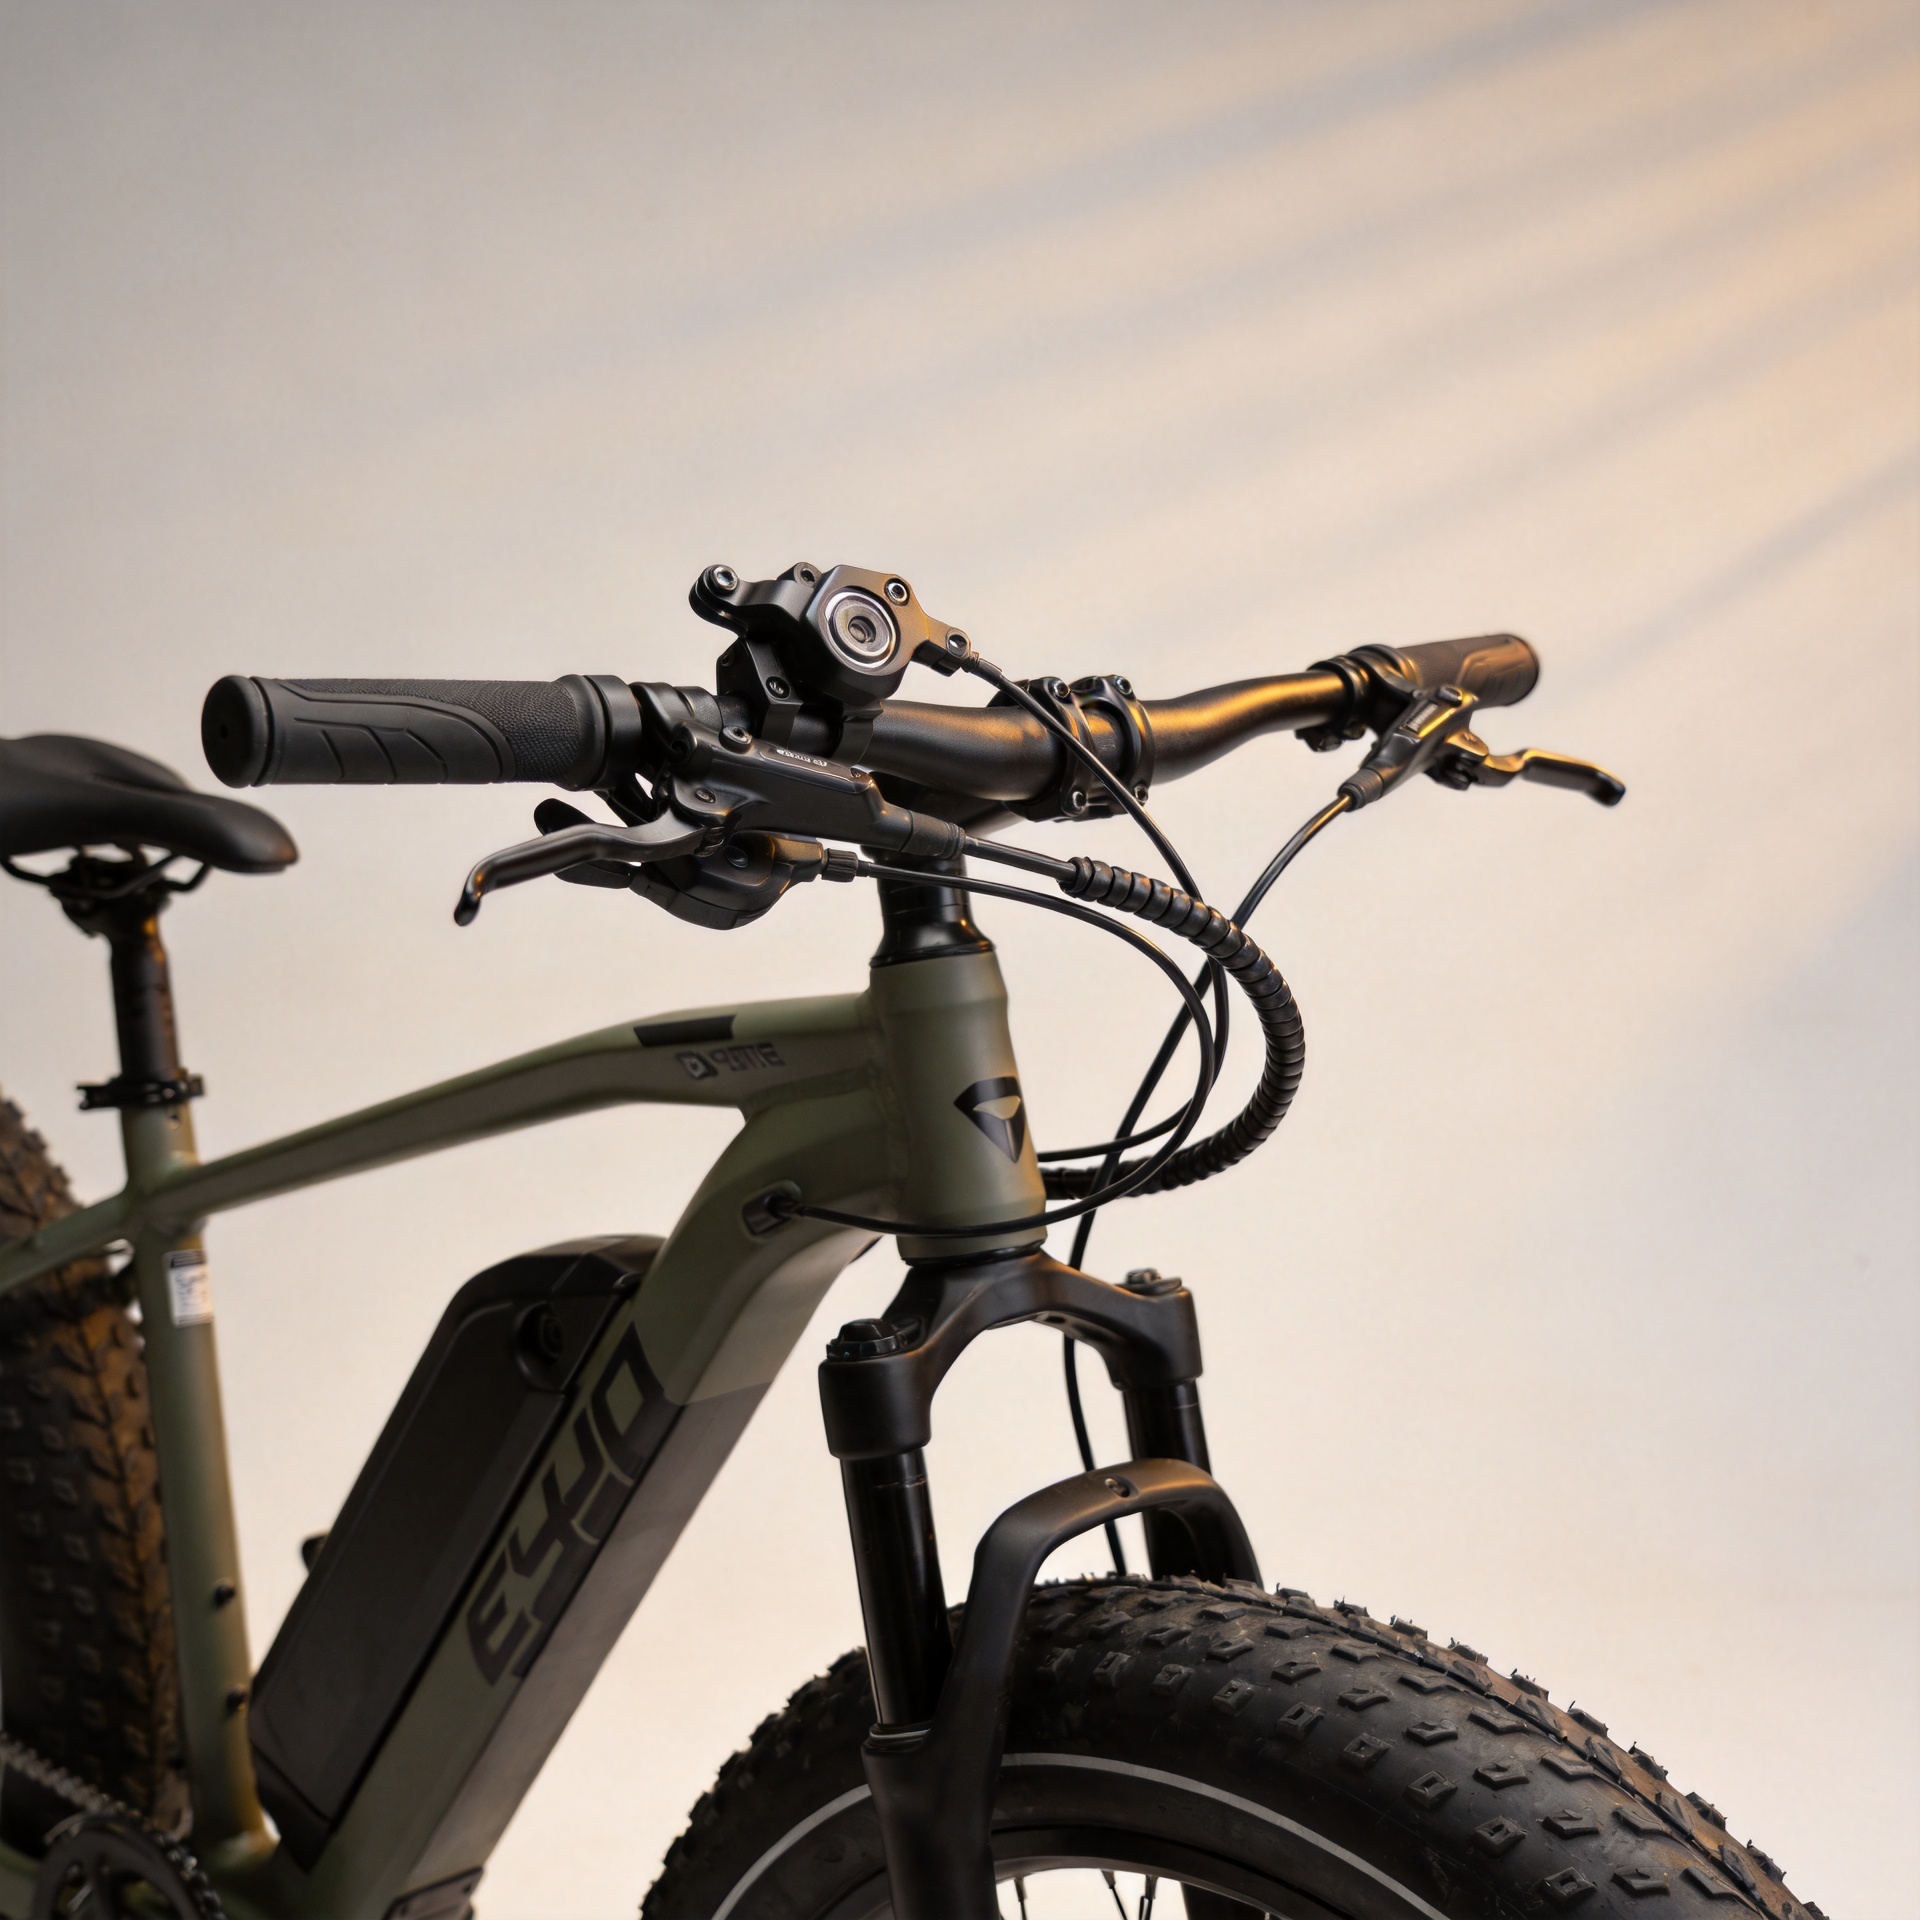
Replacing brakes on a fat bike with hydraulic brakes looks simple until the parts reach the workbench. A caliper may bolt to the fork yet sit in the wrong place over the rotor. A lever may feel right in the hand but have the wrong hose exit or no compatible motor-cutoff lead. For a hydraulic brake fat bike, fitment is a system check, not a “hydraulic equals hydraulic” purchase decision.
This guide is written for riders, repair shops, and parts buyers who need a repeatable way to verify a front or rear replacement. It focuses on the checks that matter before opening a hose, cutting a cable tie, or removing a working brake.
Start with the bike, not the replacement kit
Record the existing setup on each end of the bike separately. Front and rear can differ in hose length, mount geometry, rotor size, and e-bike wiring. Take clear photos of the caliper mount, rotor, lever, hose route, and every electrical connector before disassembly. Include a ruler in close-up photos of the mounting area when you are ordering remotely.
The most useful first question is not “Will this fit a fat bike?” It is “What interface does this specific fork or frame use, and what rotor position must the caliper reach?” Fat tires do not define brake compatibility. The fork, frame, hub, rotor, and electrical system do.
Check the caliper mount and rotor position together
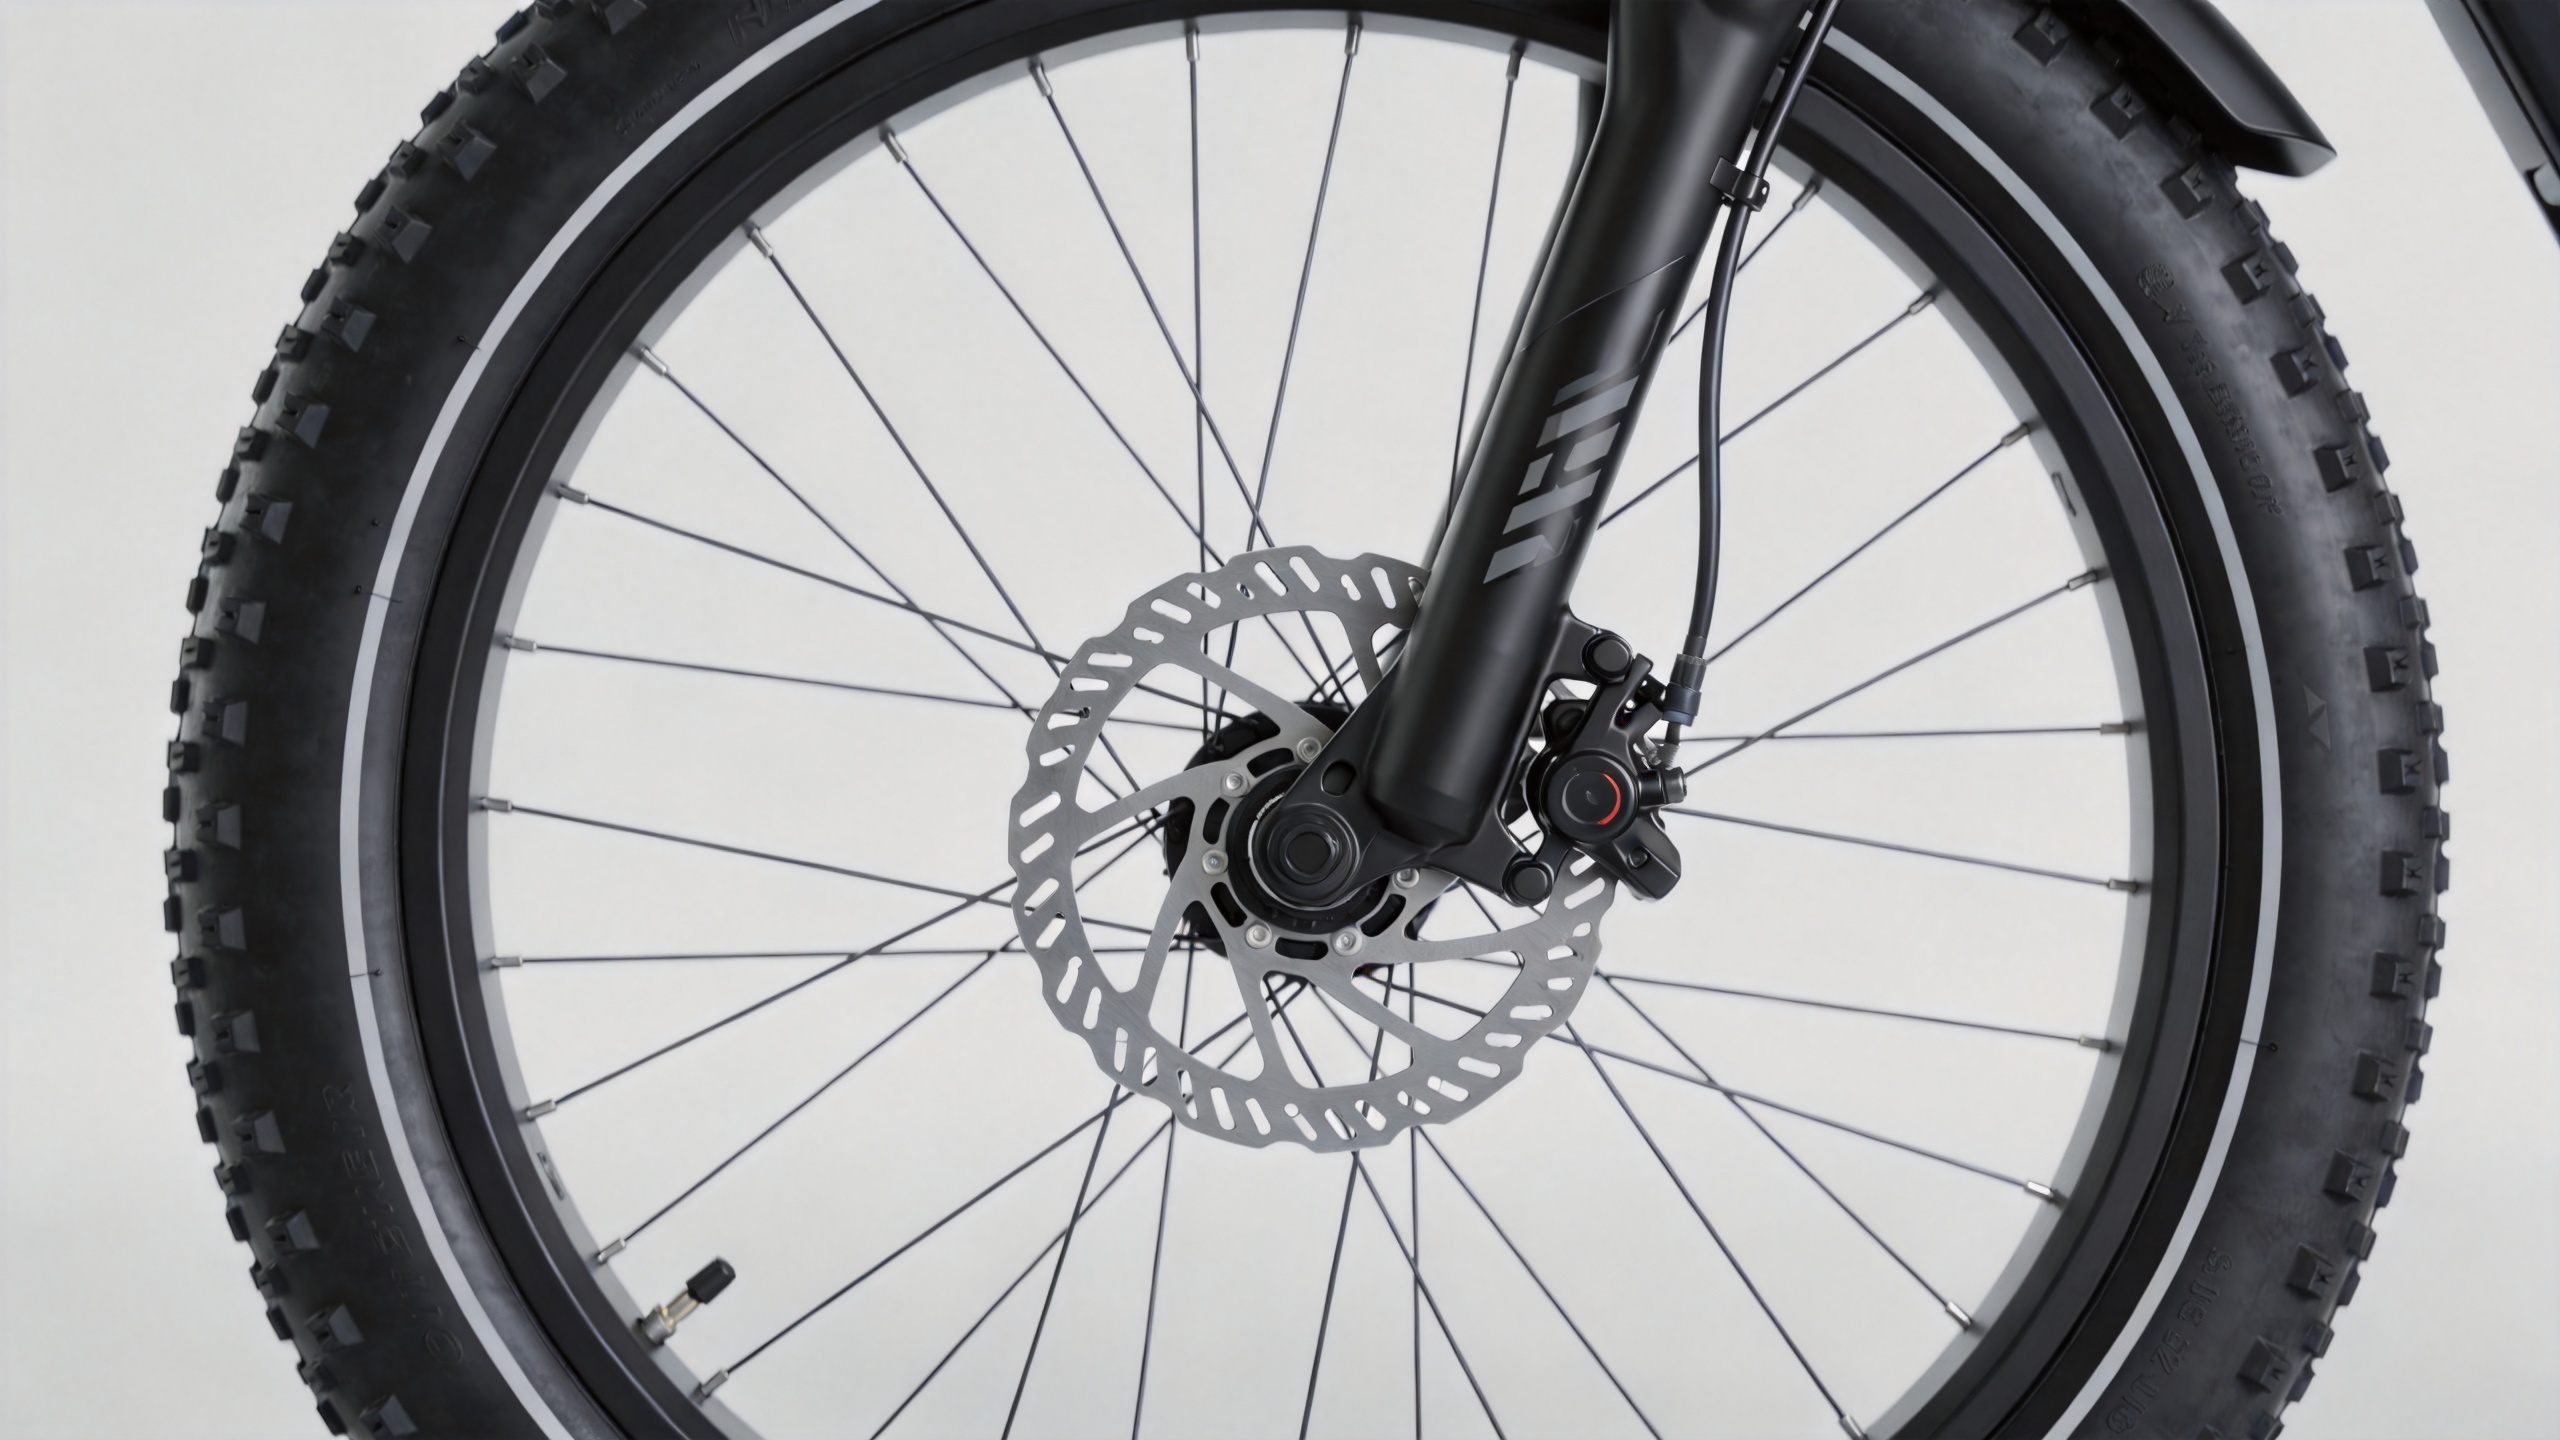
Common disc-brake mounting families include IS, post mount, and flat mount. They use different bolt orientation and geometry. An adapter can sometimes bridge a mount and a rotor-size change, but it is not a universal cure. Confirm the mount type from the frame or fork, then identify the current rotor diameter and the caliper or adapter configuration that positions the pads correctly.
- Mount style: Photograph the bolt direction and spacing; do not identify a mount from a listing photo alone.
- Rotor diameter: Read the marking on the fitted rotor or measure it. The replacement setup must be designed for that diameter, or for a specifically compatible adapter.
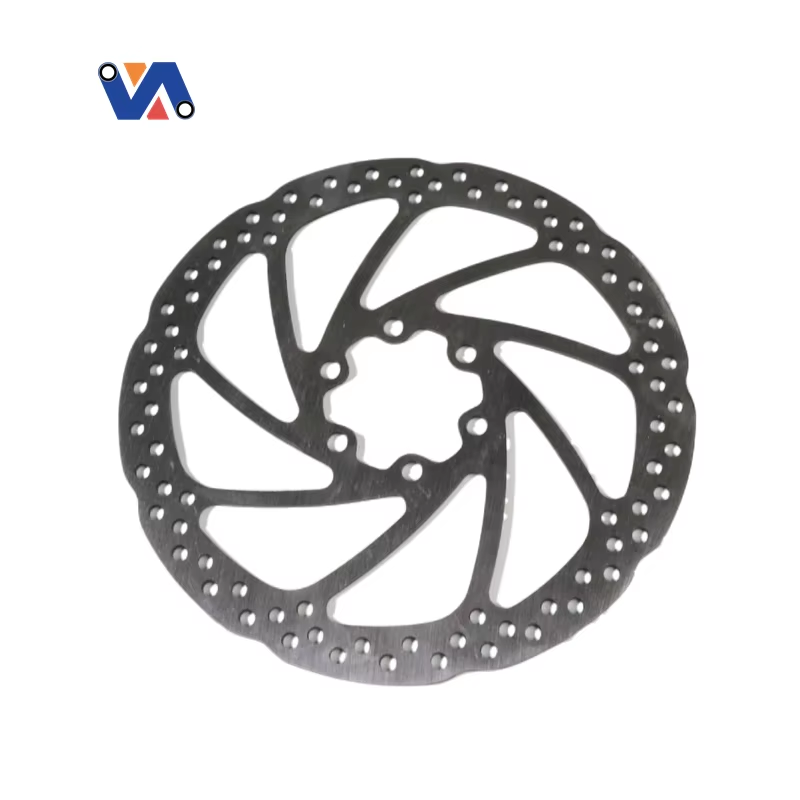
- Rotor interface: Check whether the hub accepts a six-bolt rotor or another interface. A caliper kit does not change the hub’s rotor attachment standard.
- Rotor and pad clearance: With the wheel installed, the rotor should run centrally through the caliper slot without rubbing when the lever is released.
- Frame and tire clearance: On a hydraulic brake fat bike, inspect the hose, caliper body, adapter, and bolts through the full wheel and suspension movement where applicable.
Do not assume a larger rotor is an automatic upgrade. It changes caliper position, may require a mount-specific adapter, and can create clearance or bolt-length issues. If the manufacturer’s compatibility information does not match the bike’s mount and rotor arrangement, pause the installation and verify with the bike maker or a qualified technician.
Verify the caliper before you worry about brake feel
For a fat bike with hydraulic brakes, the caliper must be mechanically compatible before lever ergonomics matter. Compare the old and proposed caliper in four areas: mounting standard, intended rotor size, hose connection, and clearance around spokes, fork legs, rack stays, and tire width.
A practical check is to leave the old caliper in place and map the new one against the bike before disconnecting anything. Confirm where the hose enters the caliper and whether that path can follow the original guides without a sharp bend. A hose that looks long enough on the floor may be too short when the handlebar is turned fully, and an overlong hose may snag if it is routed without proper restraint.
For OUXI V8 replacement work, use the original brake assembly and the model-specific parts information as the fitment reference. The available listing for a full hydraulic brake caliper and left/right lever set for OUXI V8 e-bike and fat-bike spare parts can be used as a starting point for a model-specific enquiry. It does not remove the need to compare the bike’s actual mounting points, hose route, and connector before ordering.
Confirm left and right lever assignment
Lever side is not just a comfort preference. Check which lever controls the front brake on the existing bike and follow the local practice and bike documentation that applies to the intended market. Reversing the front and rear functions unintentionally can create a safety issue for the next rider or service technician.
Then compare:
- Handlebar clamp diameter and usable bar space. Ensure the lever can sit clear of shifters, throttle, display controls, mirrors, and grips.
- Master-cylinder orientation and hose exit. The hose must leave without kinking through the handlebar’s full steering range.
- Reach adjustment and rider access. A lever that cannot be comfortably reached is not a successful replacement, even if the caliper fits.
- Hose side and length. Measure the fitted hose route rather than the straight-line distance between lever and caliper.
Compatibility is often lost in this last detail. Two levers can share a similar clamp and still be unsuitable because their hose exits point into a display bracket or force an overly tight bend near the head tube.
Do not overlook the e-bike cutoff connection
A conventional bicycle lever has no electrical role. An e-bike lever may include a brake-cutoff switch that tells the controller to stop motor assistance when braking. Before connecting any replacement lever, identify the plug shape, pin count, keying, cable length, and the controller’s expected signal logic. Matching colors or a similarly shaped waterproof plug is not enough.
Ask the supplier for the connector specification and intended vehicle application. If the hydraulic kit has no cutoff lead, determine whether the bike can safely use a separate sensor or whether a model-specific lever is required. Do not cut, splice, or bypass a brake-cutoff circuit based on appearance. Treat an unknown connector as incompatible until its function is confirmed.
A five-minute pre-order checklist
| Check | What to record | Why it matters |
|---|---|---|
| Bike position | Front, rear, or full set | Front and rear hose lengths and mounts can differ. |
| Caliper mount | Photos of frame/fork tabs and current adapter | Determines whether the caliper can be positioned correctly. |
| Rotor | Diameter, attachment interface, condition | Controls caliper alignment and hub compatibility. |
| Lever layout | Left/right function, clamp area, hose exit | Prevents reversed braking and routing conflicts. |
| Electrical lead | Connector photo, pin count, controller documentation | Confirms motor-cutoff compatibility. |
| Hose route | Measured path with steering fully turned | Prevents tension, kinks, and abrasion. |
Installation checks before the first ride
Once a compatible set is installed, secure the wheel, center the caliper according to the brake maker’s procedure, and confirm that all fasteners use the specified torque. Check for hose interference with the tire, rotor, spokes, and suspension movement. Spin each wheel, apply the lever gradually, and inspect for leaks, a soft lever, unusual rubbing, or a rotor that fails to release cleanly.
Test the brake cutoff function with the driven wheel safely off the ground, following the bike’s service guidance. Then perform a controlled low-speed test in a clear area. Hydraulic brake work affects a safety-critical system; if the hose needs shortening, the fitting style is uncertain, the system needs bleeding, or the rotor cannot be centered, use a qualified bike technician.
Choose by verified fitment, not by a generic fat-bike label
A fat bike with hydraulic brakes can benefit from a properly matched replacement system, but the value comes from correct fitment, not from a generic “fat bike” label. Verify mount, rotor, caliper clearance, lever side, hose route, and e-bike cutoff connection as one checklist. For repair shops and resellers, keeping these photos and measurements with the order also makes repeat parts selection faster and reduces avoidable returns.
When any one item remains uncertain, request model-specific confirmation before fitting the part. That small pause is usually far less costly than a mismatched caliper, a strained hose, or an interrupted electrical safety function.